The Crochet Viking Gnome Towel Topper is a free crochet pattern by Nana’s Crafty Home!

Do you know a man that has everything? How about an adorable yet fierce crochet nordic viking gnome towel topper that they can add to their bbq grill or add to the wet bar in their man cave? This little guy would make the perfect gift for Father’s Day or any day, really!
Viking Gnome Crochet Towel Topper pattern details
I now have a series of gnome towel topper free crochet patterns already on the blog. My viking joins the original Christmas Gnome Towel Topper, Leprechaun Towel Topper, Mushroom Gnome, Christmas Tree Gnome, Patriotic Gnome, Pilgrim Gnomes as well as the Spring Girl Gnome with braids.
The Nordic Horned Helmet Viking Gnome Towel Topper works up so quickly and you will only need a small amount of yarn – perfect way to use up your yarn scraps.
Viking Gnome Towel Topper Supplies
This towel topper utilizes a hidden 3″ plastic ring which allows the towel to become removable for easy washing. No need to throw the topper in the wash to clank around and lose buttons – yay! I purchase my 3″ rings from Amazon but if they run out (and they seem to frequently) others have successfully substituted inexpensive plastic shower rings or even elastic hair ties. I would recommend that you double up on the hair ties and use the thicker ones so there is less chance of breakage.
The hanging tab is crocheted directly on to the 3″ ring. If you have never done this before, I have a video tutorial for the Tasseled Towel Topper which uses the exact same technique so you could certainly check that out. The video will also help you sew the hanging tab to the top of the helmet.
I used Red Heart’s With Love* yarn which is a medium #4 weight 100% acrylic yarn. However, you could certainly substitute with a similar weight cotton yarn as well.
Disclosure: I only recommend products I would use myself. This post may contain affiliate links that if you make a purchase at no additional cost to you, I may earn a small commission.
I used several decorative buttons in addition to the button used for the hanging tab. I found some great celtic style buttons on Amazon that gave his helmet some authenticity. However, the additional buttons are strictly decorative and are not necessary. And you could certainly use any buttons you have on hand. I think some pointy studs would also look pretty awesome!

Since the towel is meant to be the gnome’s “beard”, I went with a white flour sack towel. However, I couldn’t resist the cute one I found from Amazon – the perfect match for the theme of this little guy. However, you could certainly use any color of towels you have on hand. And, if you are making some of the Christmas Gnome towel toppers this year for gifts or craft fairs, you might want to check out the pack of flour sack towels I get from Amazon. It’s a great deal, they are the perfect size and they have a nice beard-like drape.
And, if you are so inclined, you could add some viking braids to either side of the gnome’s nose for an extra bit of fun! I created braids for my Spring Girl Gnome Towel Topper and you could use that pattern to make braids to really up the Viking factor.
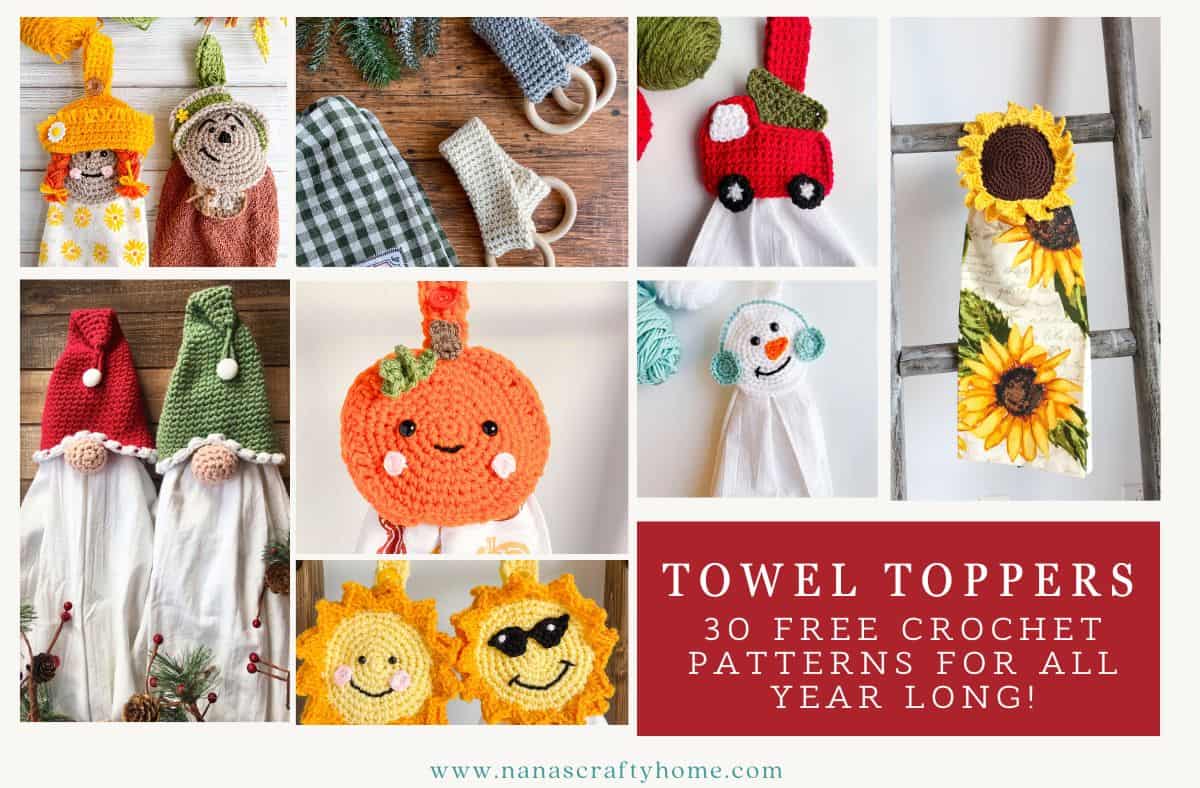
Prepare for a kitchen glow-up with my FREE crochet towel topper patterns that scream style for every season! These jaw-dropping designs boast a sneaky 3″ ring for super-easy towel swaps and washing, packed with festive Christmas sparkle, fresh spring blooms, sizzling summer vibes, and downright adorable gnome charm. Perfect for crocheters of all levels, they’ll turn your kitchen into a cozy masterpiece. Jump into the full crochet pattern roundup and start hooking your new obsession now!
Purchase ad-free PDF of the Viking Gnome Towel Topper pattern (or scroll down for free version!)
The Viking Gnome Towel Topper is also available as an ad-free, printable PDF! You can purchase the Viking Gnome Towel Topper individual pattern, or if you love PDFs, you might want to check out my Lifetime Membership. It’s an awesome deal! Never pay for one of my PDFs again!! (Or, scroll down for the free version!)

Purchase the ad-free pdf of this pattern for a small fee. Thank you so much for supporting my work!

If you would like daily crochet inspiration be sure to follow me on Facebook, Instagram, Pinterest, YouTube, Twitter and Tumblr!
To get notified of my free crochet patterns and future giveaways, sign up for my newsletter. I never share or sell your information to third parties — it stays private!
You may also like the following free patterns at Nana’s Crafty Home:


Crochet Viking Gnome Towel Topper free crochet pattern
Pattern written in US crochet terminology
Supplies:
- Red Heart With Love Weight 4/Medium (100% acrylic, 7 oz/370 yds)
- Pewter 0.7 oz /40 yards (Color A)
- Cornsilk 0.1 oz / 6 yards (Color B)
- Eggshell 0.3 oz / 16 yards (Color C)
Size I (5.5 mm) crochet hook
1 Flour Sack Towel 28” x 28″ (affiliate)
Small amount of polyfill stuffing
1 – 3” plastic ring (Amazon affiliate)
6 – 2/3” decorative button (Amazon affiliate)
embroidery thread for sewing on buttons
1 stitch marker
Scissors
Tapestry needle
Approximate finished size: 5.25” wide x 7” tall (not including towel)
Gauge: 5 rows = 1” / 4 sc st = 1”
Recommended Tutorial:
Tasseled Towel Topper – this tutorial will show you how to crochet the tab on to the 3” ring as well as how to sew the hanging tab to the top of the helmet. Techniques are the same.
Abbreviations:
MC = magic circle
ch = chain
sc = single crochet
st(s) = stitch(es)
sk = skip
sc2tog = single crochet 2 st together (see special stitches section below)
WS = wrong side
RS = right side
Special Stitches:
sc2tog = (insert hook into next st, yo and pull up a loop) twice, yo and pull through all 3 loops on hook.
Pattern Notes:
- Hanging tab is crocheted onto the 3” ring working in turned rows.
- Helmet, nose and horns are worked in seamless rounds – do not slip stitch join at the end of rounds. Place a stitch marker in the first st of each round to keep track.
- Once helmet is completed, assembled and sewn together, it is then sewn onto the top of the ring at the bottom of the hanging tab.
Viking Gnome Towel Topper Pattern Instructions
Hanging Tab
Row 1: (WS) With Color A, working over 3” ring, 7 sc over ring. Turn. (7)


Row 2: (RS) ch 1, 1 sc in each st. Turn. (7)
Row 3 – 28: repeat row 2. (7)
Row 29: (button hole row) ch 1, 1 sc in first 2 sts, ch 3, sk next 3 sts, 1 sc in next 2 sts. Turn. (4 sc + 3 chs)
Row 30: ch 1, 1 sc in first 2 sts, 3 sc in ch-sp, 1 sc next 2 sts. Turn. (7)
Row 31: ch 1, 1 sc in each st. (7)
Fasten off. Weave in ends.
Note: Hanging tab is approximately 8” long excluding 3” ring.
Helmet
Leaving a long length of yarn for sewing (approx 10” long), with Color A, ch 16, sc in first ch to form a ring (first st of round 1).
Round 1: sc in same st, *1 sc in next 3 sts, 2 sc in next st,* repeat from * to * to last 3 sts, 1 sc in last 3 sts. (20)
Round 2: *2 sc in next st, 1 sc in next 4 sts,* repeat from * to * to end. (24)
Round 3: *2 sc in next st, 1 sc in next 3 sts,* repeat from * to * to end. (30)
Round 4 – 6: 1 sc in each st. (30)
Round 7: *2 sc in next st, 1 sc in next 4 sts,* repeat from * to * to end. (36)
Round 8: 1 sc in each st. (36)
Round 9: *1 sc in next 3 sts, 2 sc in next st,* repeat from * to * to end. (45)
Round 10 – 15: 1 sc in each st. (45)
Fasten off. Weave in end not left for sewing.
Helmet band
With Color B, ch 3.
Row 1: 1 sc in second ch from hook and in last ch. Turn. (2)
Row 2 – 11: ch 1, 1 sc in each st. Turn. (2)
(RS) Work 1 row of sc evenly around outside edge of band, sl st to 1st st.
Fasten off, leaving a long tail for sewing to helmet. Weave in remaining end.
Horn (make 2)
With a long tail for sewing, with Color C, ch 5, sl st to first ch to form a ring.
Round 1: (RS) 6 sc in ring. (6)
Round 2 – 4: 1 sc in each st. (6) Note: before working round 5, place stitch marker in first sc st of round 4.
Round 5: Turn, 1 sc in next 3 sts. Turn. (3) Note: leaving remaining 3 sts unworked.
Round 6: 1 sc in next 3 sts. Do not turn.

Round 7: 1 sc in each st. (6) Note: first st will be in st marked with st marker from round 4.

Round 8: 1 sc in each st. (6)
Round 9: sc2tog x 3. (3)
Sew top of horn shut.
Fasten off. Weave in end not left for sewing.
With long tails left for sewing, sew helmet band and horns to helmet.

With embroidery thread, sew decorative buttons where desired on helmet. Set aside 1 button for the hanging tab.

Nose
Round 1: With Color C, 6 sc sts in MC. (6)
Round 2: 2 sc in each st. (12)
Round 3: *1 sc in next 3 sts, 2 sc in next st* repeat from * to * to end. (15)
Round 4: 1 sc in each st. (15)
Round 5: *1 sc in next 3 sts, 1 sc2tog* repeat from * to * to end. (12)
Stuff nose
Round 6: sc2tog x 6. Join with sl st to first st. (6). Fasten off. Pull yarn through last st, sew yarn end through front loop of each of the 6 sts, pull tight to close the circle. Note: I recommend stuffing the nose right before the last sc2tog.

With a long length of Color A and RS of helmet facing, sew nose to the inside of the bottom edge of helmet in the middle.

Fasten off. Weave in end.
With RS of helmet facing out, insert hanging tab into center of helmet, pull up tab until ring comes to the top of the helmet. With long tail left for sewing, sew helmet to ring using the unused loop from foundation ch of helmet & row 1 loops of hanging tab. Sew the entire round 1 (both sides) of helmet to bottom of hanging tab.

Button
With embroidery thread, sew button to front bottom at row 4 of hanging tab.

Socia Media links:
Facebook: https://www.facebook.com/nanascraftyhome
Instagram: https://www.instagram.com/nanascraftyhome/
Pinterest: https://www.pinterest.com/nanascraftyhome/
YouTube: https://www.youtube.com/c/TonyaBush
Twitter: https://twitter.com/nanascraftyhome
Facebook Group: https://www.facebook.com/groups/829792060522798
Sign up for my Newsletter: https://nanascraftyhome.com/sign-up-for-my-free-newsletter/

 Hi! Thank you so much for being here! I am Tonya the designer behind Nana's Crafty Home. As a wife, mother, Nana of 9 & with 2 fur babies, my days are filled with love, laughter, hugs and yarn! Here you will find colorful and creative crochet designs for yourself or loved ones. My hope is that you will be inspired to learn and create along with me!