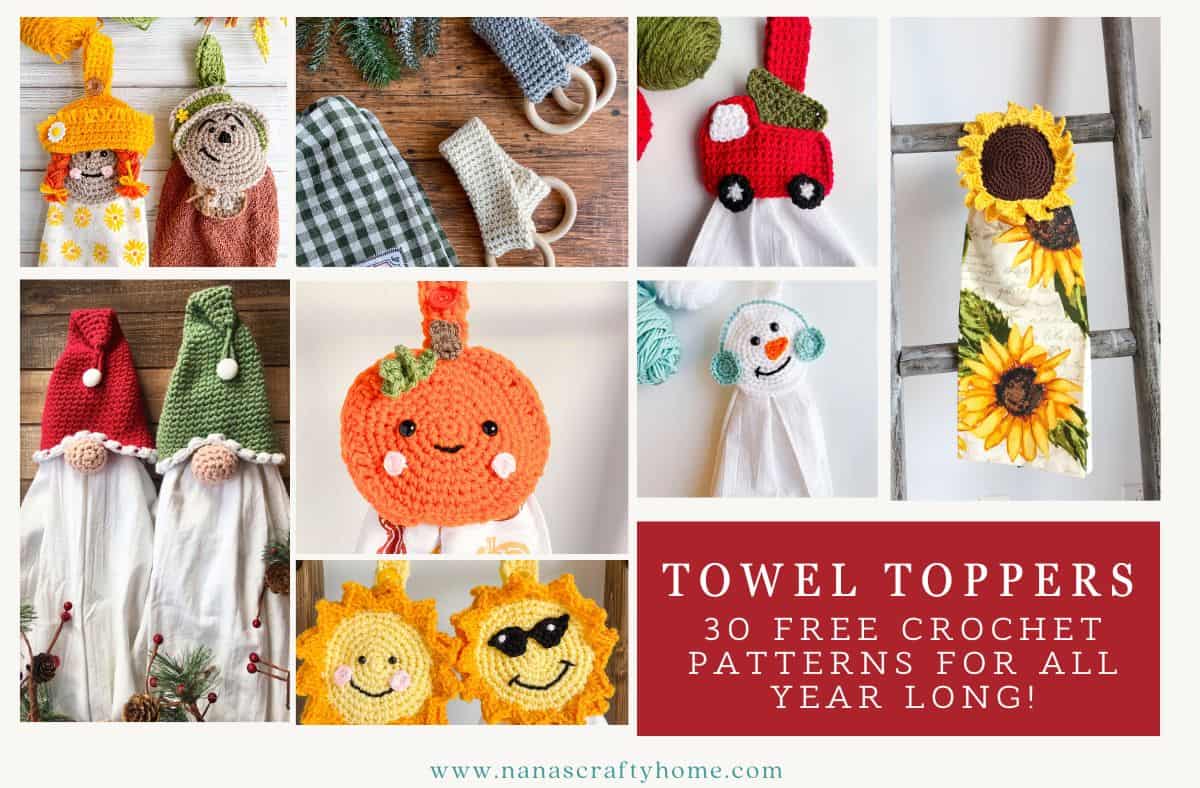
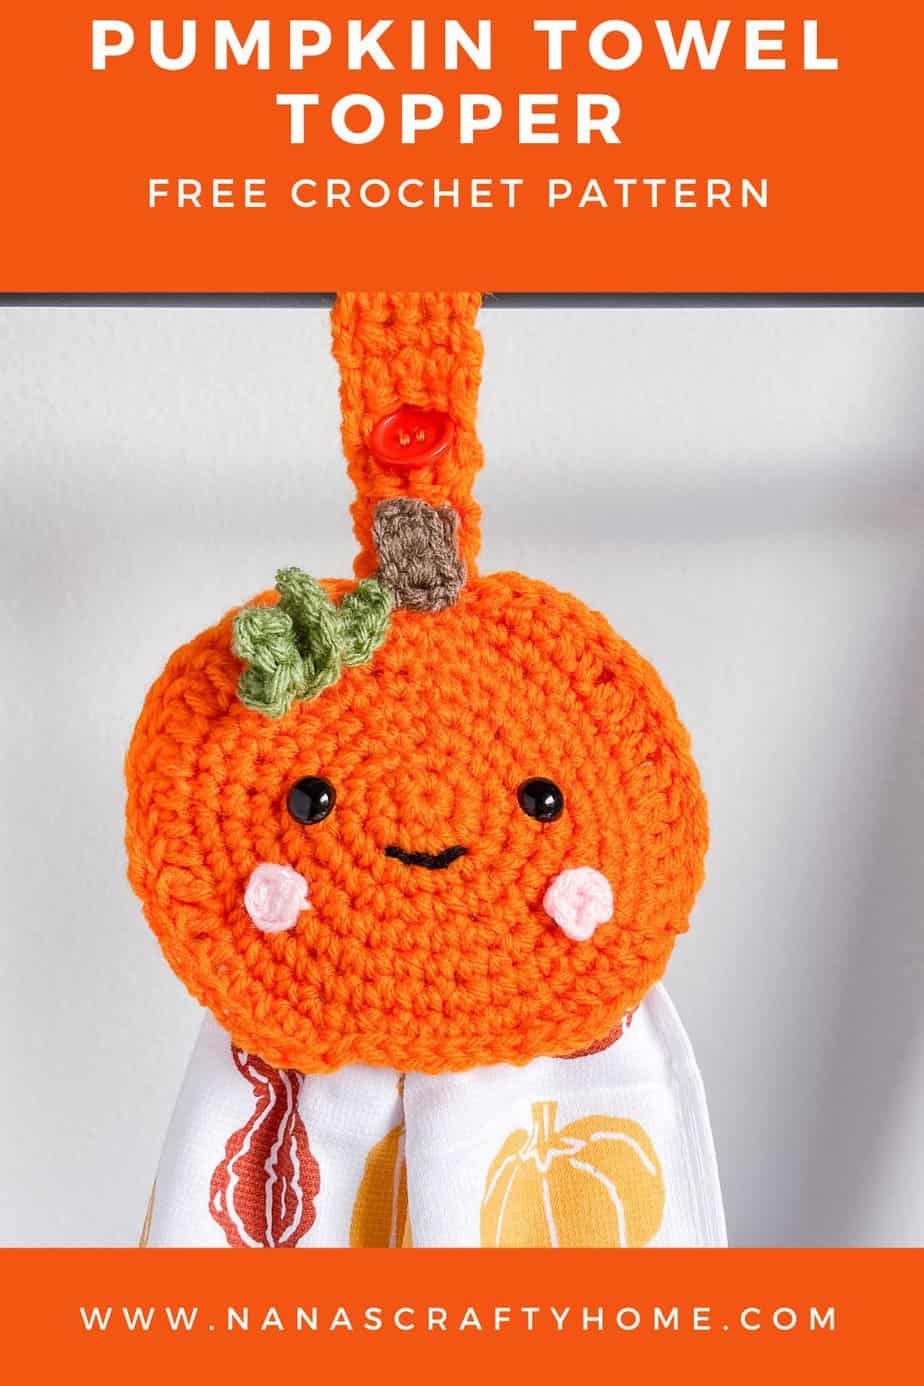
This crochet pumpkin pattern for a towel topper or towel holder is a free crochet pattern by Nana’s Crafty Home!

Welcome to my latest creation, a crochet pumpkin pattern that’s perfect for the festive fall season! This charming towel topper is bound to add a touch of whimsy to your kitchen or bathroom.
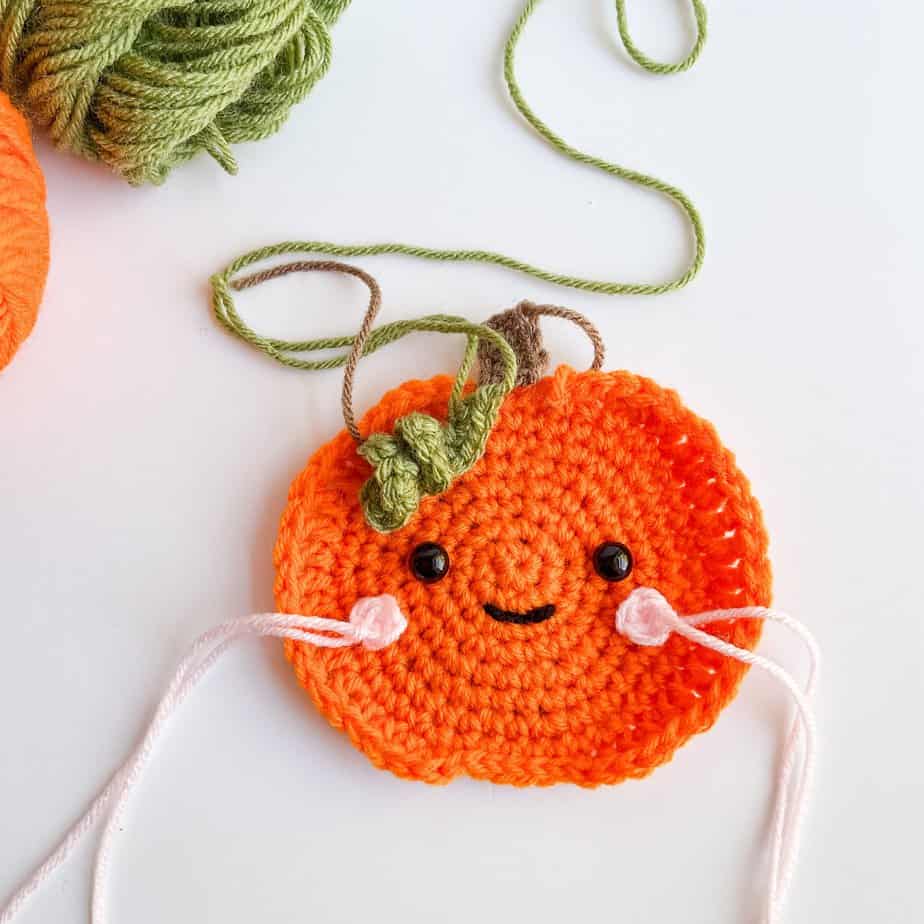
What truly brings this crochet pumpkin to life are its adorable facial features. Glossy black eyes twinkle with a hint of playfulness and a small stitched smile flanked by rosy cheeks adds a touch of whimsy.
If you’re looking for the perfect quick and easy crochet project this fall, this pumpkin pattern towel topper is a must-try! Not only is it a delightfully decorative piece, but it also serves a practical and functional purpose, making it an ideal addition to any home.
Get ready to transform your kitchen with my vibrant collection of free crochet towel topper patterns, bursting with charm for every season! These clever designs feature a hidden 3″ ring for effortless towel removal and washing, showcasing playful Christmas, fresh spring, sunny summer, and quirky gnome themes. Perfect for crocheters of all levels, these patterns are your ticket to a cozy, colorful kitchen.
Crochet Pumpkin Pattern Details
I have been asked so many times for a pumpkin towel topper I can’t believe it took me so long to design one! Many of you adapted the base pattern for my towel toppers and made up your own since I had neglected it for so long. I figured I better get on the ball and get one out in time for Halloween and Thanksgiving this year.
This simple crochet pumpkin towel topper uses basic crochet stitches throughout so even an adventurous beginner could tackle this project!
My easy crochet pumpkin pattern begins with two panels of single crochet worked in a perfect single crochet circle up to the very last round which is a combination of slip stitches, single crochet, half double crochet and dc stitches to create a pumpkin like shape.
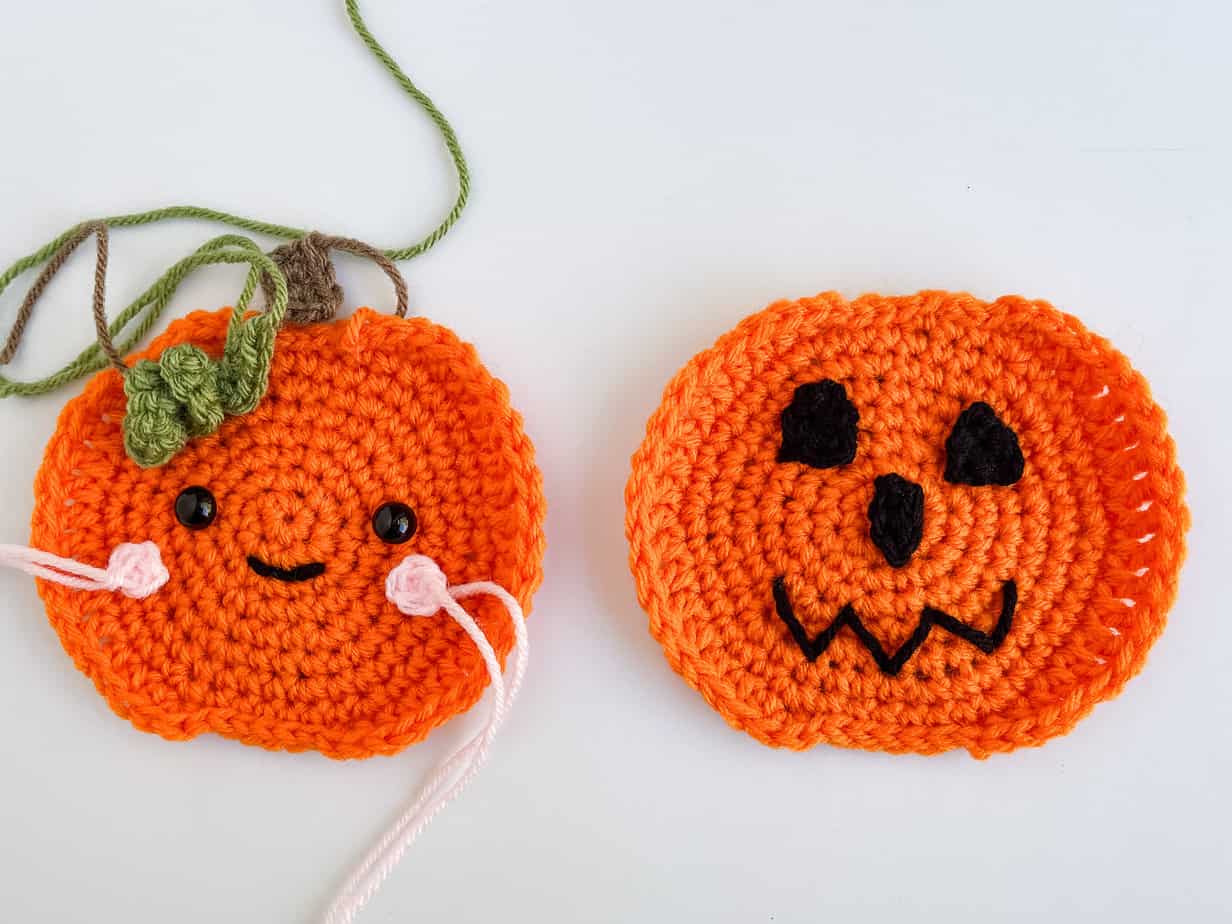
I added a small brown pumpkin stem to the top as well as an adorable small curly vine for a little extra sweetness. I am using larger safety eyes but you could certainly embroider your own or use a smaller safety eye if you desired. For his smile I went pretty small and I just love it! However, you could do all kinds of different smiles for yours – check out the Snowman Towel Topper, Gingerbread Man Towel Topper, or the Sun Towel Topper for different smile ideas.
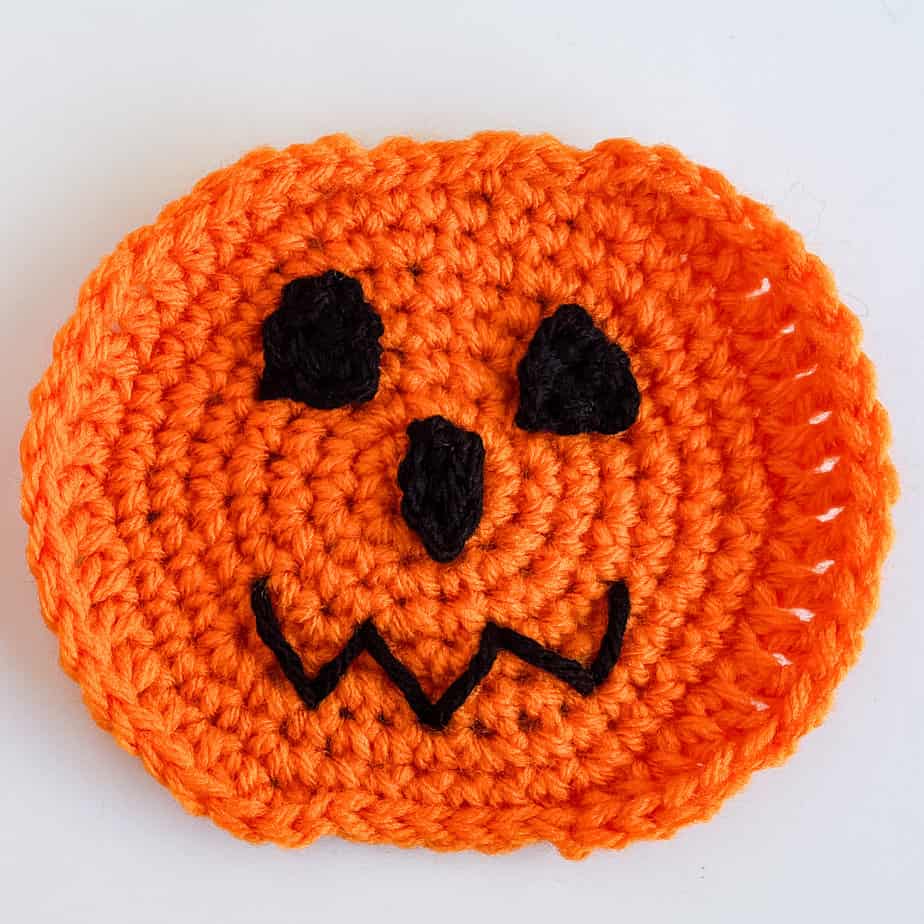
I have also provided optional jack o’lantern face details as well in case you want to whip one up just in time for Halloween!
I used Red Heart Super Saver* yarn for my free crochet pumpkin pattern. Red Heart Super Saver yarn is a medium weight #4 acrylic worsted weight yarn. But, you could certainly use any yarn you have on hand – a fantastic project for scraps!
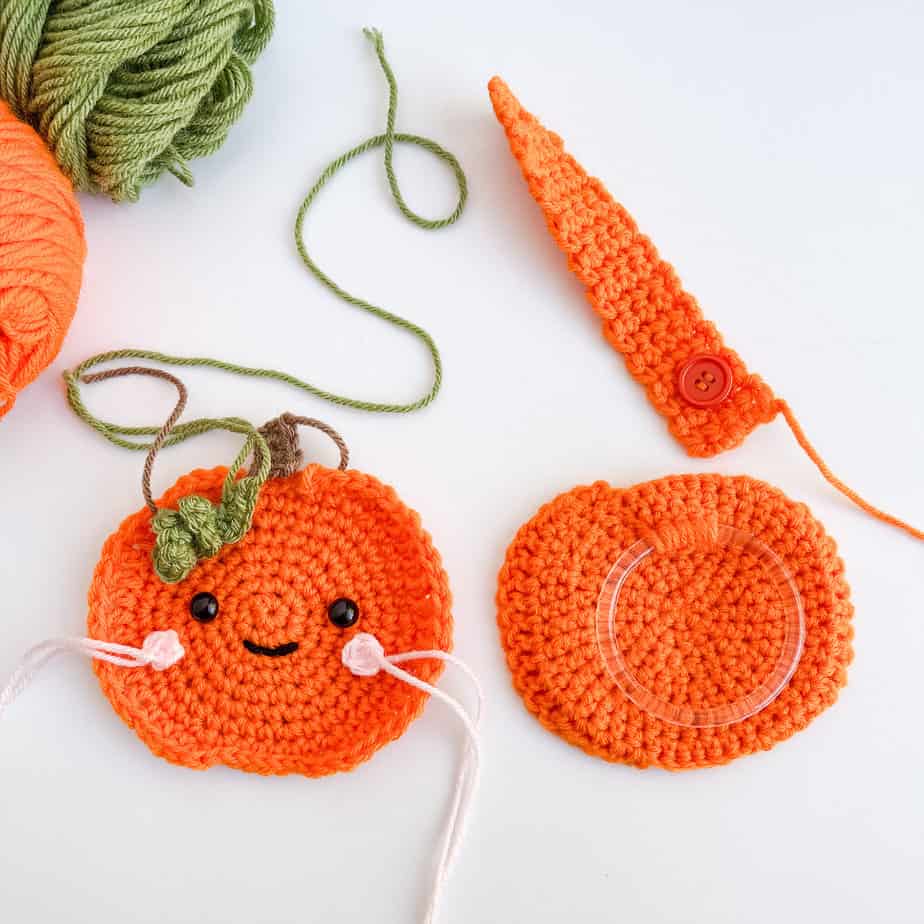
I have several towel toppers now that utilize a hidden 3″ ring* which allows the towel to be removable. I purchase my rings from Amazon* but you can substitute with inexpensive plastic shower rings, wood rings or even elastic hair ties. All have been used successfully by other makers.

*This post contains affiliate links. You can click on any yarn or material highlighted to purchase. I will receive a small commission if you purchase but it won’t cost you any extra! As an Amazon Associate I earn from qualifying purchases.
If you love pumpkins as much as I do, check out this list of 25+ FREE crochet pumpkin patterns!

This crochet pumpkin pattern is also available as an ad-free, printable PDF! You can purchase the individual pattern, or if you love PDFs, you might want to check out my Lifetime Membership. It’s an awesome deal! Never pay for one of my PDFs again!! (Or, scroll down for the free version!)

Purchase the ad-free pdf of the crochet Pumpkin Towel Topper pattern for a small fee. Thank you so much for supporting my work!

If you would like daily crochet inspiration be sure to follow me on Facebook, Instagram, Pinterest, YouTube, Twitter and Tumblr!
To get notified of my free crochet patterns and future giveaways, sign up for my newsletter. I never share or sell your information to third parties — it stays private!
You may also like the following free patterns by Nana’s Crafty Home:


- 1. Stuffed Checkered Pumpkin crochet pattern
- 2. Pilgrim Gnome Towel Topper pattern set
- 3. Pumpkin Square free crochet pattern

Pumpkin Towel Topper free crochet pattern
Pattern written in US crochet terminology
Supplies:
Red Heart Super Saver Weight 4 / Medium (100% acrylic)
- Pumpkin 1.0 oz / 52 yds (Orange)
- Tea Leaf 0.1 oz / 6 yds (Green)
- Baby Pink 0.01 oz / 1 yd (Pink)
- Cafe Latte 0.01 oz / 1 yd (Brown)
- Black 0.01 oz / 1 yd (Black)
Size J (6.0 mm) crochet hook
1 – 3” plastic ring
1 – 3/4” button
2 – 12 mm safety eyes
Embroidery floss for sewing on button
Scissors
Tapestry Needle
Stitch Markers
Approximate finished size: 5 1/2” wide x 4 1/2” tall (not including towel & hanging tab)
Gauge: 5” = 9 rounds of sc
Abbreviations:
- WS = wrong side
- RS = right side
- MC = magic circle
- ch(s) = chain(s)
- sc = single crochet
- sl st = slip stitch
- st(s) = stitch(es)
- sk = skip
- sp = space
Pattern Notes:
- Work in continuous rounds, do not join, instead use a stitch marker to mark the first stitch of each round.
- Towel topper is worked in two panels which are then joined together at the end.
- Plastic ring is crocheted over while working back panel.
Recommended Tutorial:
How to crochet a perfect round circle
Front Panel
Round 1: (RS) With orange, make a MC, ch 1, 6 sc in MC. (6)
Round 2: 2 sc in each st. (12)
Round 3: *2 sc in next st, 1 sc in next st,* repeat from * to * to end. (18)
Round 4: 1 sc in next st, 2 sc in next st, *1 sc in next 2 sts, 2 sc in next st,* repeat from * to * to last st, 1 sc in last st. (24)
Round 5: *2 sc in next st, 1 sc in next 3 sts,* repeat from * to * to end. (30)
Round 6: 1 sc in next 2 sts, 2 sc in next st, *1 sc in next 4 sts, 2 sc in next st,* repeat from * to * to last 2 sts, 1 sc in last 2 sts. (36)
Round 7: *2 sc in next st, 1 sc in next 5 sts,* repeat from * to * to end. (42)
Round 8: 1 sc in next 3 sts, 2 sc in next st, *1 sc in next 6 sts, 2 sc in next st,* repeat from * to * to last 3 sts, 1 sc in last 3 sts. (48)
Round 9: *Sl st in next 6 sts, 2 sc in next st, hdc in next 3 sts, dc in next 10 sts, hdc in next 3 sts, 2 sc in next st,* repeat from * to * 1 time, sl st in first st. (52)
Fasten off. Weave in ends.
Back Panel
Round 1 – 5: Repeat rounds 1 – 5 of Front Panel.
Round 6: Repeat round 6 of Front Panel, except work the first 5 sc stitches over the plastic ring. Note: Keep ring to WS of panel.


Rounds 7 – 9: Repeat rounds 7 – 9 of Front Panel.
Fasten off. Weave in ends.
Hanging Tab
Row 1: With orange, (leaving a long tail for sewing), ch 5, sc in second ch from hook and in each ch. Turn. (4)
Rows 2 – 20: Ch 1, sc in each st. Turn. (4)
Row 21 (button hole row): Ch 1, sc in first st, ch 2, sk next 2 sts, sc in last st. Turn. (2 st + 2 ch)
Row 22: Ch 1, sc in first st, 2 sc in ch-2 sp, 1 sc in last st. (4)
Fasten off. Weave in end.
With embroidery thread, sew button to non-button hole end of tab.
With long tail left for sewing, sew button side of tab at top RS of back panel. Weave in end.
Vine
With green, ch 10.
Row 1: 3 sc sts in second ch from hook and in each remaining ch to end.
Fasten off leaving a long tail for sewing. Weave in remaining end.
Cheeks (make 2)
With pink, make MC, ch 1, 3 sc sts in MC, sl st to first st. (3)
Fasten off.
Stem
With brown, ch 4.
Row 1: Sc in second ch from hook and in each remaining ch to end. Turn. (3)
Row 2: Ch 1, sc in each st.
Fasten off, leaving a long tail for sewing.
Smile
With long length of black yarn, embroider smile.
Jack o’Lantern option
Eyes (make 2)
With black, ch 3.
Row 1: Sc in second ch from hook and in last ch. Turn. (2)
Row 2: Sc2tog (1)
Fasten off.
Nose
With black, ch 3, sc in second ch from hook and in last ch. (2)
Fasten off.
With long length of black yarn, embroider smile.
Assembly
Attach safety eyes to RS of front panel.
With a long length of black yarn, embroider smile on RS of front panel.
With long tails, sew cheeks to RS of front panel.
With long tail, sew stem to top of front panel.
With long tail, sew vine below stem to RS of front panel.
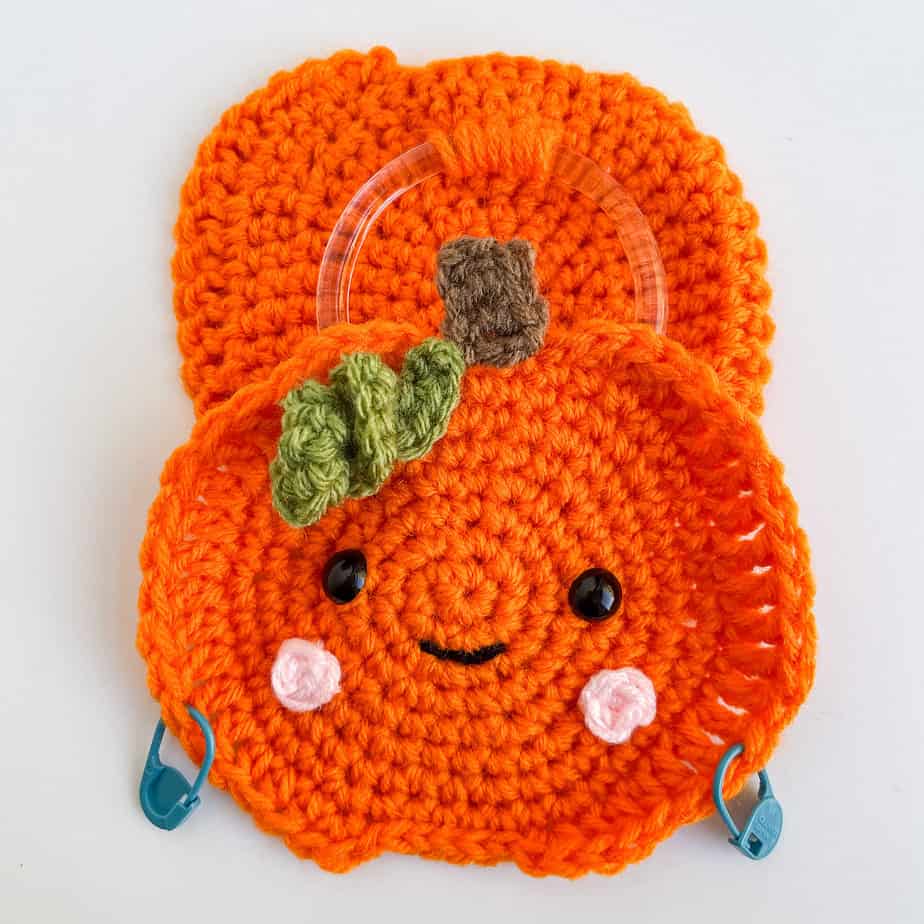
With WS of panels facing (ring to inside of panels, open part of ring at bottom of face), use stitch markers to count 34 sts from one side of panel to the other. Be sure that the stitch markers are evenly spaced on each side of the face and that the top part of the ring is at the top part of the panels. Attach front and back panels together with stitch markers through both panels. With orange yarn, attach yarn at first stitch marker, sl st in each st through both front and back panels to next stitch marker. (34 st)
Fasten off. Weave in ends.
Weave in remaining ends.
Copyright 2023 Tonya Bush / Nana’s Crafty Home
Social Media links:
Facebook: https://www.facebook.com/nanascraftyhome
Instagram: https://www.instagram.com/nanascraftyhome/
Pinterest: https://www.pinterest.com/nanascraftyhome/
YouTube: https://www.youtube.com/c/TonyaBush
Twitter: https://twitter.com/nanascraftyhome
Facebook Group: https://www.facebook.com/groups/829792060522798
Sign up for my Newsletter: https://nanascraftyhome.com/sign-up-for-my-free-newsletter/
 Hi! Thank you so much for being here! I am Tonya the designer behind Nana's Crafty Home. As a wife, mother, Nana of 9 & with 2 fur babies, my days are filled with love, laughter, hugs and yarn! Here you will find colorful and creative crochet designs for yourself or loved ones. My hope is that you will be inspired to learn and create along with me!