This slouchy beanie crochet pattern is a free crochet pattern for a unique side to side hat by Nana’s Crafty Home!

I have designed two additional patterns with this amazing stitch pattern – the Mountain Trail Tweed Poncho and Mountain Trail Blanket pattern. I love the look of this stitch pattern and knew it could also look fantastic for a modern, stylish unisex hat!
Mountain Trail Slouchy Beanie Crochet Pattern Details
For both of my previous designs using this stitch pattern I used Lion Brand Mandala Tweed Stripes* which worked really well to give these patterns a really unique woven look. However, in order to get the full effect of the color work for such a small project I wanted to use a self-striping yarn with shorter color changes. So I switched it up to another one of my favorite yarns by Lion Brand – Ferris Wheel yarn with many vibrant color options with short ombre color changes.
*Disclosure: I only recommend products I would use myself. This post may contain affiliate links that if you make a purchase at no additional cost to you, I may earn a small commission.

This slouchy crochet hat is worked by alternating colors from two yarn cakes or by working both ends of the same yarn cake, switching colors every second row. This really provides interesting textures and unique woven look to your finished hat.
And, even though you are working color changes throughout no worries about a ton of ends to weave in at the end. You will not cut yarn when changing between yarn cakes – drop unused yarn to be picked up 2 rows later. Yarn floats will be covered during seaming process. Yay!
Hat is worked side to side as a rectangle which is then folded together, seamed and then sew the top of your hat closed. Easy, peasy!
I simply added a leather tag to my hat but you could certainly add a pom pom as well if you wish.
I have provided instructions for three sizes which will fit teens through adult large. This pattern could easily be adjusted for any size. Simply adjust your foundation chain to change the height of your hat and adjust the circumference by adding or subtracting rows.
I have all the stitch photo and video tutorials you need for this hat. Subscribe to my YouTube Channel to get notified whenever I post a new video.
Interlocking Arched Columns Stitch Tutorial
Sew the top of a Hat closed Tutorial
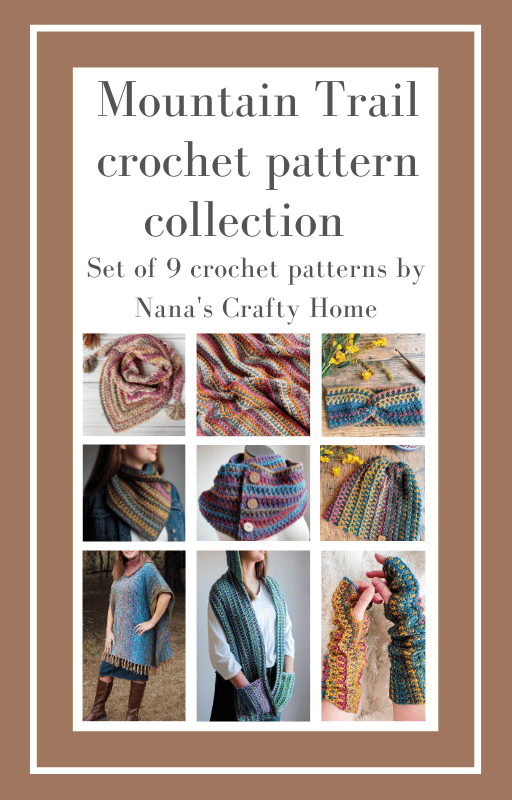
The Mountain Trail Beanie is included in my Mountain Trail Pattern Series Ebook which includes all 9 crochet patterns in this popular stitch!
The Mountain Trail Tweed Slouchy Beanie pattern is also available as an ad-free, printable PDF! You can purchase the individual pattern for the Mountain Trail Tweed Crochet Hat Pattern, or if you love PDFs, you might want to check out my Lifetime Membership. It’s an awesome deal! Never pay for one of my PDFs again!! (Or, scroll down for the free version!)

Purchase the ad-free pdf of the Mountain Trail Tweed Hat Pattern for a small fee. Thank you so much for supporting my work!

If you would like daily crochet inspiration be sure to follow me on Facebook, Instagram, Pinterest, YouTube, Twitter and Tumblr!
To get notified of my free crochet patterns and future giveaways, sign up for my newsletter. I never share or sell your information to third parties — it stays private!
You may also like the following free crochet hat patterns by Nana’s Crafty Home:


- Nina Bean Beanie free crochet hat pattern
- Marjorie Hat free crochet pattern
- Winter Park Hat free crochet pattern

Mountain Trail Hat crochet slouchy beanie hat free pattern
Pattern written in US crochet terminology
Supplies:
Lion Brand Ferris Wheel, Weight 4 Medium (100% acrylic) 3 oz / 270 yd
Color Summer Day
Small: 1.8 oz / 162 yards
Medium: 2.0 oz / 180 yards
Large: 2.2 oz / 200 yards
Crochet hook size H/8 (5.0 mm)
Scissors
Tapestry Needle
Approximate finished size:
Small 8” x 19” rectangle before seaming
Medium 9” x 20” rectangle before seaming
Large 10” x 21” rectangle before seaming
Gauge: 13.5 pattern rows x 16 dc st = 4” x 4”
Abbreviations:
ch(s) = chain(s)
dc = double crochet
sk = skip(ped)
st = stitch
sc = single crochet
sl st = slip stitch
RS = right side
WS = wrong side
Recommended Tutorials:
Interlocking Arched Columns Stitch Tutorial
Sew the top of a Hat closed Tutorial
Pattern Notes:
- Hat is worked by alternating colors from two yarn cakes or by working both ends of the same yarn cake, switching colors every second row.
- Do not cut yarn when changing between yarn cakes – drop unused yarn to be picked up 2 rows later. Yarn will be covered during seaming process.
- Chain 4 at beginning of a row counts as first dc + ch 1 throughout.
- Stitch counts are listed according to size small (medium, large)
- Rows with even numbers are RS, odd numbers are WS.
- To adjust height of hat, chain foundation chain in multiples of 2 + 5.
Pattern Instructions
With Cake A, ch 35 (39, 43)
Row 1: dc in 5th ch from hook (sk chains count as 1st dc + ch 1), ch 1, *sk next ch, dc in next ch, ch 1* repeat from * to * to last 2 chs, sk next ch, 1 dc in last ch. Turn. Do not fasten off. Switch to Cake B or opposite end of cake. 17 (19, 21) sts, 16 (18, 20) ch-1 sps
Row 2 (RS): ch 1, sc in same st, *working in front of ch-1 sp work dc in skipped ch from foundation chain, sc in next dc of row 1; repeat from * across working last dc in 4th ch from foundation ch and sc in top of ch-3. Turn. 33 (37, 41) Note: use a stitch marker to mark this as right side of hat, if desired.
Row 3: ch 4 (counts as first dc + ch 1), sk next st, *dc in sc, ch 1, sk next st*, repeat from * to * to last st, dc in last st. Turn. Do not fasten off. Switch to Cake A or opposite end of cake.
Row 4: ch 1, sc in same st, *working behind the ch-1 from previous row work dc in skipped st 2 rows below, sc in next st from previous row,* repeat from * to * to end, sc in last st (work sc in the dc of dc + 1). Turn.
Row 5: ch 4 (counts as first dc + ch 1), sk next st, *dc in sc, ch 1, sk next st*, repeat from * to * to last st, dc in last st. Turn. Do not fasten off. Switch to Cake B or opposite end of cake.
Row 6: ch 1, sc in same st, *working in front of the ch-1 from previous row work dc in skipped st 2 rows below, sc in next st (top of dc post from previous row),* repeat from * to * to end. Turn.
Row 7 – 66 (70, 74) Repeat rows 3-6, ending after either row 4 or 6.
Fasten off leaving a long tail for sewing. Weave in remaining ends.
Fold ends of rectangle together, with WS facing, sew together with mattress seam stitch. Sew top of hat closed. Note: top of hat is the side with all the yarn “jogs or floats” as you were pulling yarn back into your work.

Note about Ferris Wheel yarn which is a roving yarn. This yarn will easily break if you pull on it too hard. You may need to use another worsted weight coordinating yarn in order to pull together hard enough to close top of hat.
Copyright 2021 Tonya Bush / Nana’s Crafty Home
Social Media links:
Facebook: https://www.facebook.com/nanascraftyhome
Instagram: https://www.instagram.com/nanascraftyhome/
Pinterest: https://www.pinterest.com/nanascraftyhome/
YouTube: https://www.youtube.com/c/TonyaBush
Twitter: https://twitter.com/nanascraftyhome
Facebook Group: https://www.facebook.com/groups/829792060522798
Sign up for my Newsletter: https://nanascraftyhome.com/sign-up-for-my-free-newsletter/

 Hi! Thank you so much for being here! I am Tonya the designer behind Nana's Crafty Home. As a wife, mother, Nana of 9 & with 2 fur babies, my days are filled with love, laughter, hugs and yarn! Here you will find colorful and creative crochet designs for yourself or loved ones. My hope is that you will be inspired to learn and create along with me!