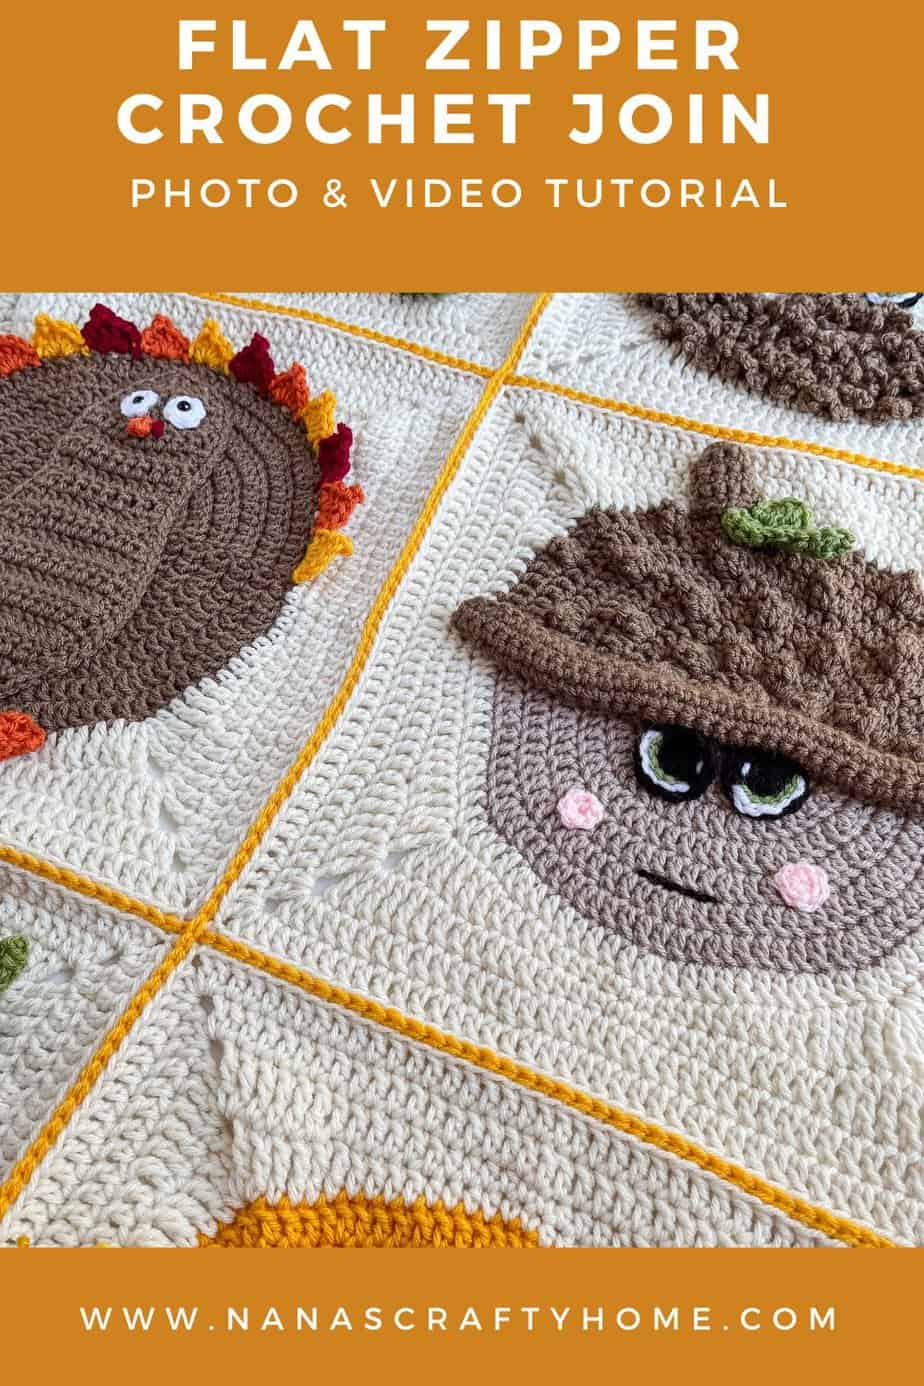
This Slip Stitch Crochet Join Tutorial is a free step-by-step photo and video tutorial by Nana’s Crafty Home!
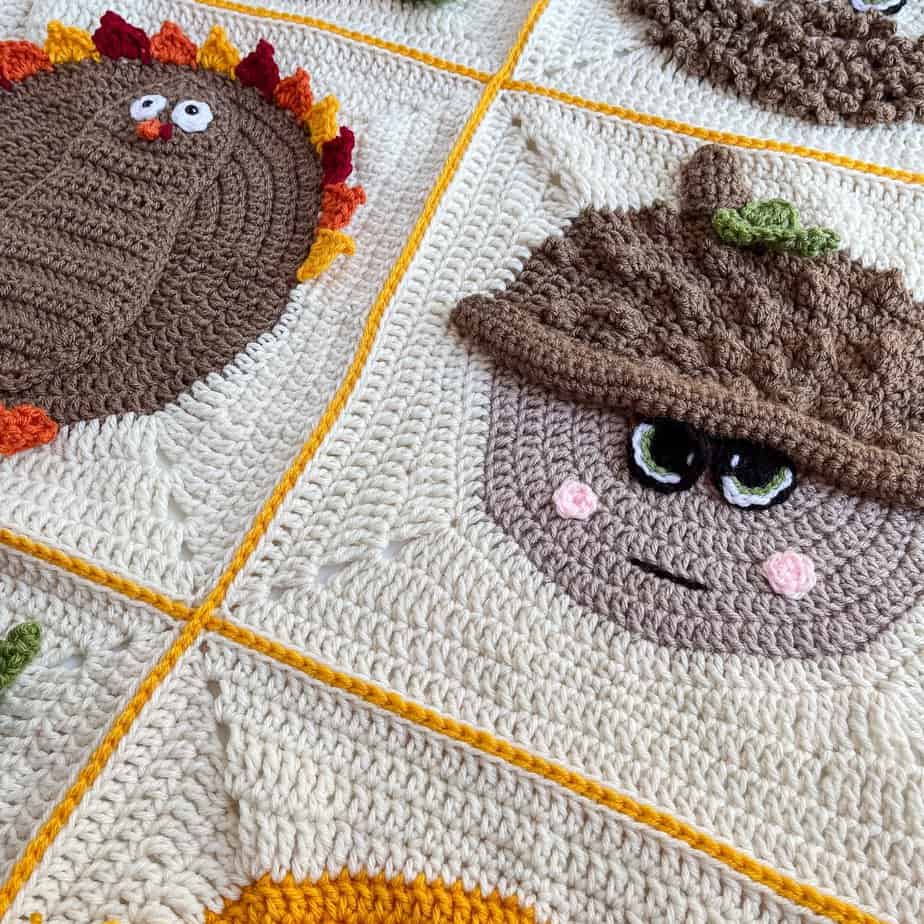
I recently released the Fall Squares Blanket with large 14″ squares. I wanted a join between the squares that would be flat yet add a bit of texture and interest to the final blanket. This slip stitch join creates an almost “zipper” like appearance and is a great option for joining any crochet squares.

The Fall Squares Blanket is a free crochet pattern on the blog and you can find all the links to the free crochet patterns as well as supply needs and details about the 9-square blanket.
The slip stitch join creates a flat and nearly invisible seam between your pieces if you were to use the same color yarn as your squares rather than a contrasting color of yarn as I chose.
I decided I wanted the “zipper” between the squares to stand out and create a visible seam so I went with the contrasting gold yarn to join my squares.

The slip stitch join looks seamless, highlighting the beauty of the individual squares without distracting from the overall design. And even though I used a contrasting color for my slip stitch join, the emphasis remains on the crochet motifs, like the turkey and the acorn, rather than the seams between them.
If you are looking for a no-sew crochet join method with a flat appearance (no ridge) this is the join method for you!

Slip Stitch Join Details
- 1. Join is worked from the right sides of your squares as you join.
- 2. The crochet slip stitch is worked from front to back through the back loops of stitches on adjoining squares.
- 3. The seam or join will be visible from the right side of your work.
- 4. The slip stitch seam is flat – no visible ridge at the joins.
I have a complete photo tutorial below for the Slip Stitch Crochet Join Method and I also have a complete video tutorial for any visual learners as well. Scroll to the bottom of this post for the complete video tutorial. Subscribe to my YouTube Channel to get notified whenever I post a new video.
My Fall Squares Blanket uses Red Heart Super Saver* which is a medium worsted weight acrylic yarn. Very economical and with plentiful color options! You can certainly substitute your favorite worsted weight yarn – Hobby Lobby’s I Love This Yarn!, Red Heart With Love, Paintbox Simply Aran, Vanna’s Choice, Big Twist Value, Caron Simply Soft, Caron One Pound and so many more! Raid your yarn stash – even mix and match to get your favorite fall colors!
*This post contains affiliate links. You can click on any yarn or material highlighted to purchase. I will receive a small commission if you purchase but it won’t cost you any extra! As an Amazon Associate I earn from qualifying purchases.
Looking for another join?
If you are looking for a different kind of join method you may find these join methods useful:
1. Braided Slip Stitch Join – another slip stitch join that is flat but with a zig-zag braided appearance.
2. Single Crochet Stitch Join – one of the easiest (and fastest!) ways to join squares! This finished join will have a clearly defined ridge between squares creating additional texture to your finished project. A great join method for beginners!
3. Lace Mesh Join – a lacy join method that can be used with sc, hdc or dc stitches creating a lacy open mesh join between your squares or motifs!
4. Mattress Stitch Join – sew your squares together for a completely invisible join between squares!
Slip Stitch Crochet Join Method for the Fall Squares Blanket
Before you being seaming your squares together you will want to assemble your squares into their desired placement. My Fall Squares Blanket has a total of 9 large squares and I assembled them as shown below.

I chose to join my squares by rows and then by columns. However, you could certainly join by the columns first and then by rows if you wish.
The squares are joined with the right sides of the squares facing up.
This slip stitch crochet join is worked from front to back by inserting your crochet hook through back loops of matching sts on adjoining squares, draw up loop from behind to front and through loop on hook. The slip stitch will be visible on the RS of your work.
My squares have a ch-2 corner space so I am beginning in the chain stitch next to the side I will begin joining working in the square closest to me.
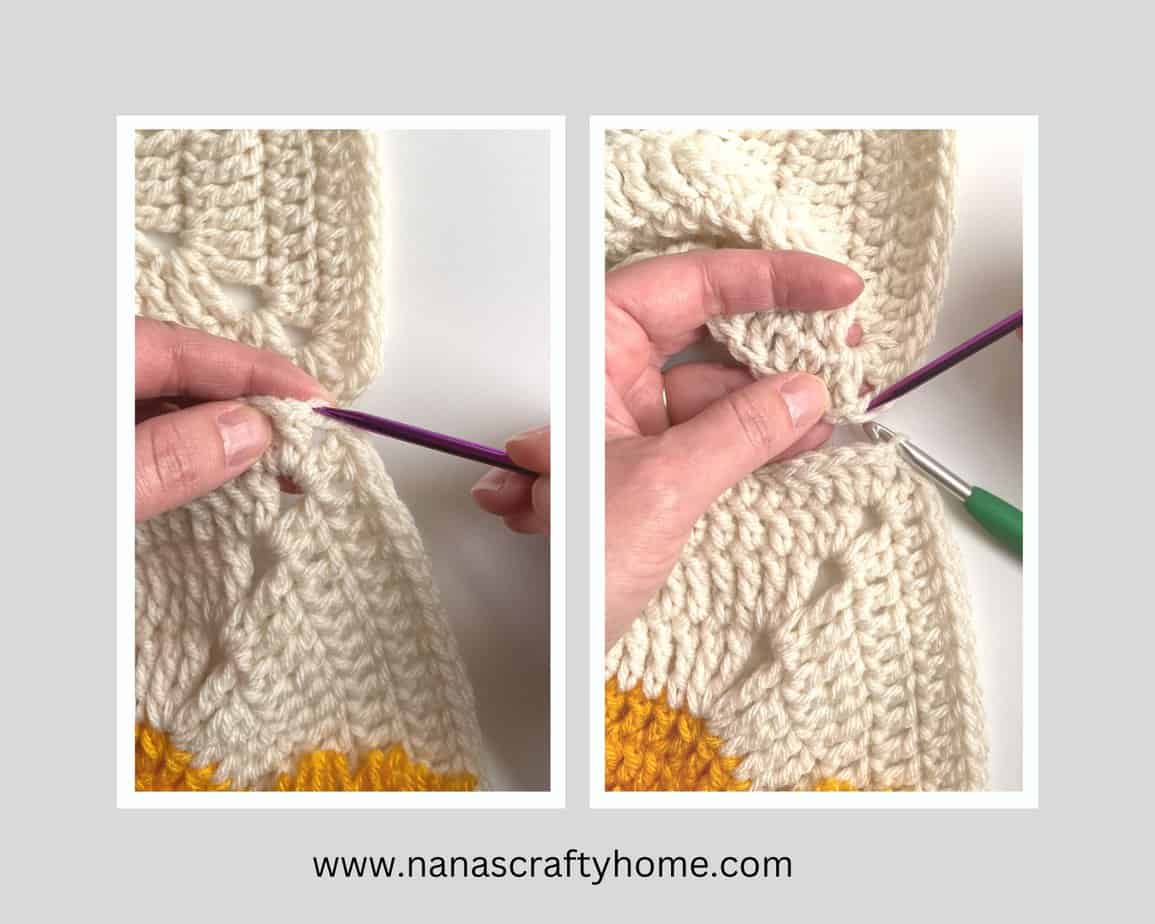
Note: If you are joining solid granny squares together without a corner chain space you will join into the very middle corner stitch to begin.
Continue working a slip stitch in the back loops of both squares to opposite corner space.
At the corner space, insert hook through back loops of chains from both squares, yo, and pull through loops to complete sl st.
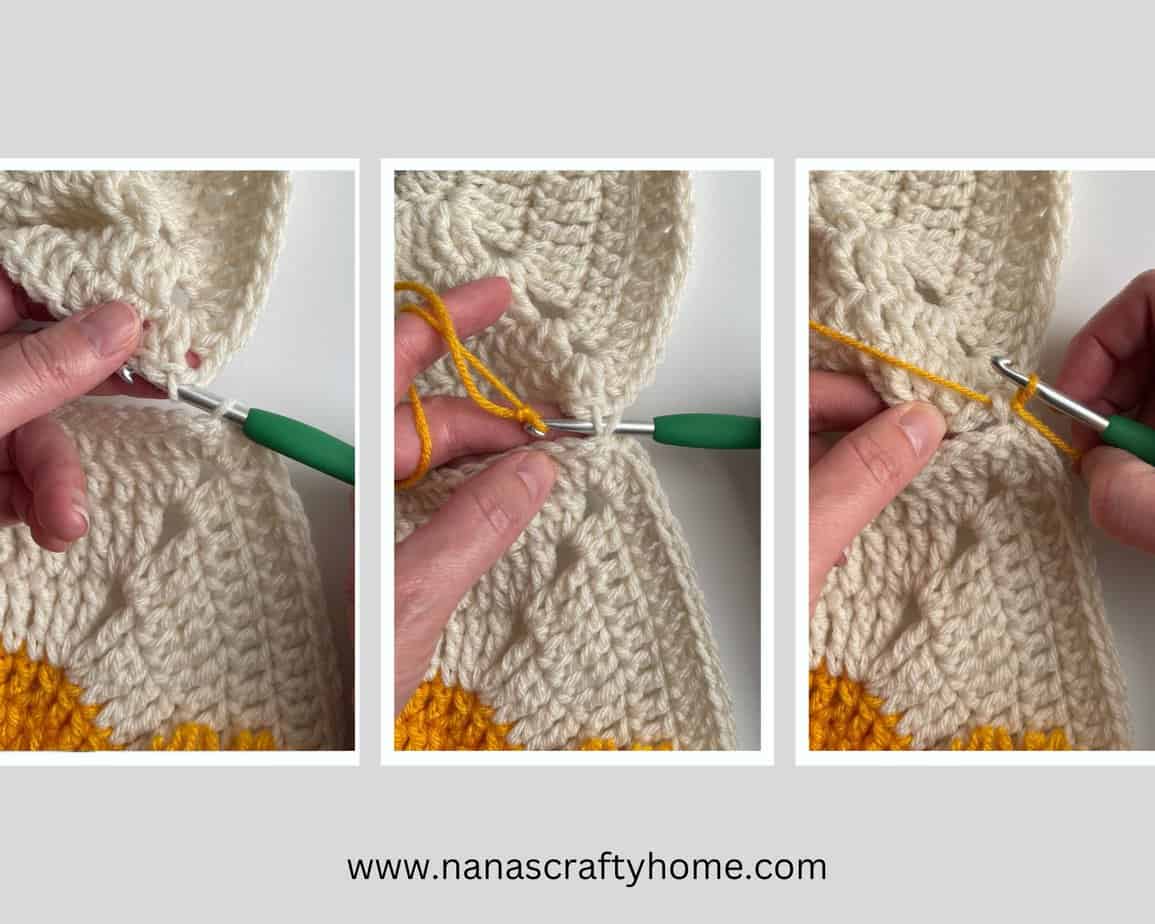
With RS of Squares 3 & 4 facing up, insert hook in the back loops of chains from both squares, yo, pull through loops to complete sl st.
Continue working surface slip stitch join through squares 3 & 4 and 5 & 6.
Fasten off.
Now join Squares 2 & 7, Squares 4 & 8 and then Squares 6 & 9 together in same manner.
Once all rows are joined you will now join the columns.

Begin working slip stitch join for Squares 7 & 8 to first corner. At the corner, insert hook in the BLO of the chain st closest to the stitch on the side you are joining from Square 7 and then insert your hook in the chain stitch closest to the last stitch you worked on Square 8 and under the join from the columns that joined squares 2, 7, 4 & 8, yarn over and pull through to complete the slip stitch, ch 1.
Continue working surface slip stitch join through squares 4 & 2 and 3 & 1.
Repeat corner instructions at intersection of previous joins.
Repeat same steps for next column of squares beginning with squares 8 & 9 working through squares 4 & 6 and then squares 3 & 5.
Fasten off. Weave in ends.
Copyright 2023 Tonya Bush/Nana’s Crafty Home
Social Media links:
Facebook: https://www.facebook.com/nanascraftyhome
Instagram: https://www.instagram.com/nanascraftyhome/
Pinterest: https://www.pinterest.com/nanascraftyhome/
YouTube: https://www.youtube.com/c/TonyaBush
Twitter: https://twitter.com/nanascraftyhome
Facebook Group: https://www.facebook.com/groups/829792060522798
Sign up for my Newsletter: https://nanascraftyhome.com/sign-up-for-my-free-newsletter/
 Hi! Thank you so much for being here! I am Tonya the designer behind Nana's Crafty Home. As a wife, mother, Nana of 9 & with 2 fur babies, my days are filled with love, laughter, hugs and yarn! Here you will find colorful and creative crochet designs for yourself or loved ones. My hope is that you will be inspired to learn and create along with me!