This Vintage Christmas Red Truck Crochet Pattern is a free crochet towel topper pattern by Nana’s Crafty Home!

Next up in my Christmas Towel Topper Series is the Vintage Red Truck Towel with Christmas Tree Towel Topper. This adorable towel topper would be a great way to add festive holiday cheer to your kitchen decor this year! These work up pretty quickly, too so they would make a great last minute gift or addition to a craft fair.
Vintage red trucks are everywhere now! In fact, I already have a couple of red truck inspired patterns on the blog – the I’ll Be Home for Christmas Tapestry Throw and the Harvest Pumpkin Red Truck C2C Pillow. Both are free patterns, too!
After releasing my red truck blanket I really wanted to design something small that could be made quickly for last minute gift ideas. I’ve seen several Red Truck ornaments already and I wanted something a bit different and knew a towel topper would be perfect. I just needed to figure out how to add the ring because I just can’t go back to the old way of adding a towel topper to a kitchen towel. And, since all of my previous towel topper patterns feature that hidden ring, I knew I had to find a way and I think it turned out perfectly!
And, since I seem to be on a roll with these towel toppers – do you have any suggestions for future designs? I would love to hear any ideas you may have! Don’t they all look cute together?

Red Christmas Truck Crochet Pattern Details
I am using Red Heart With Love yarn* which is a medium worsted weight acrylic yarn but you could certainly use your favorite similar weight cotton or acrylic yarn as a substitute. Raid your yarn scraps for this one!
I discovered the amazing plastic ring* I could use inside a towel topper when I designed the Gnome Towel Topper. Since then I have designed several towel toppers using a 3″ plastic ring which I have incorporated into the pattern and have been hooked ever since.
*Disclosure: I only recommend products I would use myself. This post may contain affiliate links that if you make a purchase at no additional cost to you, I may earn a small commission.

These are the plastic rings that I buy (in bulk 😂) from Amazon. They are the perfect size, durable and inexpensive. Many have successfully substituted wood rings, plastic shower rings or elastic hair ties. I recommend if you use hair ties to use thicker versions perhaps even doubled up so in case one breaks you still have another.
I made identical single crochet front and back panels and then added the ring on to the back panel keeping it to the inside of the panel, then continued on crocheting the hanging tab on to the ring. Worked out perfectly without being too “finicky”.
You will also crochet a Christmas tree and then sew to the inside of the front panel. Two wheels and a window are crocheted and sewn to the front panel before sewing both panels together leaving the bottom of the topper open for your towel. Add a button to your hanging tab and it’s all ready for your towel!
Add a fun Christmas holiday themed kitchen towel and you have a great addition to your holiday kitchen home decor! I found the cute one shown with my towel topper at Amazon as well.

I would say this is a very easy pattern with simple stitches throughout. I do have a complete video tutorial to help you through just in case you are having a hard time with adding your ring or with assembly of the pieces. You should be able to view the video here on my blog but if you are having trouble watching it here you can also find it on my YouTube channel. Subscribe to my YouTube Channel to get notified whenever I post a new video.
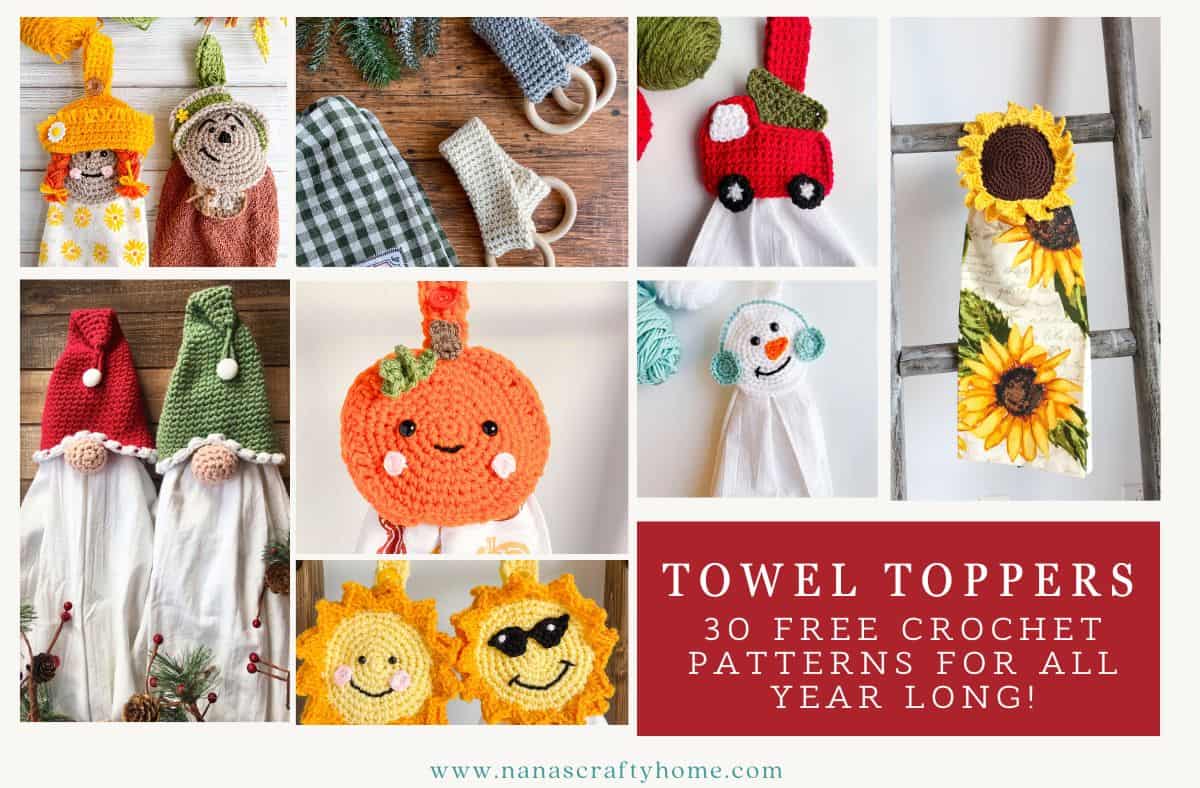
Buckle up for a burst of kitchen creativity with my FREE crochet towel topper patterns that’ll make every season pop! These show-stopping designs feature a slick hidden 3″ ring for hassle-free towel swaps and washing, bursting with festive Christmas cheer, lively spring blooms, sunny summer vibes, and irresistibly cute gnome flair. Perfect for crocheters of all stripes, they’re your ticket to a kitchen that’s equal parts cozy and fabulous. Check out the full crochet pattern roundup and start stitching your new faves today!
The Christmas Red Truck Towel Topper crochet pattern is also available as an ad-free, printable PDF! You can purchase the individual pattern for the Red Truck Christmas Towel Topper Pattern, or if you love PDFs, you might want to check out my Lifetime Membership. It’s an awesome deal! Never pay for one of my PDFs again!! (Or, scroll down for the free version!)

Purchase the ad-free pdf of the Vintage Christmas Red Truck Crochet Pattern for a small fee. Thank you so much for supporting my work!

If you would like daily crochet inspiration be sure to follow me on Facebook, Instagram, Pinterest, YouTube, Twitter and Tumblr!
To get notified of my free crochet patterns and future giveaways, sign up for my newsletter. I never share or sell your information to third parties — it stays private!
You may also like the following free crochet patterns by Nana’s Crafty Home:


- Gingerbread Man Towel Topper free crochet pattern
- Snowman Towel Topper free crochet pattern
- Gnome Towel Topper free crochet pattern

Red Christmas Truck Towel Topper free crochet pattern instructions
Pattern written in US crochet terminology
Supplies:
- Red Heart With Love Weight 4 Medium (100% acrylic, 7 oz / 370 yds)
- Holly Berry 0.7 oz / 20 yds (Color A)
- White 0.1 oz / 5 yds (Color B)
- Black 0.1 oz / 5 yds (Color C)
- Spinach 0.2 oz / 11 yds (Color D)
Size J (6.0 mm) crochet hook
1 – 3” plastic ring
1 – 3/4” button
1 kitchen towel
Embroidery floss for sewing on button
Scissors
Tapestry Needle
Stitch Markers
Approximate finished size: 5” wide x 5” tall (not including hanging tab and towel)
Gauge: front panel = 5” wide x 5” tall
Abbreviations:
WS = wrong side
RS = right side
MC = magic circle
ch = chain
sc = single crochet
sl st = slip stitch
st(s) = stitch(es)
sk = skip
sc2tog = single crochet 2 stitches together (see special stitches section below)
sp = space
Special Stitches:
sc2tog = (insert hook into next st, yo and pull up a loop) twice, yo and pull through all 3 loops on hook.
Pattern Notes:
- Towel topper is worked in two panels which are then joined together at the end.
- Plastic ring is crocheted over while working hanging tab.
Front Panel
With Color A, ch 17.
Row 1: sc in second ch from hook and in each ch to end. Turn. (16)
Row 2: ch 1, 1 sc in each st. Turn. (16)
Row 3 – 8: repeat row 2.
Row 9: ch 1, 1 sc in next 7 sts. Turn, leaving remaining sts unworked. (7)
Row 10: ch 1, 1 sc in next 5 sts, sc2tog. Turn. (6)
Row 11: ch 1, 1 sc in each st. Turn. (6)
Row 12: ch 1, 1 sc in next 4 sts, sc2tog. Turn. (5)
Row 13: ch 1, 1 sc in each st. Turn. (5)
Row 14: ch 1, 1 sc in next 3 sts, sc2tog. (4)
Work sc sts evenly around outside edge of panel, sl st in first st.
Fasten off. Weave in ends.
Back Panel
Repeat instructions for front panel. At end of row 14, TURN, sc evenly around outside edge, sl st to first st.
Fasten off. Weave in ends.
Wheels (make 2)
With Color B, make MC.
Round 1: ch 1, 6 sc sts in MC. Tighten MC. (6)
Fasten off Color B.
Round 2: With Color C, 2 sc in each st, sl st to first st. (12)
Fasten off, leaving a long tail for sewing to front panel. Weave in ends not left for sewing.
Tree
With Color D, ch 11.
Row 1: (RS) sc in second ch from hook and in each ch to end. Turn. (10)
Row 2: ch 1, 1 sc in each st. Turn. (10)
Row 3: ch 1, sc2tog, sc in each st to last 2 sts, sc2tog. Turn. (8)
Row 4 – 7: repeat rows 2 – 3.
Row 8: ch 1, 1 sc in each st. Turn. (4)
Row 9: ch 1, sc2tog x 2. Turn. (2)
Row 10: ch 1, sc in each st. Turn. (2)
Row 11: ch 1, sc2tog (1)
Sc evenly around outside edge of tree, sl st in first st.
Fasten off. Weave in ends.
Window
With Color B, ch 6.
Row 1: (RS) sc in second ch from hook and in each ch to end. Turn. (5)
Row 2: ch 1, sc2tog, sc in each st to end. Turn. (4)
Row 3: ch 1, sc in next 2 sts, sc2tog. Turn. (3)
Row 4: ch 1, sc2tog, sc in last st. (2)
Fasten off, leaving a long tail for sewing to front panel. Weave in remaining end.

Hanging Tab
Row 1: (Leaving a long tail for sewing) With Color A and RS of back panel facing; working over ring, sc in first 5 sts of truck bed. Turn, leaving remaining sts unworked. (5)

Row 2: ch 1, 1 sc in each st. Turn. (5)
Row 3 – 30: repeat row 2.
Row 31: (button hole row) ch 1, sc in first 2 sts, ch 1, sk next st, sc in last 2 sts. Turn. (4 sc sts + ch-1 sp)
Row 32: ch 1, sc in first 2 sts, sc in ch-1 sp, sc in last 2 sts. (5)
Fasten off. Weave in ends.
With embroidery thread, sew button to non button-hole side of hanging tab at approximately row 6 of hanging tab. Note: button will be on the same side as the plastic ring.

Assembly
With RS of front panel facing and long tails left for sewing, sew wheels and window to front panel.
With a long length of Color A, sew tree to inside of front panel.

With WS of front and back panel facing (ring to inside), and a long length of Color A on your tapestry needle, sew panels together, leaving bottom edge of truck open for towel.


Copyright 2021 Tonya Bush / Nana’s Crafty Home
Social Media links:
Facebook: https://www.facebook.com/nanascraftyhome
Instagram: https://www.instagram.com/nanascraftyhome/
Pinterest: https://www.pinterest.com/nanascraftyhome/
YouTube: https://www.youtube.com/c/TonyaBush
Twitter: https://twitter.com/nanascraftyhome
Facebook Group: https://www.facebook.com/groups/829792060522798
Sign up for my Newsletter: https://nanascraftyhome.com/sign-up-for-my-free-newsletter/

 Hi! Thank you so much for being here! I am Tonya the designer behind Nana's Crafty Home. As a wife, mother, Nana of 9 & with 2 fur babies, my days are filled with love, laughter, hugs and yarn! Here you will find colorful and creative crochet designs for yourself or loved ones. My hope is that you will be inspired to learn and create along with me!