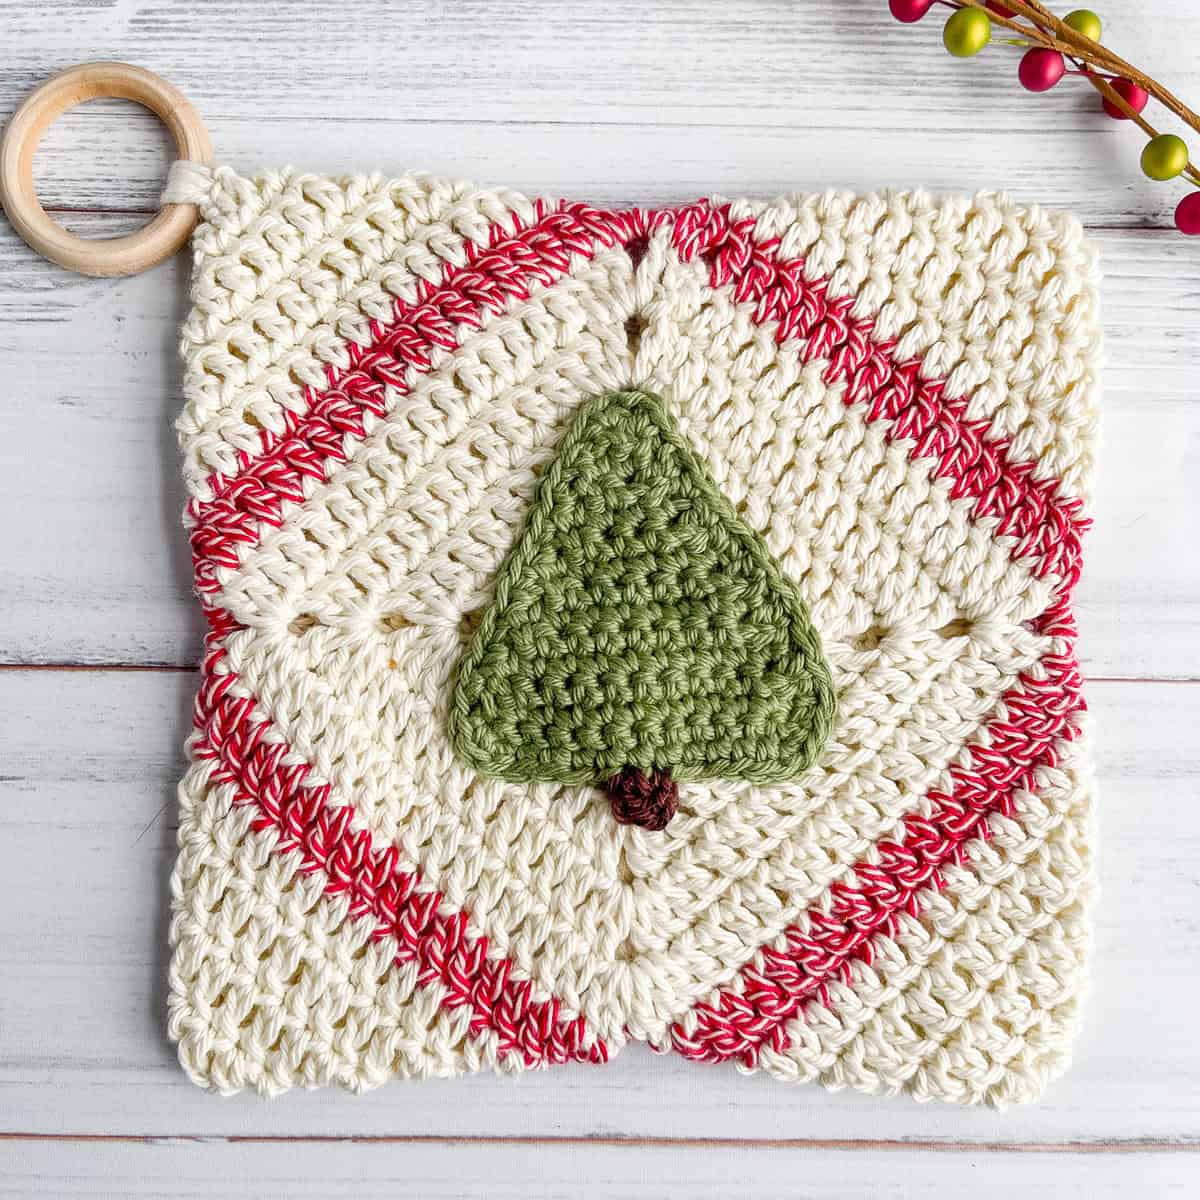
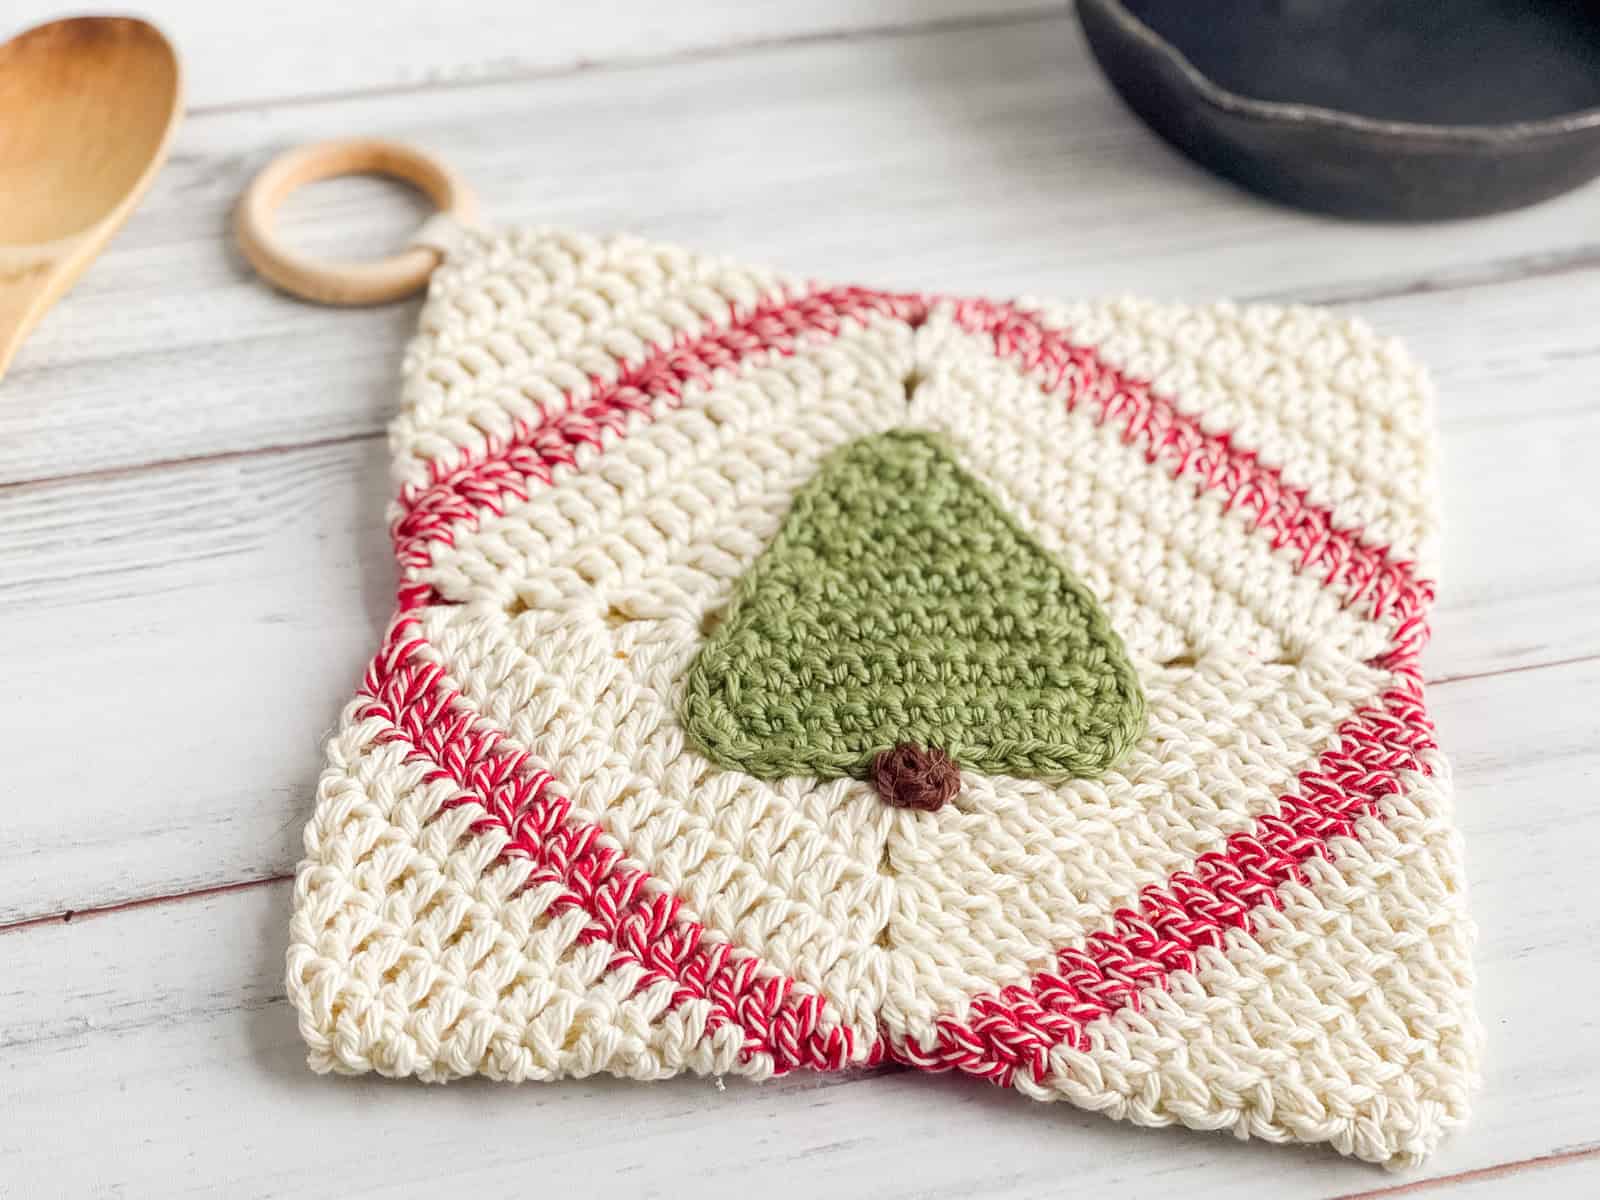
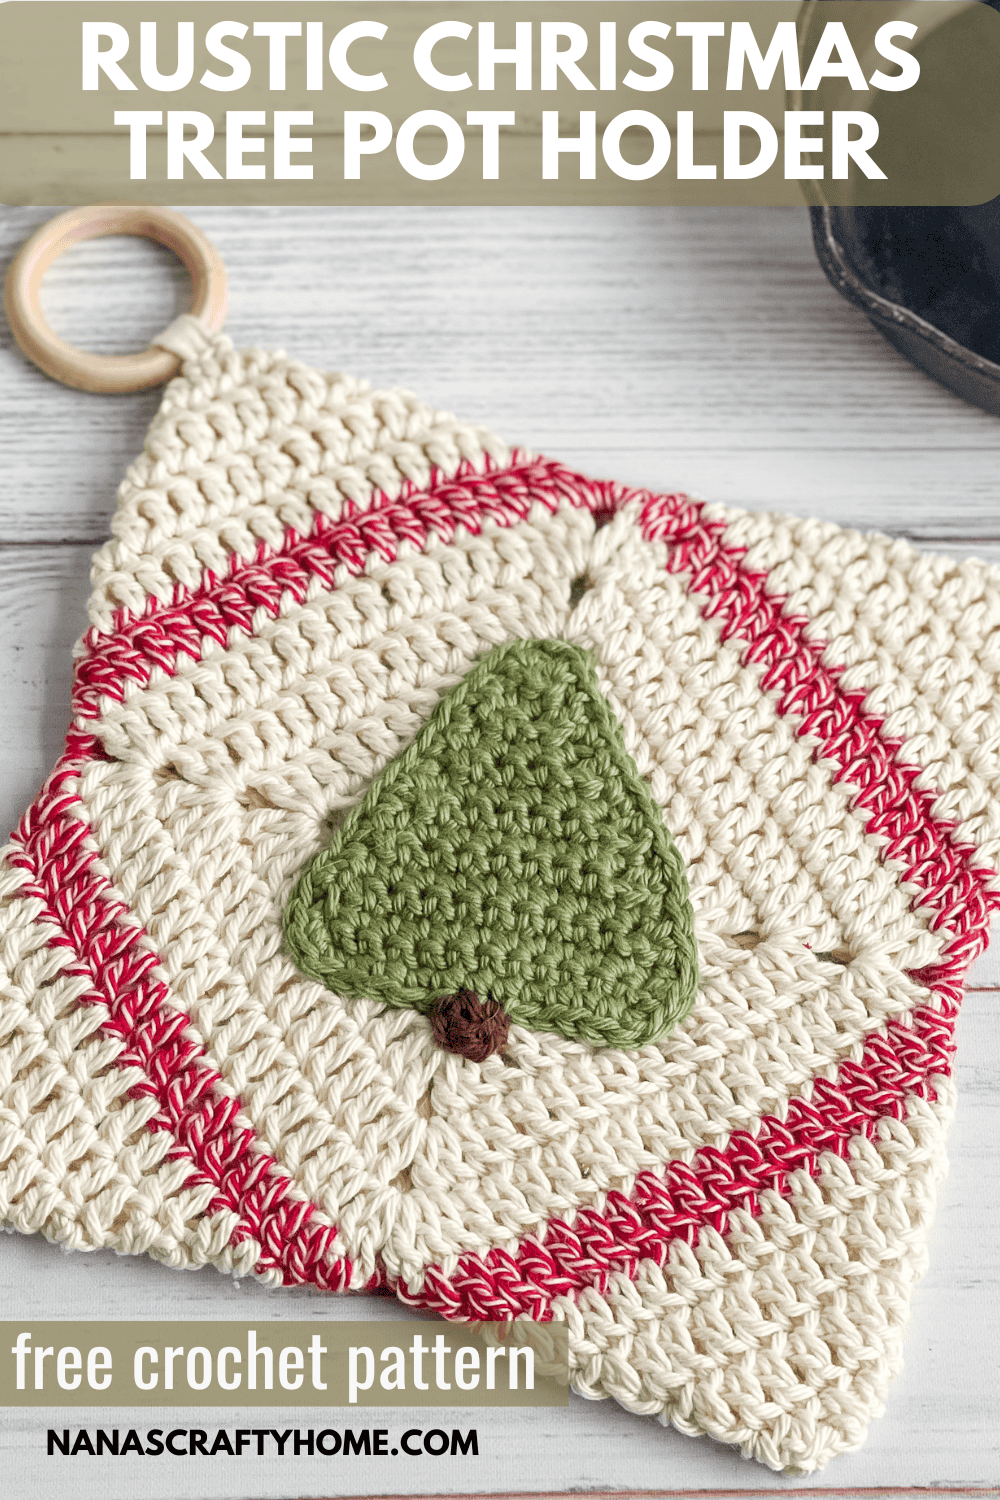
This Christmas Tree Crochet Pot Holder will lend a festive and rustic touch to your Christmas kitchen!
This rustic Christmas tree pot holder crochet pattern is both festive and functional, perfect for adding a touch of farmhouse charm to your kitchen during the holiday season. The pot holder is worked in a double-thick square to provide durability and insulation, ensuring it can safely handle hot pots and pans.
At the center of the square, a charming Christmas tree applique is sewn in place, adding a beautiful, textured element to the piece.
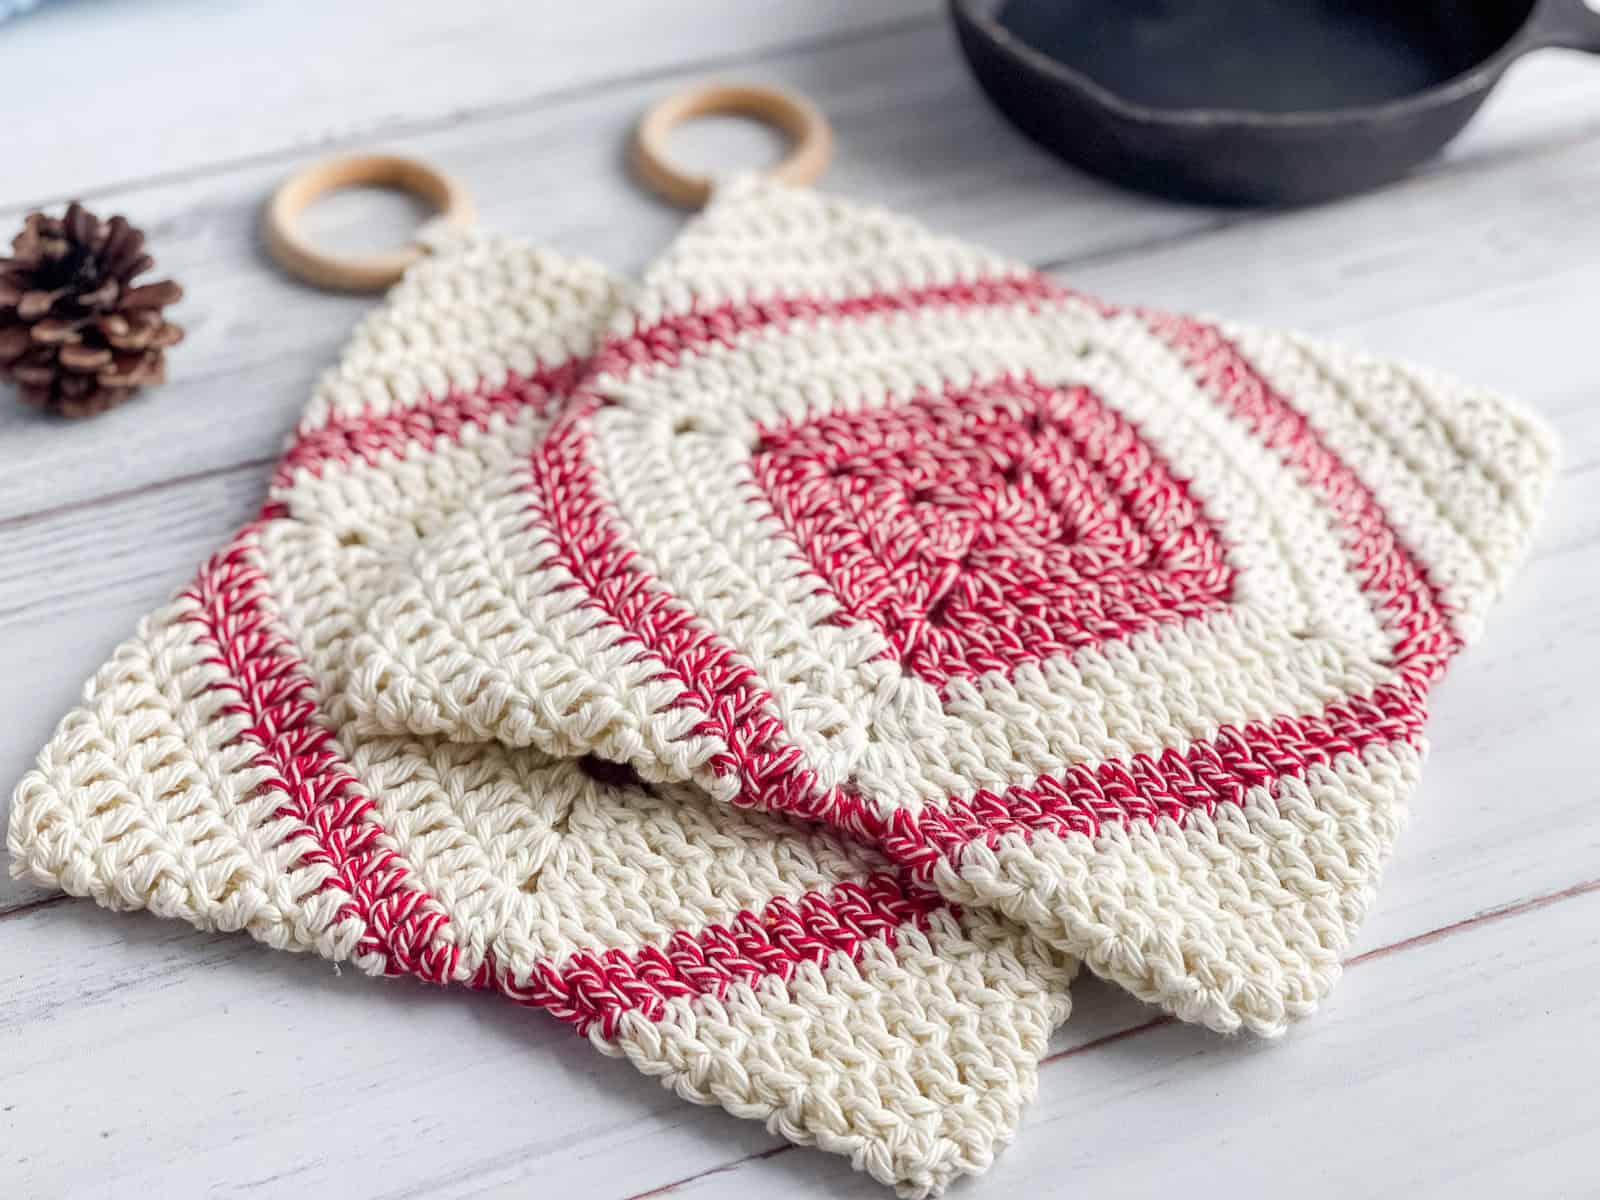
Once the square and tree are complete, the pot holder is folded and seamed to create a double thick pot holder, with the addition of a wooden ring for easy hanging. This finishing touch adds both a practical and decorative aspect, making it simple to store or display.

How to Make the Christmas Tree Crochet Pot Holder
For the full written pattern instructions for this Christmas Tree Crochet Pot Holder, scroll down below. You can purchase the ad-free PDF of this Christmas Tree pot holder for a small fee. Or, become a Lifetime Member and never pay for a PDF again!
1. This easy crochet pot holder starts with a solid dc granny square. I have a complete photo and video tutorial for how to make this beginner friendly all double crochet square which will help you make the square.
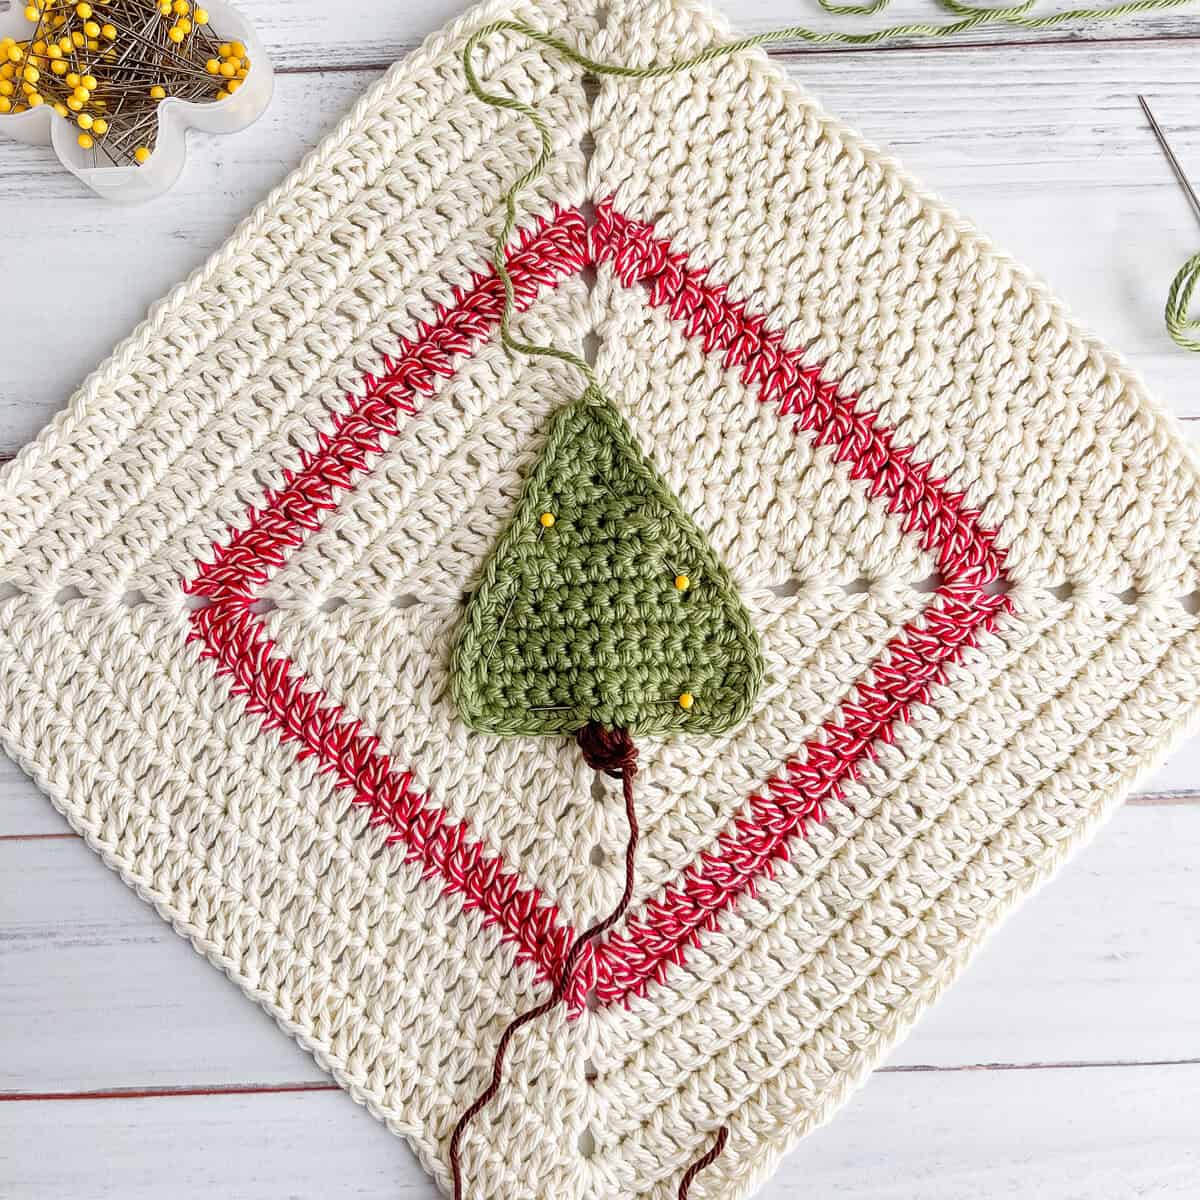
2. Adding one round of the red yarn adds festive color and and a decorative frame around the rustic Christmas Tree applique.
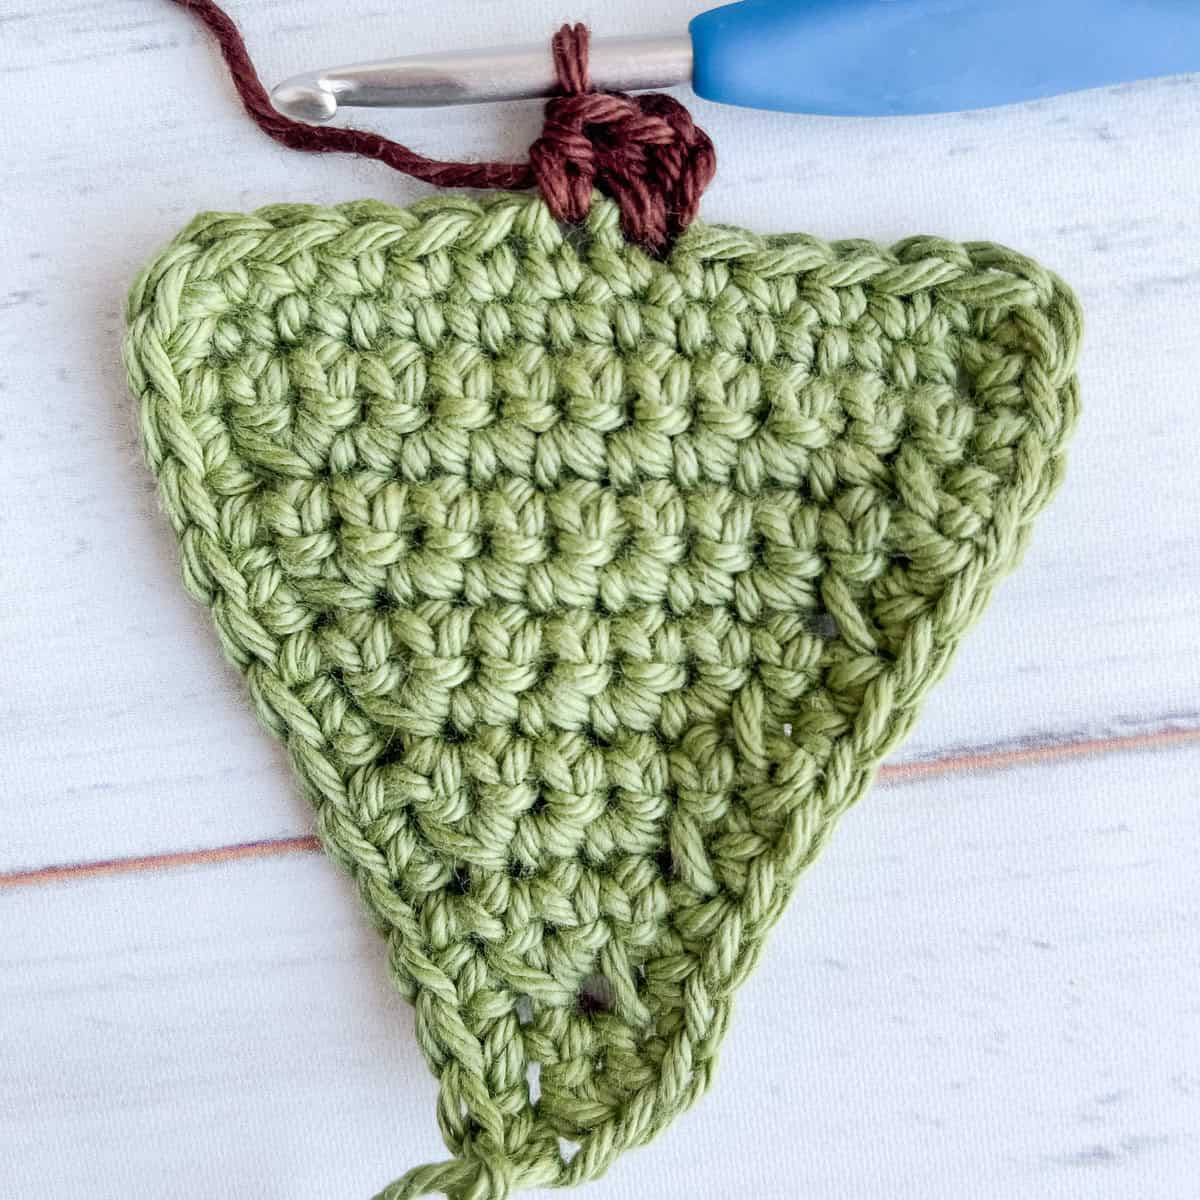
3. Once the crochet square is complete you will crochet a simple classic pine tree which is then sewn to the front of the square. If you have never sewn an applique in crochet I have a complete video tutorial with all of my tips and tricks.
This simple and easy Christmas tree applique could be used for many different projects – a simple and easy ornament for the tree, an embellishment for gift wrapping or sew to any item you want to add a touch of Christmas charm!
4. After sewing on the applique we fold the four corners of the square together and seam. You can easily turn any crochet square into a double thick pot holder with my complete photo and video tutorial!
5. Add a wood ring at the end or a crocheted loop for function and practicality.
So easy!
I hope you love your Rustic Farmhouse Christmas Tree Crochet Pot Holder!
Tonya 💕
Supplies for the Christmas Tree Pot Holder
*This post contains affiliate links. You can click on any yarn or material highlighted to purchase. I will receive a small commission if you purchase but it won’t cost you any extra! As an Amazon Associate I earn from qualifying purchases.
I do recommend cotton yarn for pot holders as acrylic yarn may scorch or melt upon contact with hot pots or hot dishes. However, my aunt loves making pot holders and she uses whatever yarn she has on hand – even acrylic! Her philosophy is that she can always make a new one!
I am using Hobby Lobby’s I Love This Cotton which is a medium #4 weight cotton yarn for the pot holders shown. However, you could easily substitute with your favorite brand. My favorite color used in this design was the Monkey Red color which may be a little more difficult to come up with a substitute. If you want to duplicate in another brand you will be looking for a sock monkey red color way. However, even a solid red yarn would look amazing as well!
Holiday Stashdown Crochet a Long
The Christmas Tree Pot Holder pattern was designed as part of the 2024 Stashdown Crochet Along on CAL Central, hosted in the CAL Central Facebook and Ravelry groups featuring twenty-two designers sharing a scrappy project that takes one skein or less to make. Each design was created with the idea that it can be used for holiday gift-giving, decor, or wrapping and be relatively quick to make.
The 2024 Holiday Stashdown CAL is hosted by Underground Crafter and you can find all the details about all of the other patterns included over on her blog.
This Crochet Christmas Tree Pot Holder pattern is also available as an ad-free, printable PDF! You can purchase the individual pattern, or if you love PDFs, you might want to check out my Lifetime Membership. It’s an awesome deal! Never pay for one of my PDFs again!! (Or, scroll down for the free version!)


If you would like daily crochet inspiration be sure to follow me on Facebook, Instagram, Pinterest, YouTube, Twitter and Tumblr!
To get notified of my free crochet patterns and future giveaways, sign up for my newsletter. I never share or sell your information to third parties — it stays private!
You may also like the following free crochet patterns by Nana’s Crafty Home:


- 1. Beginner Crochet Christmas Tree Pattern
- 2. Bobble Christmas Tree Crochet Pattern
- 3. Santa Gnome Ornament free crochet pattern
Christmas Tree Pot Holder free pattern instructions
Pattern written in US crochet terminology
Supplies:
I Love This Cotton! Weight 4 Medium (100% cotton) 3.5 oz / 180 yards
- Ivory 2.5 oz / 128 yards (Cream)
- Monkey Red 0.5 oz / 26 yards (Red)
- Sage 0.3 oz / 15 yards (Green)
- Brown 0.01 oz / 1 yard (Brown)
Size H (5.0 mm) crochet hook
Straight Pins (optional)
Wood Cabone Ring 2” (optional)
Scissors
Tapestry Needle
Approximate finished size: 8” x 8” square
Abbreviations:
- RS = right side
- sl st = slip stitch
- ch(s) = chain(s)
- st(s) = stitch(es)
- dc = double crochet
- sp(s) = space(s)
- sc2tog = single crochet 2 st together (see special stitches section below)
- hdc = half double crochet
Special Stitches:
sc2tog = (insert hook into next st, yo and pull up a loop) twice, yo and pull through all 3 loops on hook.
Pattern Notes:
- Ch 3 at beginning of each round counts as first st.
- Stitch count increases by 16 sts each round.
Recommended Tutorials:
How to Turn a Square into a Double Thick Pot Holder
How to Sew Appliques in Crochet Tips & Tricks
Pattern Instructions
Square
With cream, ch 4.
Round 1: (RS) Dc in fourth ch from hook (skipped chs count as first st), ch 2, *(3 dc, ch 2) in same sp,* repeat from * to * twice, dc in same sp, sl st in top of ch-3. (12 sts + 4 ch-2 sps)
Round 2: Sl st in next st, sl st in ch-2 sp, (ch 3, dc, ch 2, 2 dc) in same sp, *dc in each st to next ch-2 sp, (2 dc, ch 2, 2 dc) in next ch-2 sp,* repeat from * to * twice, dc in each st to end, sl st in top of ch-3. (28 sts + 4 ch-2 sps)
Rounds 3 – 5: Repeat round 2 with cream. (76 sts + 4 ch-2 sps after round 5)
Round 6: Repeat round 2 with red. (92 sts + 4 ch-2 sps)
Rounds 7 – 10: Repeat round 2 with cream. (156 sts + 4 ch-2 sps after round 10)
Fasten off leaving a long tail for seaming. Weave in remaining ends.
Tree
With green, ch 13.
Row 1: Sc in second ch from hook and in each ch across. Turn. (12)
Row 2: Ch 1, sc in each st. Turn.
Row 3: Ch 1, sc2tog, 1 sc in each st to last 2 sts, sc2tog. Turn. (10)
Rows 4 – 10: Repeat rows 2 – 3 ending on row 2. (4 sts after row 10)
Row 11: Sc2tog x 2. Turn. (2)
Row 12: Ch 1, sc in each st. Turn.
Row 13: Sc2tog. (1)
Row 14: Ch 1, sc in same st.
Without turning, work sc sts evenly around outside edge of tree, sl st to first st.
Fasten off leaving a long tail approximately 60” for sewing together. Weave in remaining ends.
Tree Trunk
There are 12 sts along bottom edge of tree. Count over 6 sts and join brown to sixth st, ch 1, hdc in same st, hdc in next st.
Fasten off.
Assembly
Affix tree to square with straight pins and with long length of yarn left for sewing, sew tree to square. Weave in remaining ends.
With WS of square facing, fold corners of square towards the center of the square. With long tail on needle, whip stitch front loops only of both edges together to corner.
Fold third corner towards center. Pull end of yarn through to corner between edges to join. Whip stitch front loops of both edges to center.
Fold fourth corner towards center of square. From center of square, whip stitch front loops of edges together. There is one final set of edges to seam. Pull end of yarn through to corner between final edges to join. Whip stitch front loops of both edges together to center.
Wood Ring Option
After seaming all the corners do not weave in end. With yarn end on needle, sew ring to corner of hot pad by inserting needle into center of ring, pull through, insert needle into corner of hot pad and repeat 5-7 times to securely fasten ring to corner of hot pad.
Copyright 2024 Tonya Bush / Nana’s Crafty Home, LLC.
Social Media links:
Facebook: https://www.facebook.com/nanascraftyhome
Instagram: https://www.instagram.com/nanascraftyhome/
Pinterest: https://www.pinterest.com/nanascraftyhome/
YouTube: https://www.youtube.com/c/TonyaBush
Twitter: https://twitter.com/nanascraftyhome
Facebook Group: https://www.facebook.com/groups/829792060522798
Sign up for my Newsletter: https://nanascraftyhome.com/sign-up-for-my-free-newsletter/
 Hi! Thank you so much for being here! I am Tonya the designer behind Nana's Crafty Home. As a wife, mother, Nana of 9 & with 2 fur babies, my days are filled with love, laughter, hugs and yarn! Here you will find colorful and creative crochet designs for yourself or loved ones. My hope is that you will be inspired to learn and create along with me!
0 Comments