
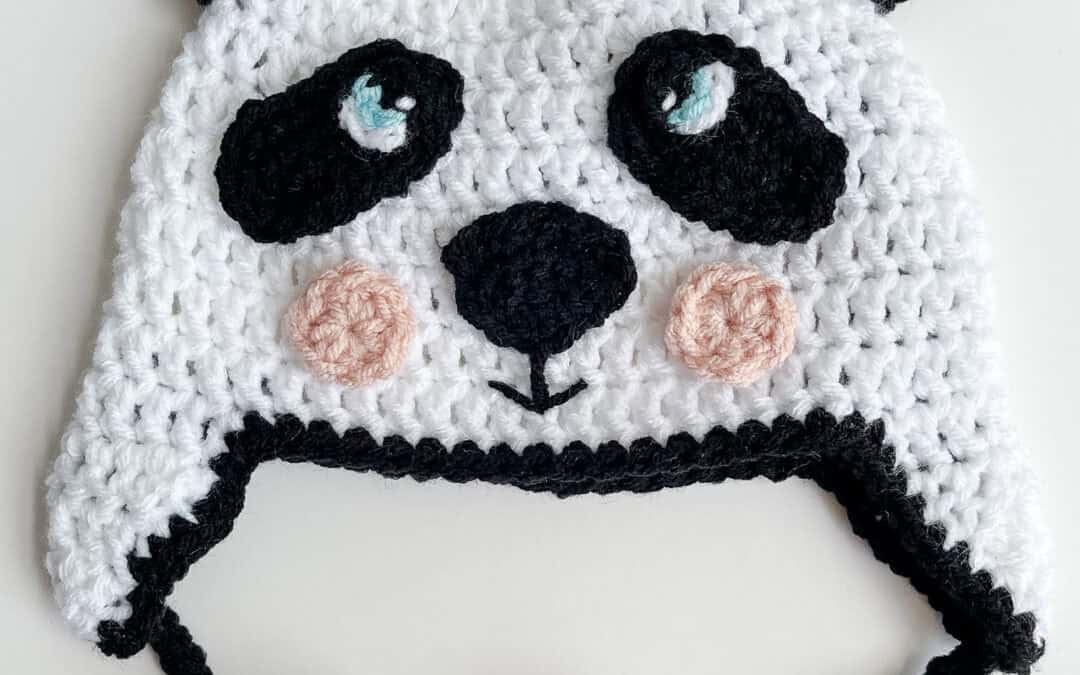
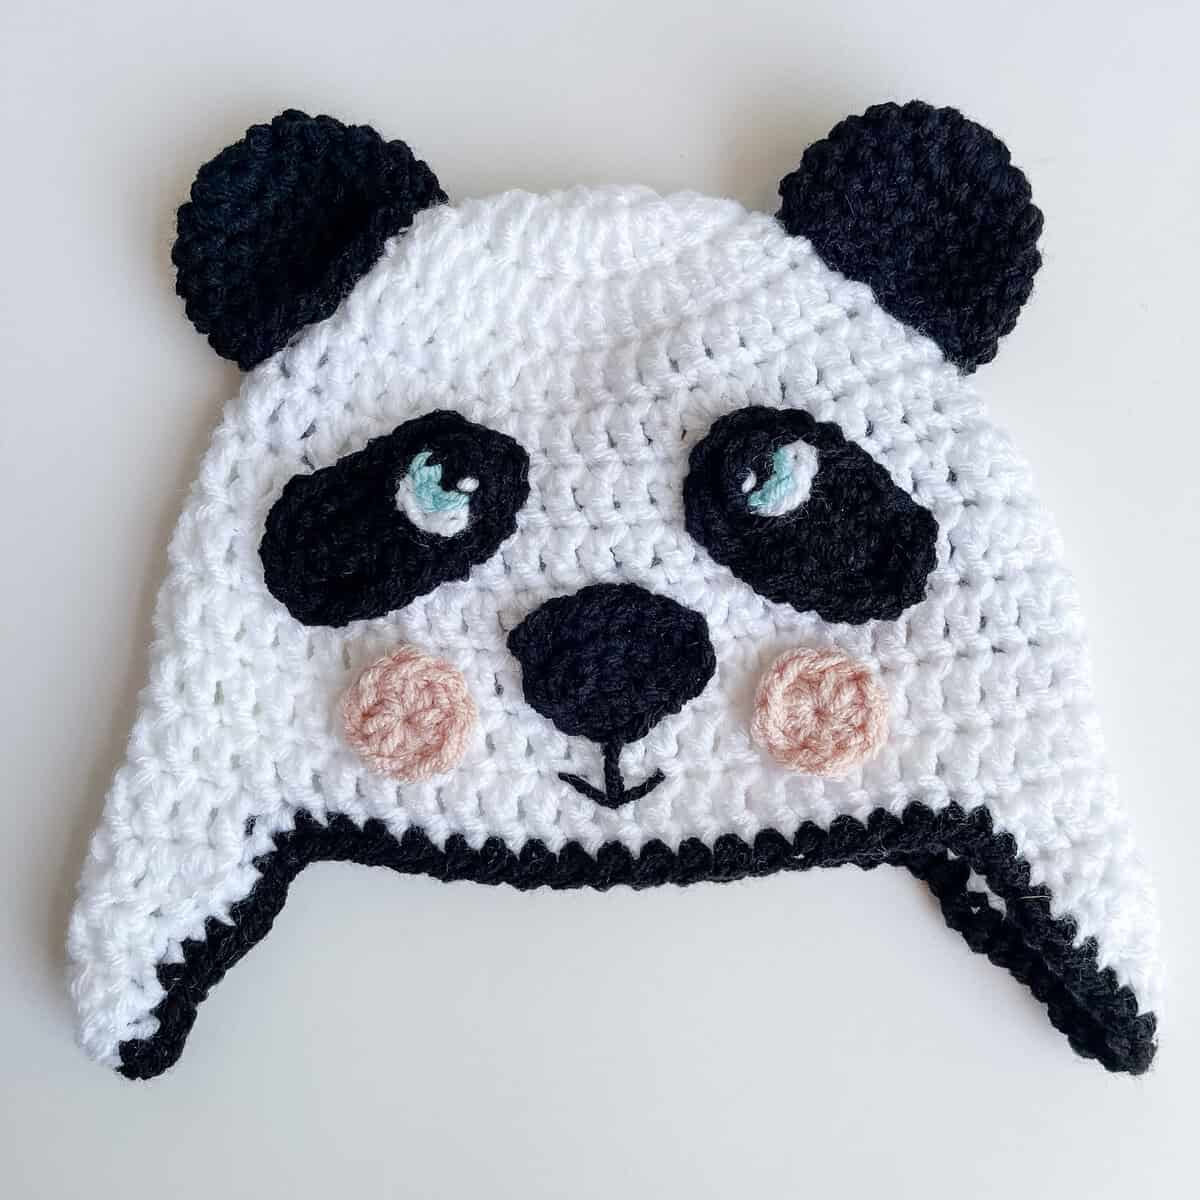
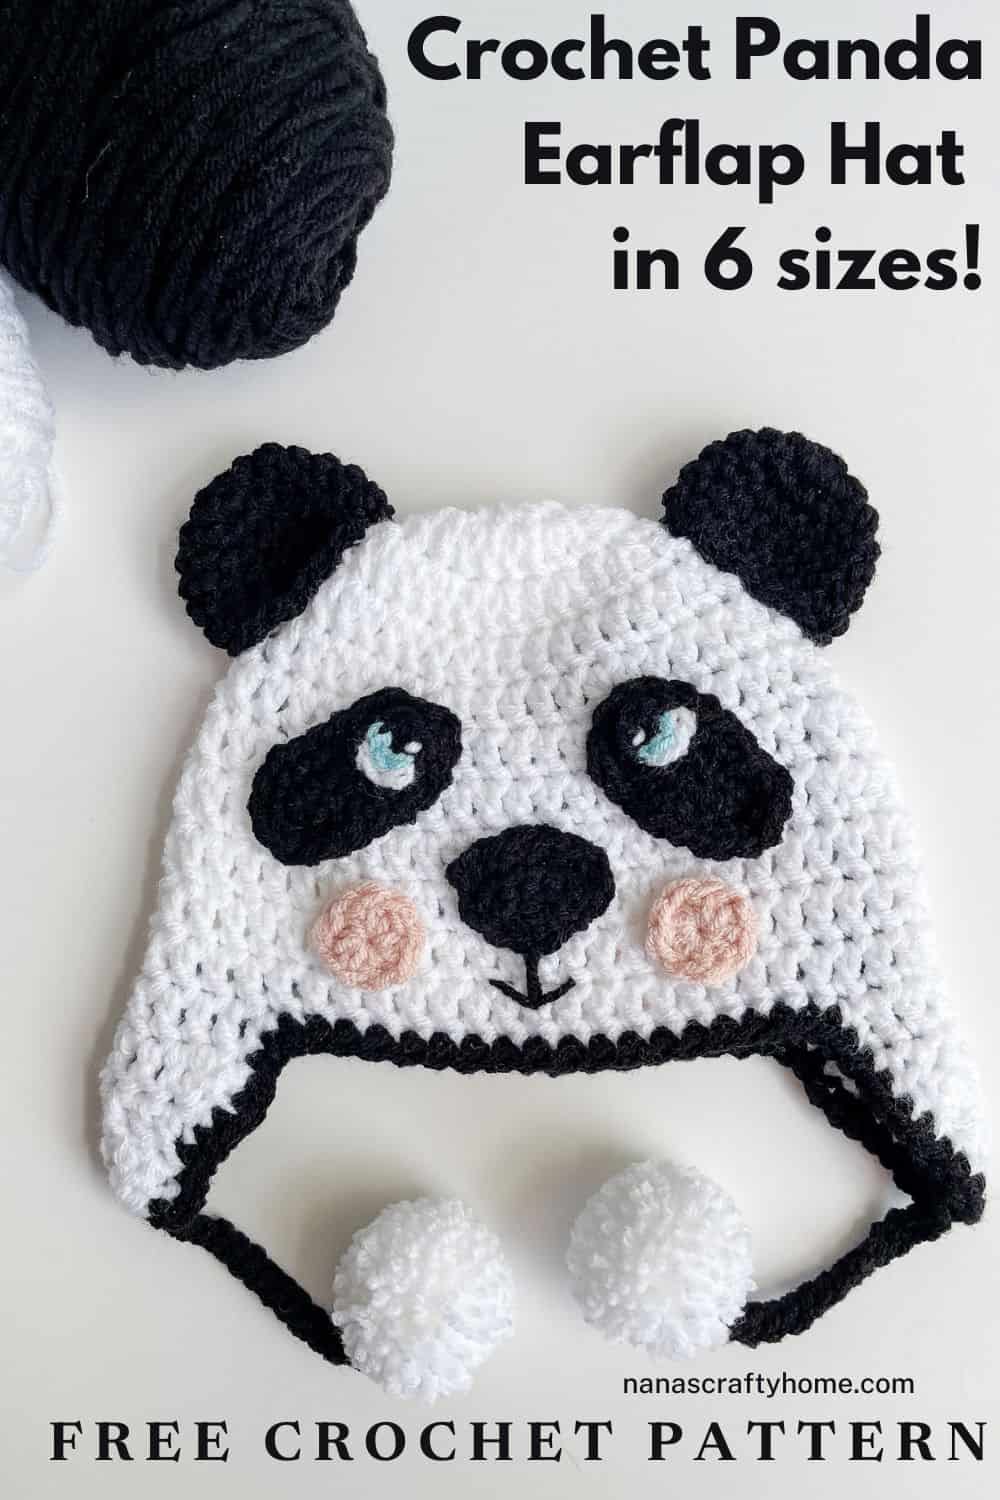
If you've been searching for a crochet panda hat pattern that's equal parts sweet and simple, you've landed in the right place. This little hat has quickly become one of my favorites to make, and I have a feeling it's about to become one of yours too. Those sweet panda eyes and rosy cheeks get me every single time.
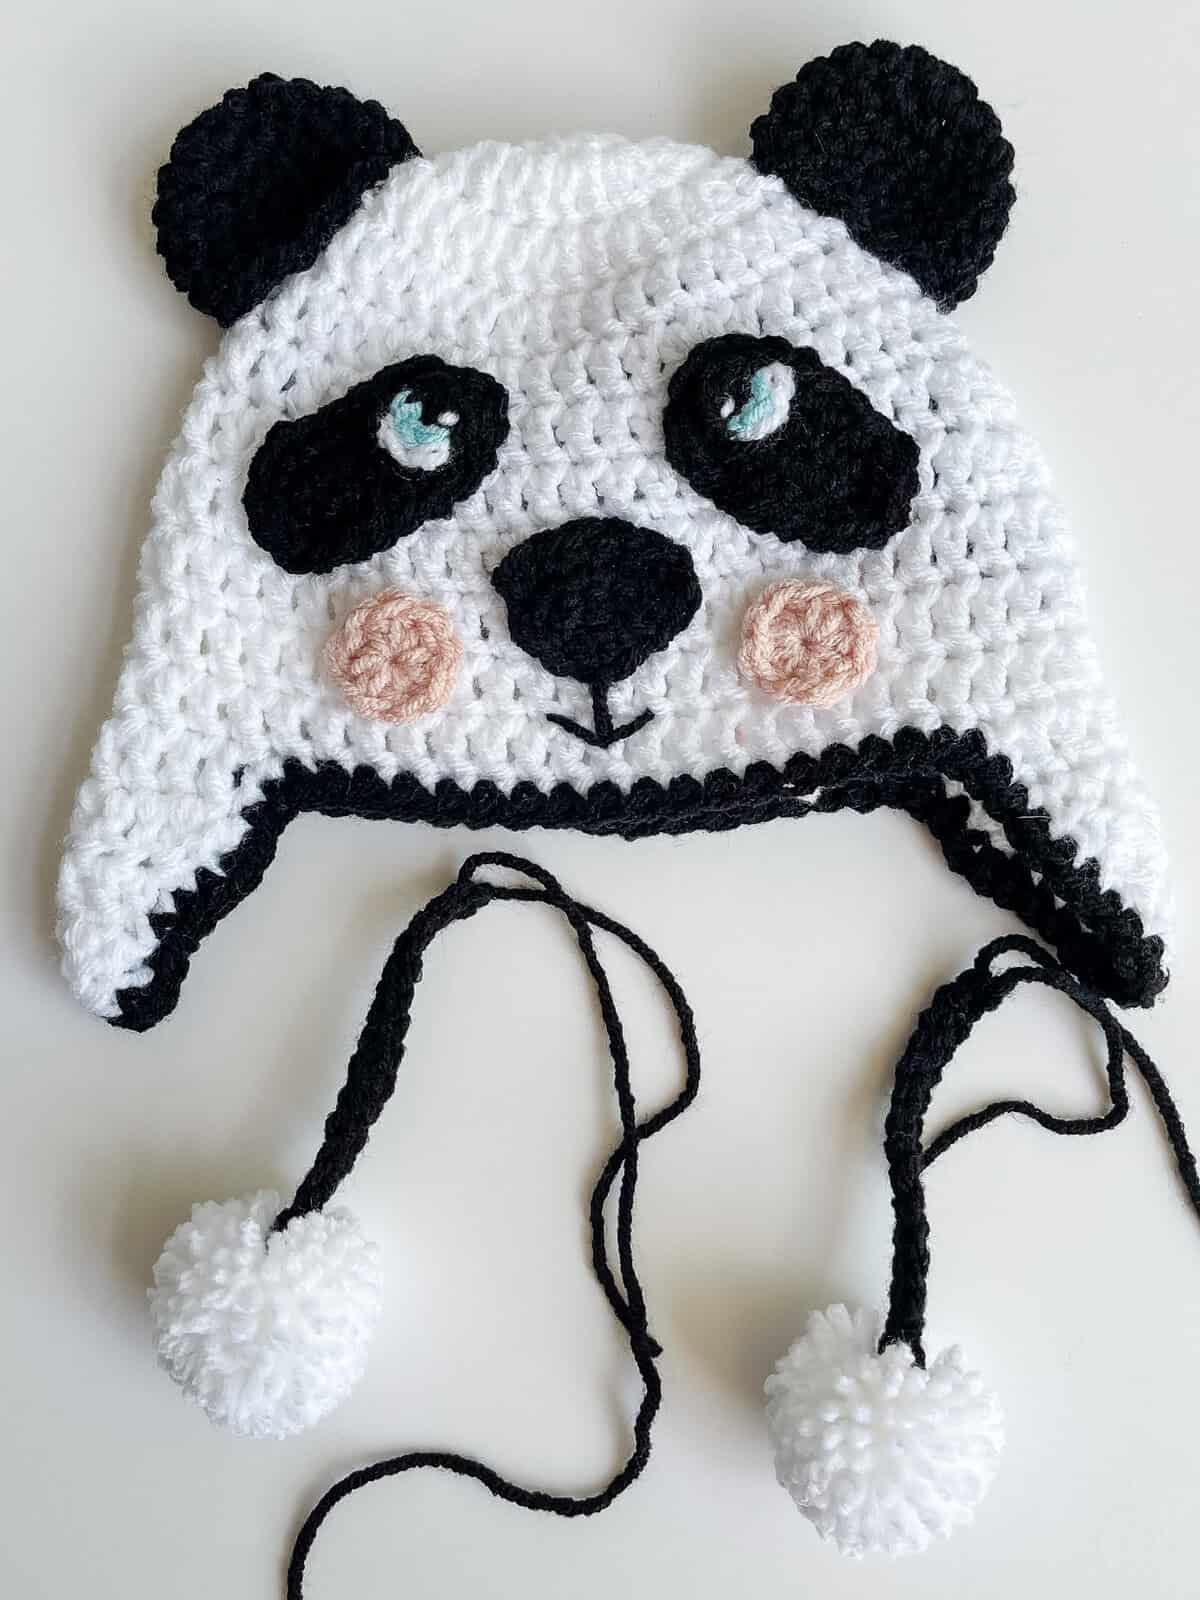
This pattern came together after designing my Summer Kid's Bucket hat series and so many of you asked for more animal hats that would be perfect for fall and winter. The panda's eye patches and ears give it so much character, and the ear flaps with pom-pom ties adds just the right adorable touch. It works up in a medium worsted weight yarn, which is budget-friendly, and easy to find at your local craft store or raid your yarn stash.
This panda design is actually built right on top of my DC All Day Ear Flap Hat pattern — the same simple, top-down construction you we have used before, just dressed up with a new face! So if you've made one of my other ear flap hats in the past, this one will feel instantly familiar, and you'll fly through the base before moving on to the fun part: bringing the panda's face to life.
The best part? This isn't just a newborn photo-prop pattern. I've included six sizes — from Newborn all the way up to Teen/Adult Small — so you can make one for every panda-lover in your life, or stock up your craft fair table with a whole range of sizes ready to go!
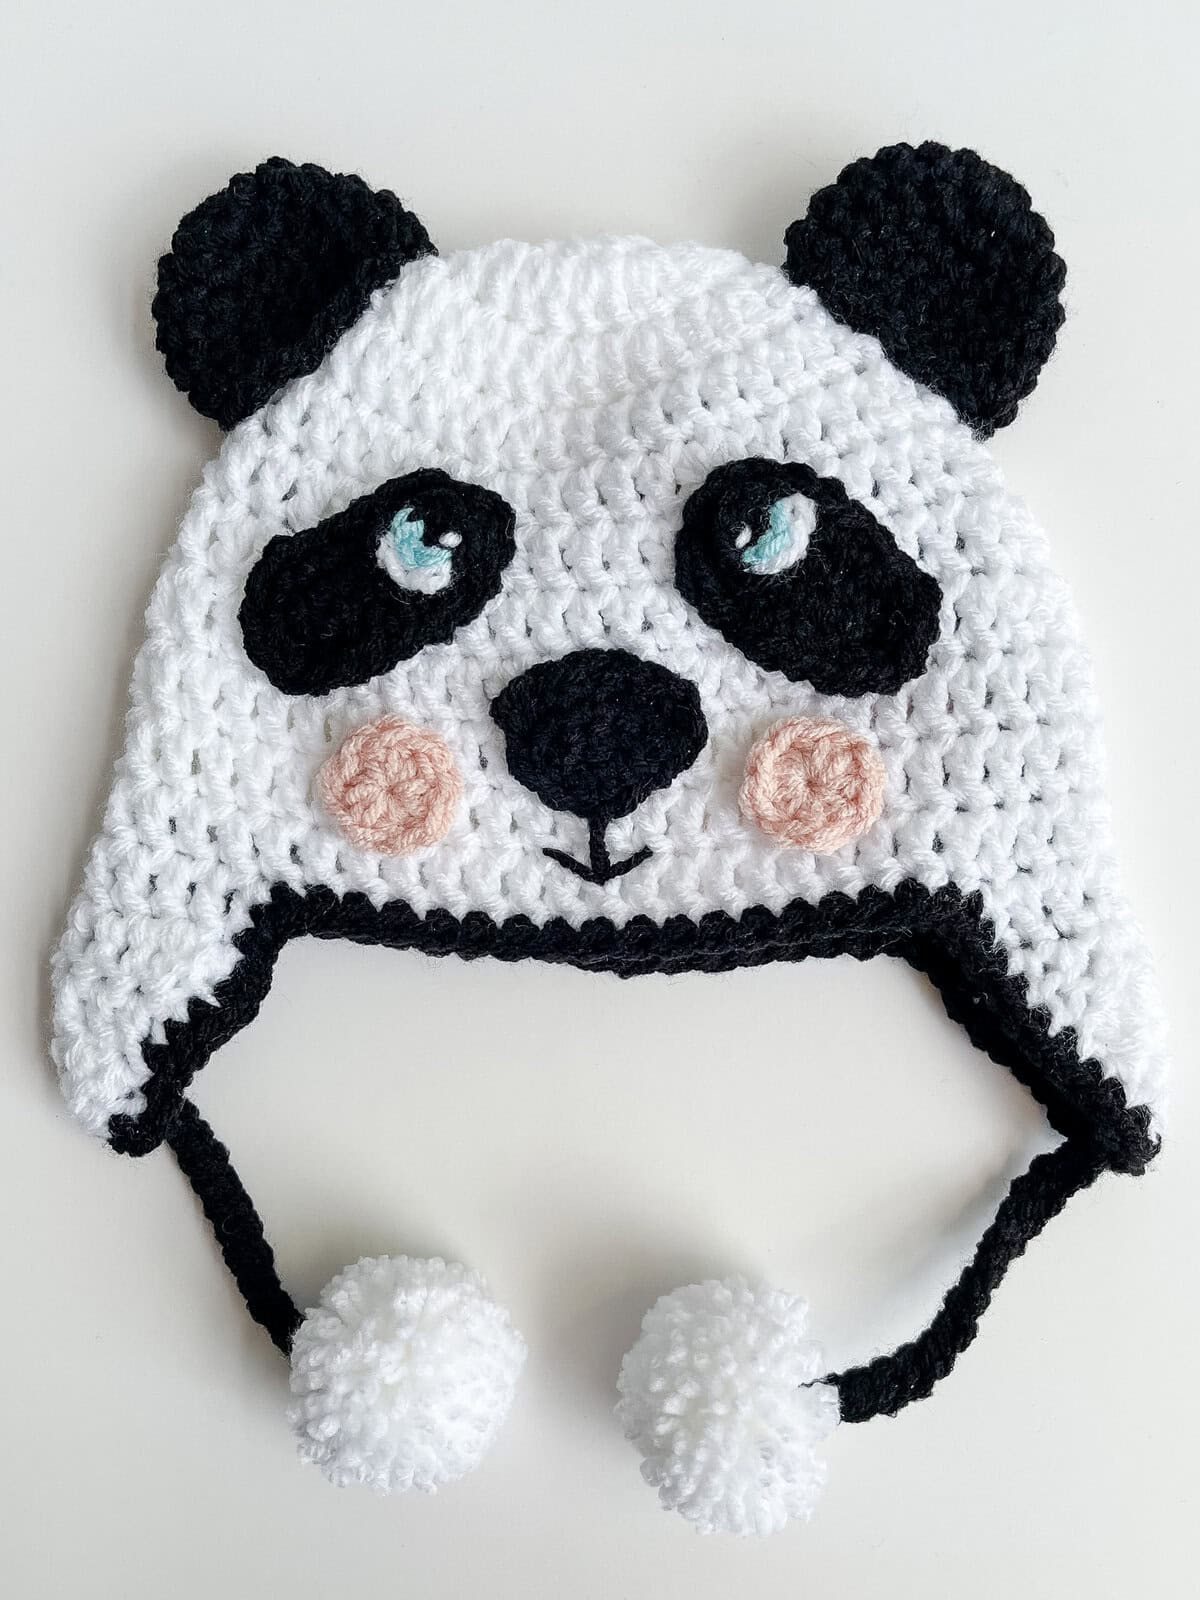

Why You’ll Love This Pattern
Skill Level: The base hat is beginner-friendly — the base hat is made from (almost) all double crochet worked in the round. The little face appliques and amigurumi-style pieces (ears, eye patches, nose) are beginner+, so if you've made a hat or two before, you're ready for this one.
Fast & Easy: This hat works up quickly, even with all the cute details. It's a great one to keep in your project rotation when you want something that feels productive without feeling like a huge commitment.
Perfect for Craft Fairs: Because it's quick to make and instantly recognizable on a table, this is would be a go-to pattern for craft fair inventory. Make a few in different sizes and watch them fly off the shelves!
Six Sizes Included: Newborn, 1–6 Months, 6–12 Months, Toddler, Child, and Teen (Adult Small) are all written out for you, so this one pattern covers babies through big kids.
Warm & Cozy: Worked in worsted weight acrylic yarn this hat is warm enough for everyday winter wear, not just photos.
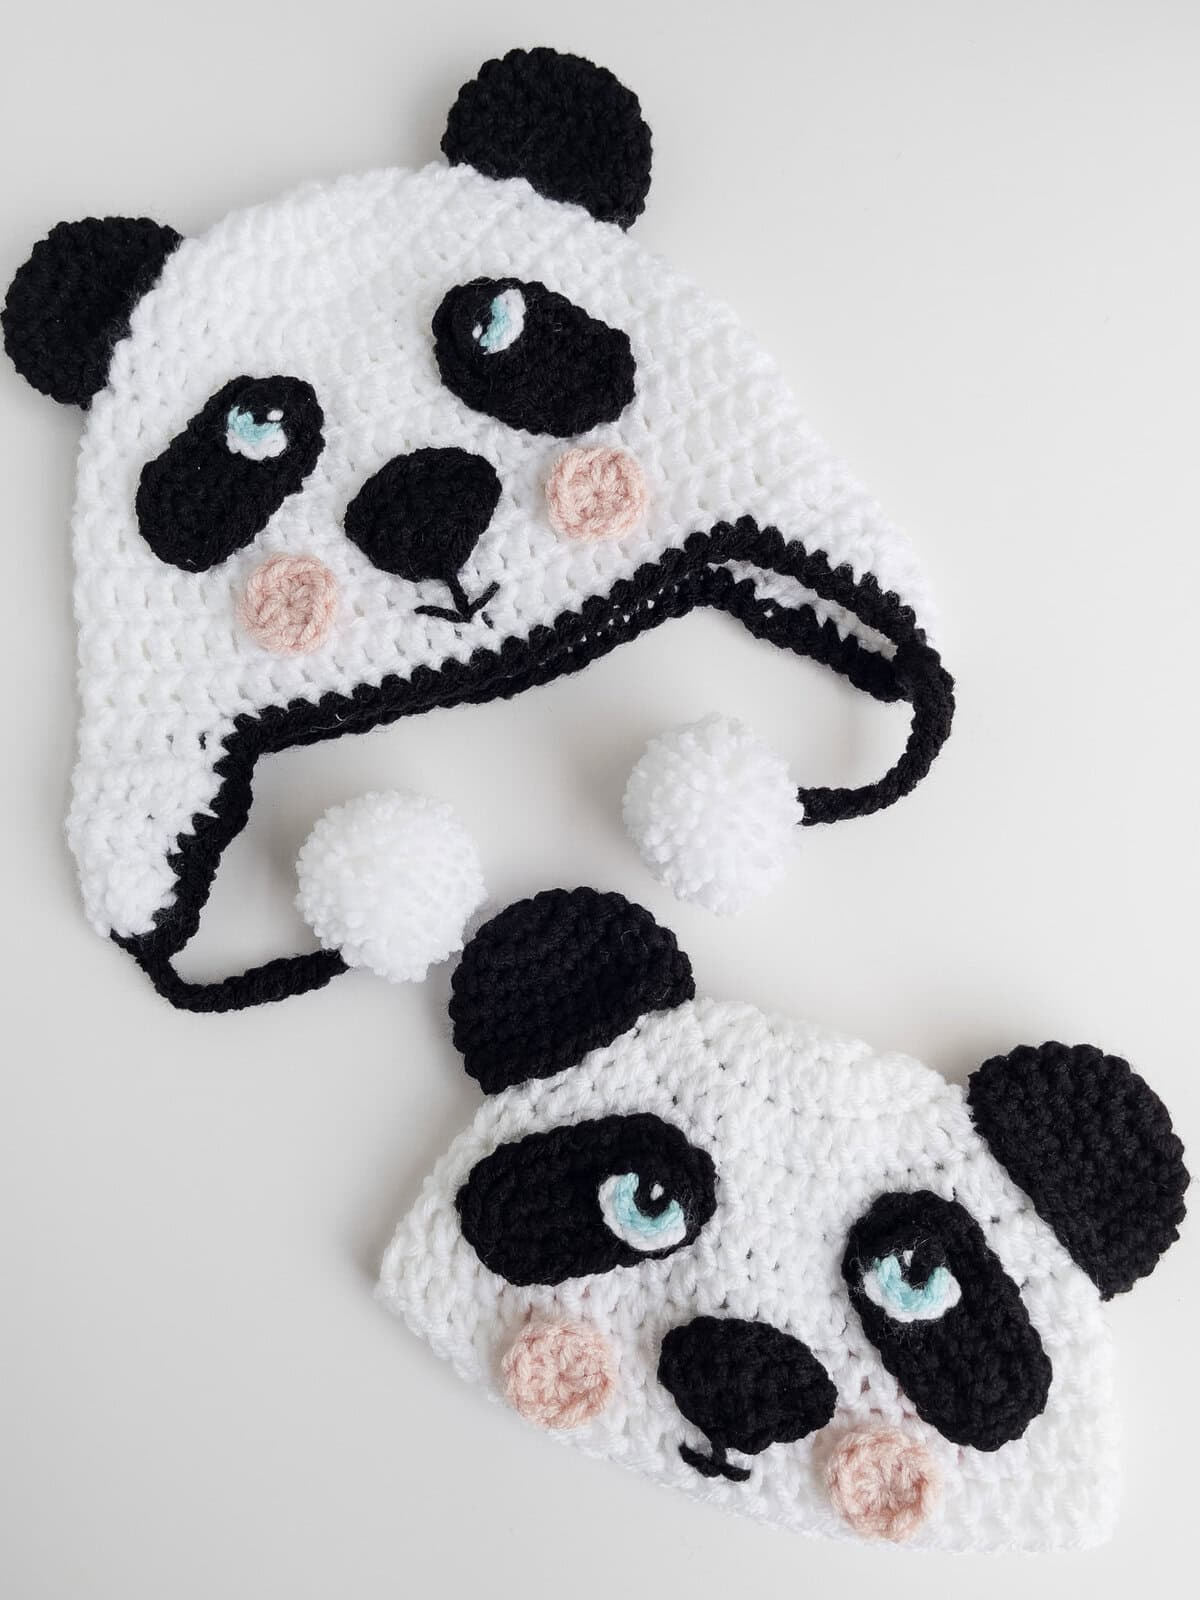
Versatile: So cute with these yarn pom pom ties but if you would prefer braids - check out my photo tutorial for adding braids to your DC All Day Earflap Beanie! This hat looks just as adorable without the earflaps too! Just work through the beanie instructions and add the appliques! Photo shows the toddler size with earflaps and the newborn size without!
Stay tuned for more Animal Hat fun: This panda crochet hat is just the first in a planned series of Wildlife Animal Hats! I am taking the adorable Wildlife Animal Blanket squares and turning them into hats! You can now find the Tiger Earflap Hat as well as the Giraffe Hat both now available as free crochet patterns on the blog!
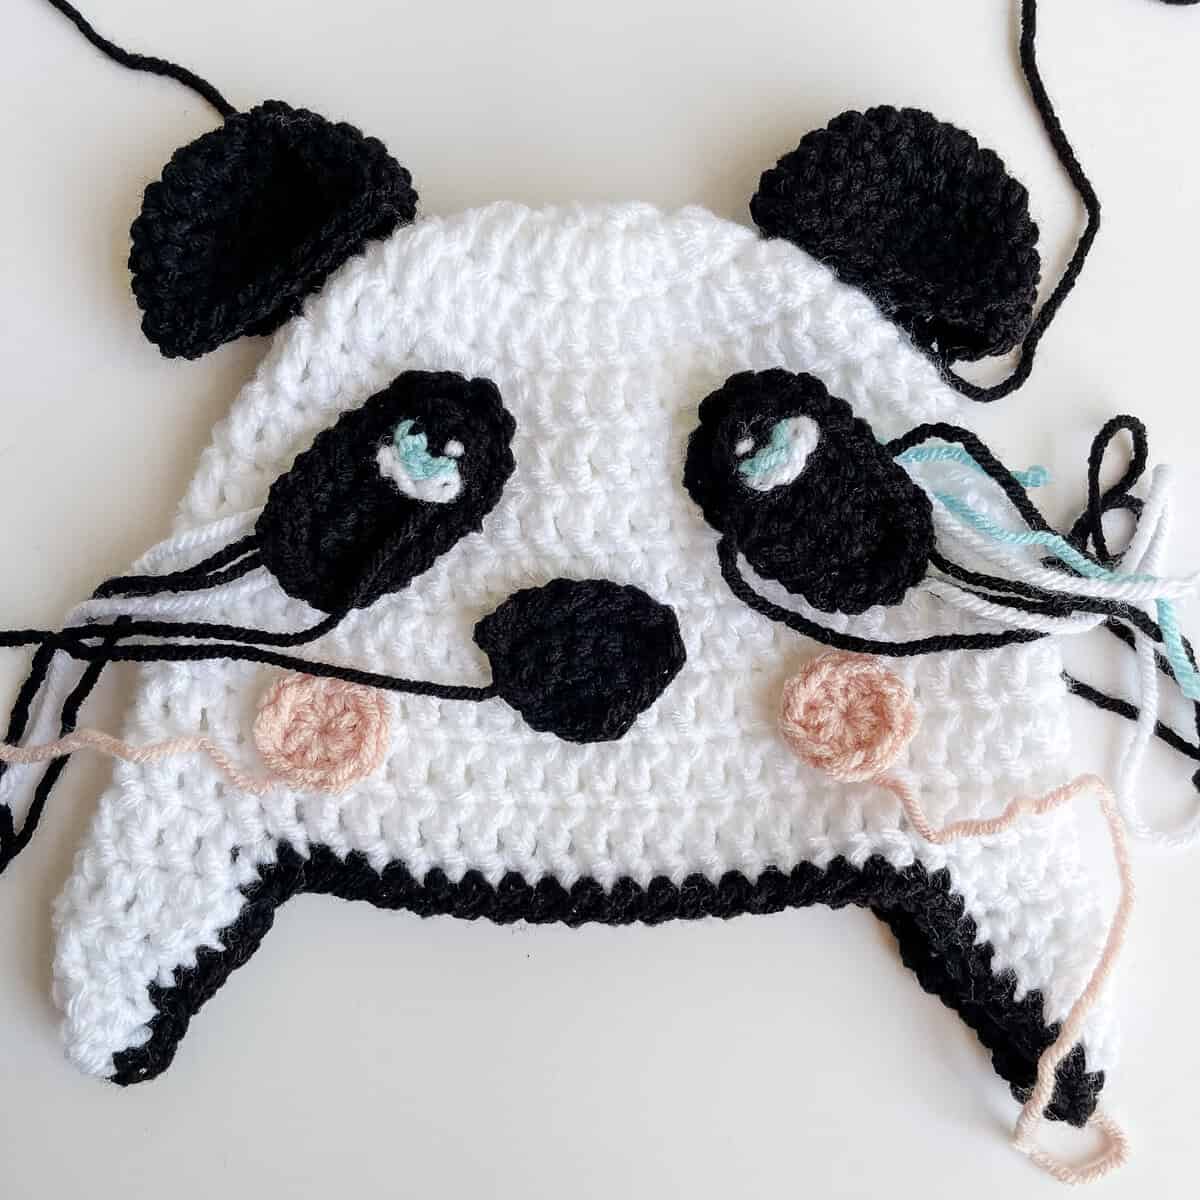
Video Support: Two video tutorials are available to walk you through the process — one for the base beanie and one for adding the ear flaps — so you're never stuck wondering what a step means.
Want the Panda Crochet Hat Ad-Free Printable PDF?
| Want an ad-free, printer-friendly version of the Panda Crochet Ear Flap Hat? The printable PDF is available in my shop! It’s perfectly formatted, easy to read while you’re working, and great for keeping in your pattern binder.👉 [LINK TO PDF ] If you love PDFs, you might want to check out my Lifetime Membership. It’s an awesome deal! Never pay for one of my PDFs again! |
Also available for purchase on Ravelry and Etsy! Thank you so much for supporting my work!



You can also find the ad-free PDF on Ravelry and Etsy!
Supplies for the Panda Earflap Hat Crochet Pattern
*This post contains affiliate links. You can click on any yarn or material highlighted to purchase. I will receive a small commission if you purchase but it won’t cost you any extra! As an Amazon Associate I earn from qualifying purchases.
I am using Loops & Threads Soft Classic yarn for this adorable crochet panda hat which is a medium worsted weight acrylic blend. Very economical!
You could certainly substitute any medium weight yarn you may have on hand - this is the perfect "raid your stash" project!
Looking for More Free Crochet Hat Patterns?
If you love this sweet panda crochet hat with ear flaps, I have tons of free crochet hat patterns right here on the blog, from cozy winter beanies to fun seasonal accessories. And if you don’t want to miss a single new release – be sure to sign up for my free newsletter! You’ll get new patterns, tutorials, and crafty inspiration delivered straight to your inbox.
👉 Sign up for my free newsletter here!
Let’s Stay Connected!
I love seeing your finished makes – tag me on social media so I can cheer you on!
Nana’s Crafty Home Community
I've opened the Nana's Crafty Home Community, a free place where crocheters can gather, share their projects, ask questions, and cheer each other on.
The Nana's Crafty Home Community is free to join and to hang out with your crochet besties - share your makes, ask questions and see all of the fabulous crochet fun!
You may also love these free crochet patterns on the blog:

- Frog Bucket Hat free crochet pattern
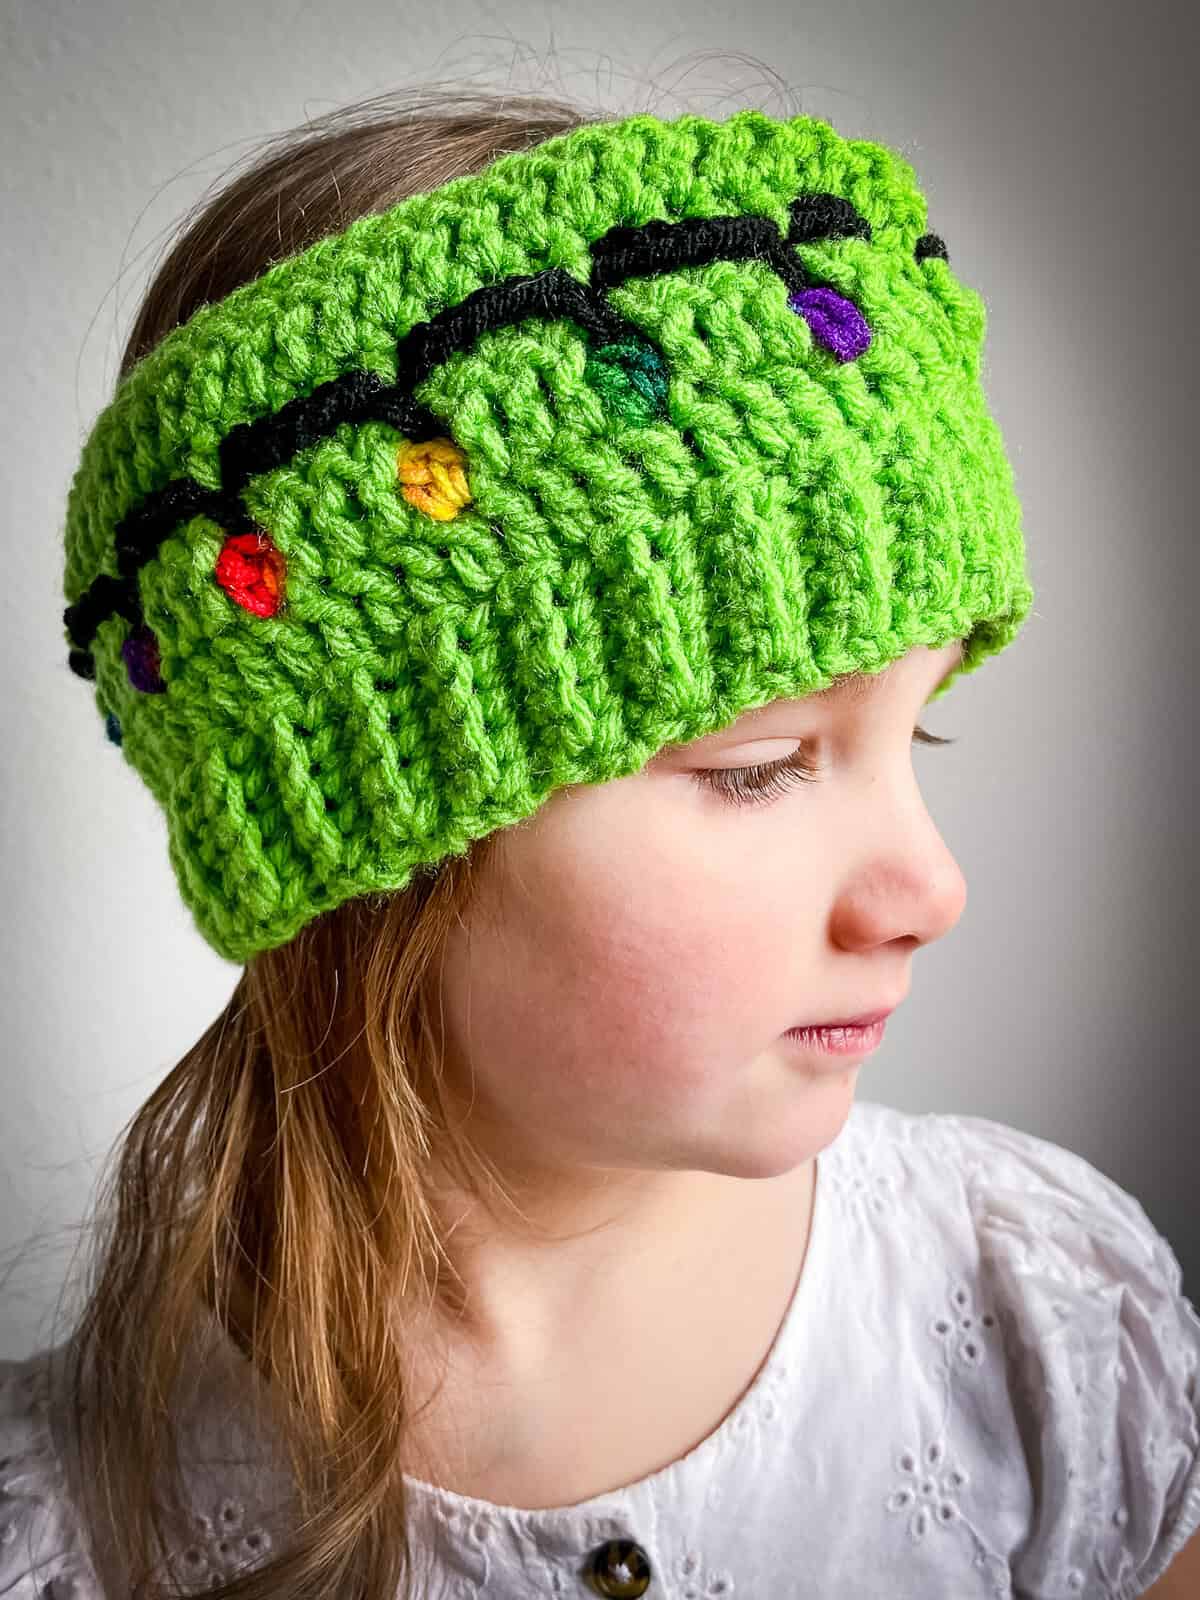
- Christmas Lights Headband free crochet pattern
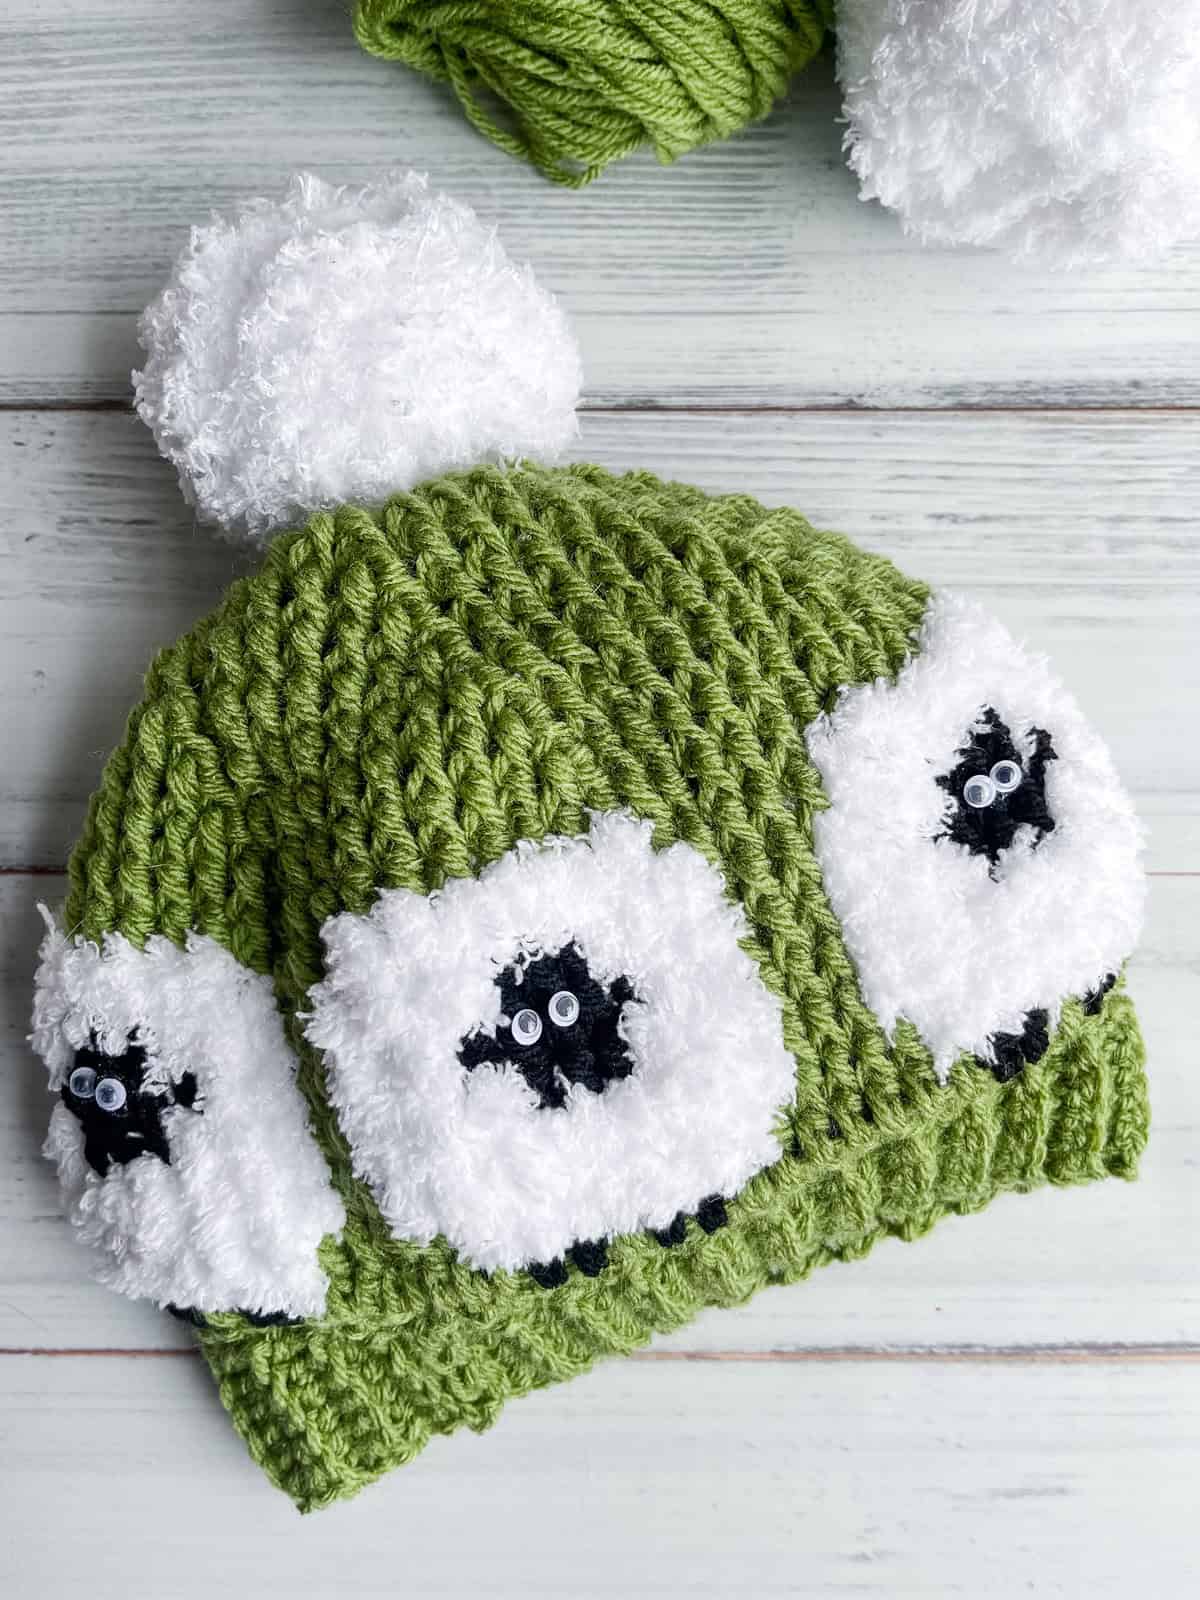
- Counting Sheep Hat free crochet pattern
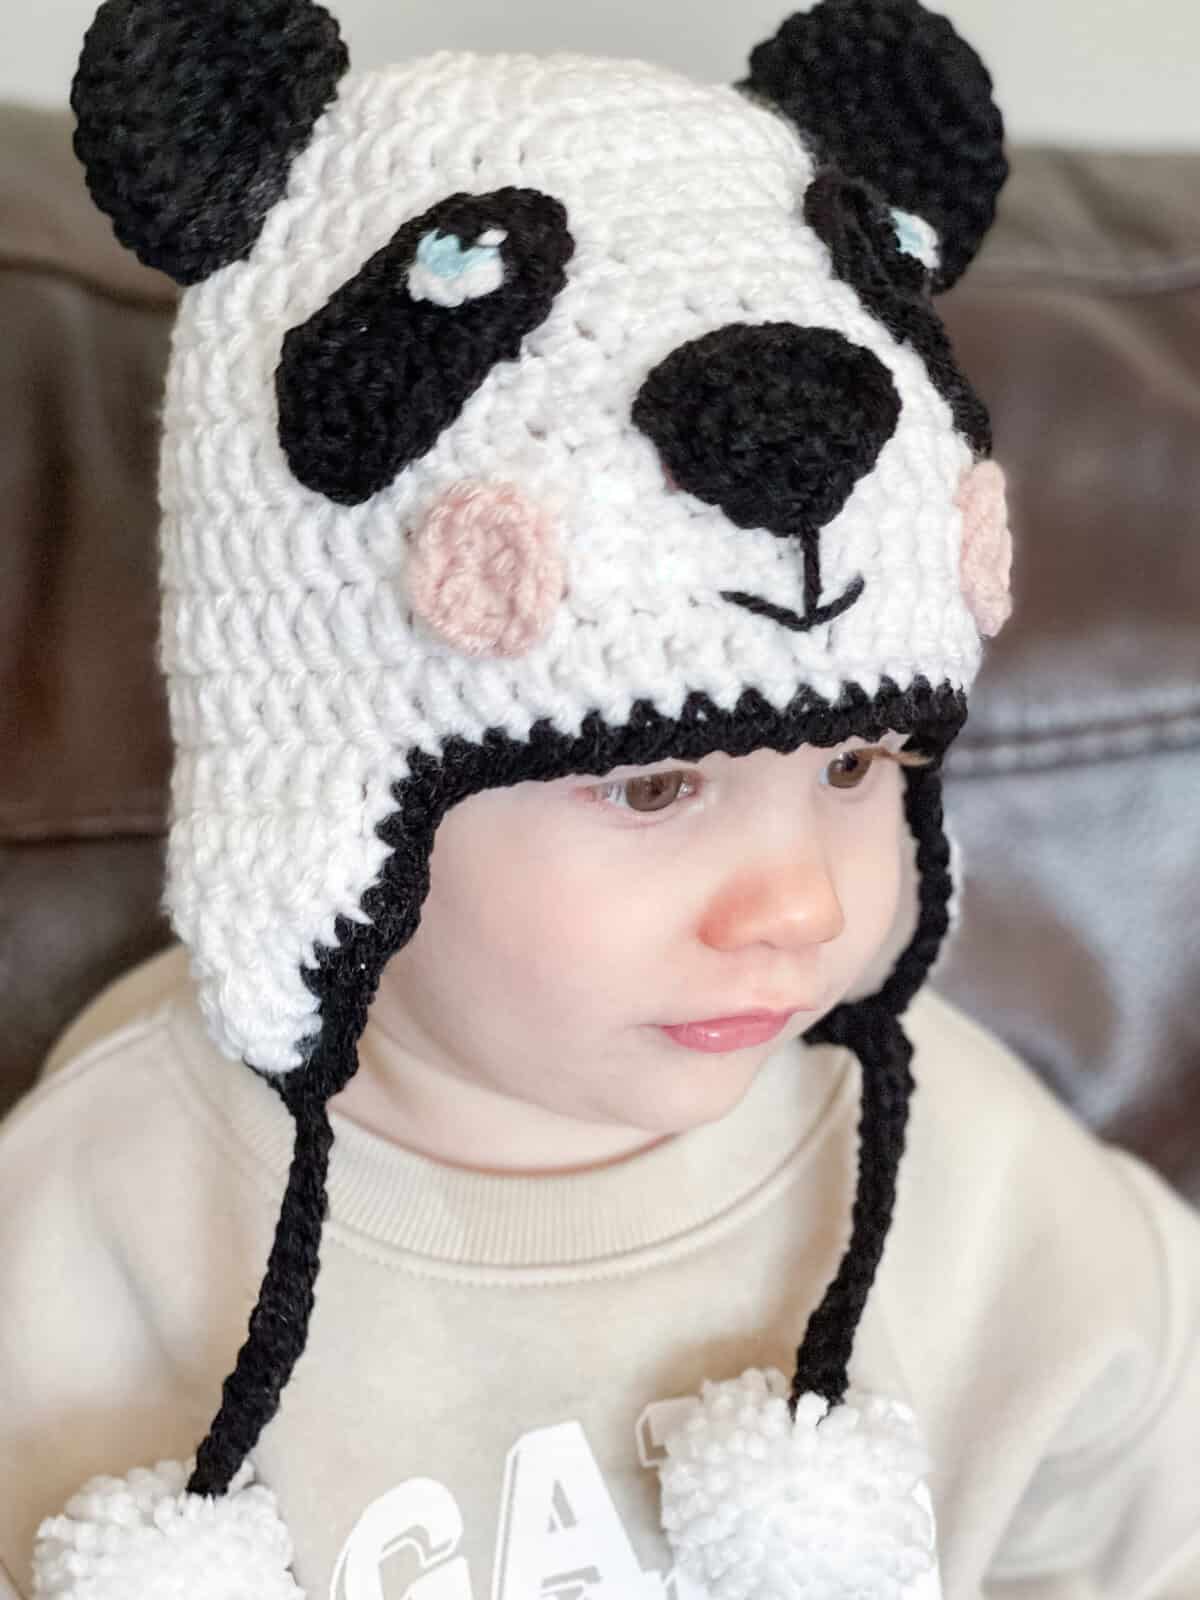
Panda Ear Flap Hat free pattern instructions
Pattern written in US crochet terminology
Supplies:
- Loops & Threads Soft Classic Weight 4 / Medium (100% acrylic)
- Color: White (White)
- Newborn 1.0 oz / 55 yards
- 1 - 6 Months 1.2 oz / 65 yards
- 6 - 12 Months 1.5 oz / 80 yards
- Toddler 1.7 oz / 90 yards
- Child 2.0 oz / 105 yards
- Teen (Adult Small) 2.2 oz / 120 yards
- Color: Black 0.6 oz / 31 yards (Black)
- Color: Aqua 0.01 oz / 1 yards (Blue)
- Color: Blush 0.05 oz / 3 yards (Pink)
Size I (5.5 mm) crochet hook
Stitch marker
Scissors
Tapestry Needle
Gauge: First 3 rounds = 3 1/2"
Abbreviations:
- Rnd(s) = round(s)
- RS = right side
- MC = magic circle
- ch(s) = chain(s)
- dc = double crochet
- sl st = slip stitch
- st(s) = stitch(es)
- dc2tog = double crochet 2 together (See Special Stitches Section Below)
- yo = yarn over
- sk = skip
- sc = single crochet
- hdc = half double crochet
- yo = yarn over
Special Stitches:
dc2tog =Yo, insert hook into next stitch and pull up a loop (three loops on hook), yo, pull through two loops (two loops on hook), yo, insert hook into next st, pull up a loop (four loops on hook), yo, pull through two loops (three loops on hook), yo, pull through remaining three loops on hook.
Approximate finished sizes:
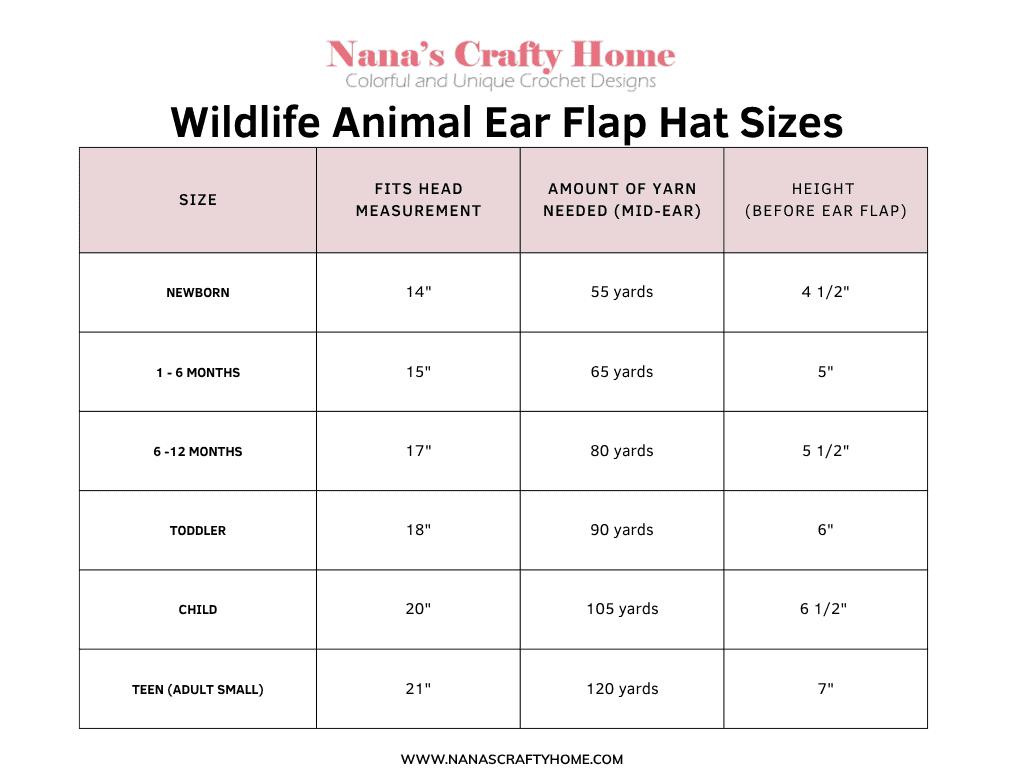
Pattern Notes:
- Hat is worked from the top-down.
- Ch-3 at beginning of each round counts as first stitch.
- Ch-2 at beginning of a row does not count as stitch.
Recommended Tutorials:
Crochet Cartoon Eyes in 3 Sizes Tutorial
DC All Day Beanie Hat Tutorial
Add Ear Flaps to the DC All Day Beanie Tutorial
Pattern Instructions
Size Newborn
Finished Hat Circumference: 13”
With White, make a MC.
Rnd 1: (RS) Ch 3 (counts as first st), 11 dc in MC, join with sl st in top of ch-3 and tighten ring. (12)
Rnd 2: Ch 3, 1 dc in same st, 2 dc in each st around, sl st in top of ch-3. (24)
Rnd 3: Ch 3, 1 dc in same st, 1 dc in next st, *2 dc in next st, 1 dc in next st,* repeat from * to * to end, sl st in top of ch-3. (36)
Rnd 4: Ch 3, 1 dc in same st, 1 dc in next 11 sts, *2 dc in next st, 1 dc in next 11 sts,* repeat from * to * once, sl st in top of ch-3. (39)
Rnd 5: Ch 3, 1 dc in same st, 1 dc in next 12 sts, *2 dc in next st, 1 dc in next 12 sts,* repeat from * to * once, sl st in top of ch-3. (42)
Rnd 6: Ch 3, 1 dc in same st, 1 dc in next 13 sts, *2 dc in next st, 1 dc in next 13 sts,* repeat from * to * once, sl st in top of ch-3. (45)
Rnd 7: Ch 3, 1 dc in each st around, sl st in top of ch-3.
Rnds 8 - 9: Repeat round 7.
Fasten off, weave in ends.
Advance to Ear Flap instructions.
Size 1 - 6 Months
Finished Hat Circumference: 14”
With White, make a MC.
Rnd 1: (RS) Ch 3 (counts as first st), 11 dc in MC, join with sl st in top of ch-3 and tighten ring. (12)
Rnd 2: Ch 3, 1 dc in same st, 2 dc in each st around, sl st in top of ch-3. (24)
Rnd 3: Ch 3, 1 dc in same st, 1 dc in next st, *2 dc in next st, 1 dc in next st,* repeat from * to * to end, sl st in top of ch-3. (36)
Rnd 4: Ch 3, 1 dc in same st, 1 dc in next 11 sts, *2 dc in next st, 1 dc in next 11 sts,* repeat from * to * once, sl st in top of ch-3. (39)
Rnd 5: Ch 3, 1 dc in same st, 1 dc in next 12 sts, *2 dc in next st, 1 dc in next 12 sts,* repeat from * to * once, sl st in top of ch-3. (42)
Rnd 6: Ch 3, 1 dc in same st, 1 dc in next 13 sts, *2 dc in next st, 1 dc in next 13 sts,* repeat from * to * once, sl st in top of ch-3. (45)
Rnd 7: Ch 3, 1 dc in same st, 1 dc in next 14 sts, *2 dc in next st, 1 dc in next 14 sts,* repeat from * to * once, sl st in top of ch-3. (48)
Rnd 8: Ch 3, 1 dc in each st around, sl st in top of ch-3.
Rnds 9 - 10: Repeat round 8.
Fasten off, weave in ends.
Advance to Ear Flap instructions.
Size 6 - 12 Months
Finished Hat Circumference: 16”
With White, make a MC.
Rnd 1: (RS) Ch 3 (counts as first st), 11 dc in MC, join with sl st in top of ch-3 and tighten ring. (12)
Rnd 2: Ch 3, 1 dc in same st, 2 dc in each st around, sl st in top of ch-3. (24)
Rnd 3: Ch 3, 1 dc in same st, 1 dc in next st, *2 dc in next st, 1 dc in next st,* repeat from * to * to end, sl st in top of ch-3. (36)
Rnd 4: Ch 3, 1 dc in same st, 1 dc in next 11 sts, *2 dc in next st, 1 dc in next 11 sts,* repeat from * to * once, sl st in top of ch-3. (39)
Rnd 5: Ch 3, 1 dc in same st, 1 dc in next 12 sts, *2 dc in next st, 1 dc in next 12 sts,* repeat from * to * once, sl st in top of ch-3. (42)
Rnd 6: Ch 3, 1 dc in same st, 1 dc in next 13 sts, *2 dc in next st, 1 dc in next 13 sts,* repeat from * to * once, sl st in top of ch-3. (45)
Rnd 7: Ch 3, 1 dc in same st, 1 dc in next 14 sts, *2 dc in next st, 1 dc in next 14 sts,* repeat from * to * once, sl st in top of ch-3. (48)
Rnd 8: Ch 3, 1 dc in same st, 1 dc in next 15 sts, *2 dc in next st, 1 dc in next 15 sts,* repeat from * to * once, sl st in top of ch-3. (51)
Rnd 9: Ch 3, 1 dc in each st around, sl st in top of ch-3.
Rnds 10 - 11: Repeat round 9.
Fasten off, weave in ends.
Advance to Ear Flap instructions.
Size Toddler
Finished Hat Circumference: 17”
With White, make a MC.
Rnd 1: (RS) Ch 3 (counts as first st), 11 dc in MC, join with sl st in top of ch-3 and tighten ring. (12)
Rnd 2: Ch 3, 1 dc in same st, 2 dc in each st around, sl st in top of ch-3. (24)
Rnd 3: Ch 3, 1 dc in same st, 1 dc in next st, *2 dc in next st, 1 dc in next st,* repeat from * to * to end, sl st in top of ch-3. (36)
Rnd 4: Ch 3, 1 dc in same st, *1 dc in next 2 sts, 2 dc in next st,* repeat from * to * to last 2 sts, 1 dc in last 2 sts, sl st in top of ch-3. (48)
Rnd 5: Ch 3, 1 dc in same st, 1 dc in next 11 sts, *2 dc in next st, 1 dc in next 11 sts,* repeat from * to * once, sl st in top of ch-3. (52)
Rnd 6: Ch 3, 1 dc in same st, 1 dc in next 12 sts, *2 dc in next st, 1 dc in next 12 sts,* repeat from * to * once, sl st in top of ch-3. (56)
Rnd 7: Ch 3, 1 dc in each st around, sl st in top of ch-3.
Rnds 8 - 12: Repeat round 7.
Fasten off, weave in ends.
Advance to Ear Flap instructions.
Size Child
Finished Hat Circumference: 19”
With White, make a MC.
Rnd 1: (RS) Ch 3 (counts as first st), 11 dc in MC, join with sl st in top of ch-3 and tighten ring. (12)
Rnd 2: Ch 3, 1 dc in same st, 2 dc in each st around, sl st in top of ch-3. (24)
Rnd 3: Ch 3, 1 dc in same st, 1 dc in next st, *2 dc in next st, 1 dc in next st,* repeat from * to * to end, sl st in top of ch-3. (36)
Rnd 4: Ch 3, 1 dc in same st, *1 dc in next 2 sts, 2 dc in next st,* repeat from * to * to last 2 sts, 1 dc in last 2 sts, sl st in top of ch-3. (48)
Rnd 5: Ch 3, 1 dc in same st, 1 dc in next 11 sts, *2 dc in next st, 1 dc in next 11 sts,* repeat from * to * once, sl st in top of ch-3. (52)
Rnd 6: Ch 3, 1 dc in same st, 1 dc in next 12 sts, *2 dc in next st, 1 dc in next 12 sts,* repeat from * to * once, sl st in top of ch-3. (56)
Rnd 7: Ch 3, 1 dc in same st, 1 dc in next 13 sts, *2 dc in next st, 1 dc in next 13 sts,* repeat from * to * once, sl st in top of ch-3. (60)
Rnd 8: Ch 3, 1 dc in each st around, sl st in top of ch-3.
Rnds 9 - 13: Repeat round 8.
Fasten off, weave in ends.
Advance to Ear Flap instructions.
Size Teen (Adult Small)
Finished Hat Circumference: 20”
With White, make a MC.
Rnd 1: (RS) Ch 3 (counts as first st), 11 dc in MC, join with sl st in top of ch-3 and tighten ring. (12)
Rnd 2: Ch 3, 1 dc in same st, 2 dc in each st around, sl st in top of ch-3. (24)
Rnd 3: Ch 3, 1 dc in same st, 1 dc in next st, *2 dc in next st, 1 dc in next st,* repeat from * to * to end, sl st in top of ch-3. (36)
Rnd 4: Ch 3, 1 dc in same st, *1 dc in next 2 sts, 2 dc in next st,* repeat from * to * to last 2 sts, 1 dc in last 2 sts, sl st in top of ch-3. (48)
Rnd 5: Ch 3, 1 dc in same st, 1 dc in next 11 sts, *2 dc in next st, 1 dc in next 11 sts,* repeat from * to * once, sl st in top of ch-3. (52)
Rnd 6: Ch 3, 1 dc in same st, 1 dc in next 12 sts, *2 dc in next st, 1 dc in next 12 sts,* repeat from * to * once, sl st in top of ch-3. (56)
Rnd 7: Ch 3, 1 dc in same st, 1 dc in next 13 sts, *2 dc in next st, 1 dc in next 13 sts,* repeat from * to * once, sl st in top of ch-3. (60)
Rnd 8: Ch 3, 1 dc in same st, 1 dc in next 14 sts, *2 dc in next st, 1 dc in next 14 sts,* repeat from * to * once, sl st in top of ch-3. (64)
Rnd 9: Ch 3, 1 dc in each st around, sl st in top of ch-3.
Rnds 10 - 14: Repeat round 9.
Fasten off, weave in ends.
Ear Flap
Newborn, 1-6 Months & 6-12 Months
With RS facing, locate the seam (first st of last round). Working in the same direction as your last round, sk 7 (Newborn), 8 (1-6 months) or 9 (6-12 months) sts, join White with sl st in next st.
Row 1: (RS) Ch 2 (does not count as st), 1 dc in same st, 1 dc in next 7 sts. Turn. (8)
Row 2: Ch 2, dc2tog, 1 dc in next 4 sts, dc2tog. Turn. (6)
Row 3: Ch 2, dc2tog, 1 dc in next 2 sts, dc2tog. Turn. (4)
Row 4: Ch 2, dc2tog x 2. (2)
Fasten off.
With RS facing, continuing in the same direction, sk next 15 (Newborn), 16 (1-6 months) or 17 (6-12 months) sts, join with sl st in next st. Repeat instructions for second ear flap.
Fasten off.
With RS facing, join Black with sl st to any st, ch 1, sc evenly around outside edge of hat, sl st in first st.
Fasten off, weave in ends.
Toddler & Child
With RS facing, locate the seam (first st of last round). Working in the same direction as your last round, sk 9 (Toddler) or 10 (Child) sts, join White withsl st in next st.
Row 1: (RS) Ch 2 (does not count as st), 1 dc in same st, 1 dc in next 9 sts. Turn. (10)
Row 2: Ch 2, dc2tog, 1 dc in next 6 sts, dc2tog. Turn. (8)
Row 3: Ch 2, dc2tog, 1 dc in next 4 sts, dc2tog. Turn. (6)
Row 4: Ch 2, dc2tog, 1 dc in next 2 sts, dc2tog. Turn. (4)
Row 5: Ch 2, dc2tog x 2. (2)
Fasten off.
With RS facing, continuing in the same direction, sk next 18 (Toddler) or 20 (Child) sts, join with sl st in next st. Repeat instructions for second ear flap.
Fasten off.
With RS facing, join Black with sl st to any st, ch 1, sc evenly around outside edge of hat, sl st in first st.
Fasten off, weave in ends
Teen
With RS facing, locate the seam (first st of last round). Working in the same direction as your last round, sk 10 sts, join White with sl st in next st.
Row 1: (RS) Ch 2 (does not count as st), 1 dc in same st, 1 dc in next 11 sts. Turn. (12)
Row 2: Ch 2, dc2tog, 1 dc in next 8 sts, dc2tog. Turn. (10)
Row 3: Ch 2, dc2tog, 1 dc in next 6 sts, dc2tog. Turn. (8)
Row 4: Ch 2, dc2tog, 1 dc in next 4 sts, dc2tog. Turn. (6)
Row 5: Ch 2, dc2tog, 1 dc in next 2 sts, dc2tog. Turn. (4)
Row 6: Ch 2, dc2tog x 2. (2)
Fasten off.
With RS facing, continuing in the same direction, sk next 20 sts, join with sl st in next st. Repeat instructions for second ear flap.
Fasten off.
With RS facing, join Black with sl st to any st, ch 1, sc evenly around outside edge of hat, sl st in first st.
Fasten off, weave in ends
Ears (make 2)
Rnd 1: (RS) With Black, make a MC, ch 1, 6 sc in MC. (6)
Rnd 2: 2 sc in each st. (12)
Rnd 3: *2 sc in next st, 1 sc in next st,* repeat from * to * to end. (18)
Rnd 4: Sc in each st. (18)
Rnds 5 - 7: Repeat round 4.
Fasten off, leaving a long tail for sewing.
Eye Patches (make 2)
With black, ch 7.
Round 1: Sc in the second ch from the hook, sc in next 4 chs, 3 sc in last ch, rotate work to begin working in unused loop of foundation ch; sc in next 4 loops, 2 sc in last loop. (14)
Round 2: 2 sc in first st, sc in next 4 sts, 2 sc in each of next three sts, sc in next 4 sts, 2 sc in each of next two sts, sl st to first st of round. (20)
Fasten off, leaving a long tail for sewing.
Nose
With Black, ch 2.
Row 1: 2 sc in second ch from hook. Turn. (2)
Row 2: Ch 1, 2 sc in same st, 2 sc in last st. Turn. (4)
Row 3: Ch 1, 2 sc in same st, sc in each st to last st, 2 sc in last st. Turn. (6)
Work sc sts evenly around outside edge of nose, working 2 sc sts in each corner, sl st to first st.
Fasten off, leaving a long tail for sewing.
Eyes (make 2)
With black, make MC.
Rnd 1: (RS) Ch 1, 6 sc in MC, join with sl st in first st, tighten ring. (6)
Fasten off black, leaving a long tail for sewing.
Row 2: Join blue in first st of round 1, sl st in next 4 sts.
Fasten off blue.
Row 3: Join white in first st of round 1 (behind slip stitches of row 2), sl st in next 4 sts.
Fasten off white, leaving a long tail for embroidery of eye.
With long tail of white, embroider center of eye.
Weave in remaining ends not left for sewing.
Cheeks (make 2)
With pink, make a MC.
Rnd 1: (RS) Ch 1, 8 hdc in MC, join with sl st in top first hdc, tighten ring. (8)
Fasten off, leaving a long tail for sewing.
Pom Pom Tie (make 2)
With black, ch 16.
Row 1: Sl st in second ch from hook and in each ch to end.
Fasten off leaving a long tail for sewing.
With white, make a 1 1/2” pom pom.
Attach pom pom to end without tails.
Assembly
Sew pieces to RS of hat.
With long tails, sew ears at top sides of hat.
With long tails, sew eyes to eye patches.
With long tails, sew eye patches to front of hat.
With long tail, sew nose to center of hat below eyes.
With a long tail of black yarn, embroider smile.
With long tails, sew cheeks to hat.
With long tails, sew ties to end of each ear flap.
Weave in remaining ends.
Copyright 2026 Tonya Bush / Nana’s Crafty Home, LLC.
Social Media links:
Community: https://community.raptive.com/nanascraftyhome
Facebook: https://www.facebook.com/nanascraftyhome
Instagram: https://www.instagram.com/nanascraftyhome/
Pinterest: https://www.pinterest.com/nanascraftyhome/
YouTube: https://www.youtube.com/c/TonyaBush
Twitter: https://twitter.com/nanascraftyhome
Facebook Group: https://www.facebook.com/groups/829792060522798
Sign up for my Newsletter: https://nanascraftyhome.com/sign-up-for-my-free-newsletter/
Disclaimer: This pattern is for personal use or small-scale crafting. If you intend to sell the finished product in the EU, ensure it complies with the General Product Safety Regulation (EU) 2023/988, including safety, labeling, and traceability requirements.
 Hi! Thank you so much for being here! I am Tonya the designer behind Nana's Crafty Home. As a wife, mother, Nana of 9 & with 2 fur babies, my days are filled with love, laughter, hugs and yarn! Here you will find colorful and creative crochet designs for yourself or loved ones. My hope is that you will be inspired to learn and create along with me!