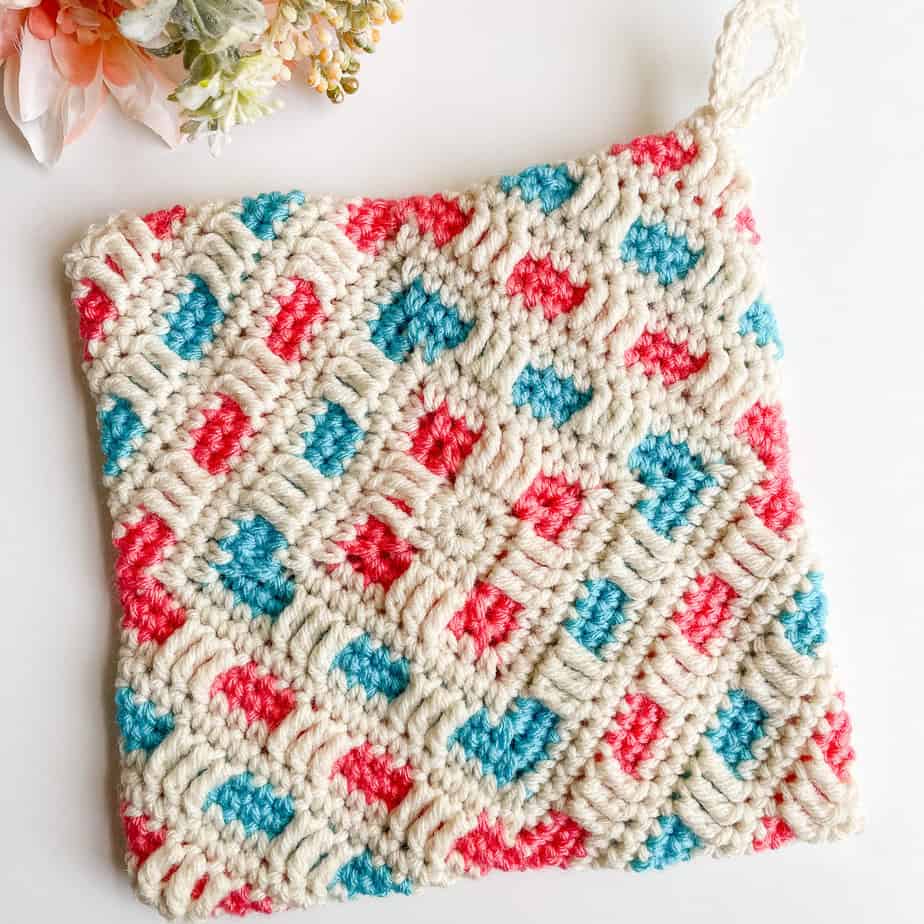
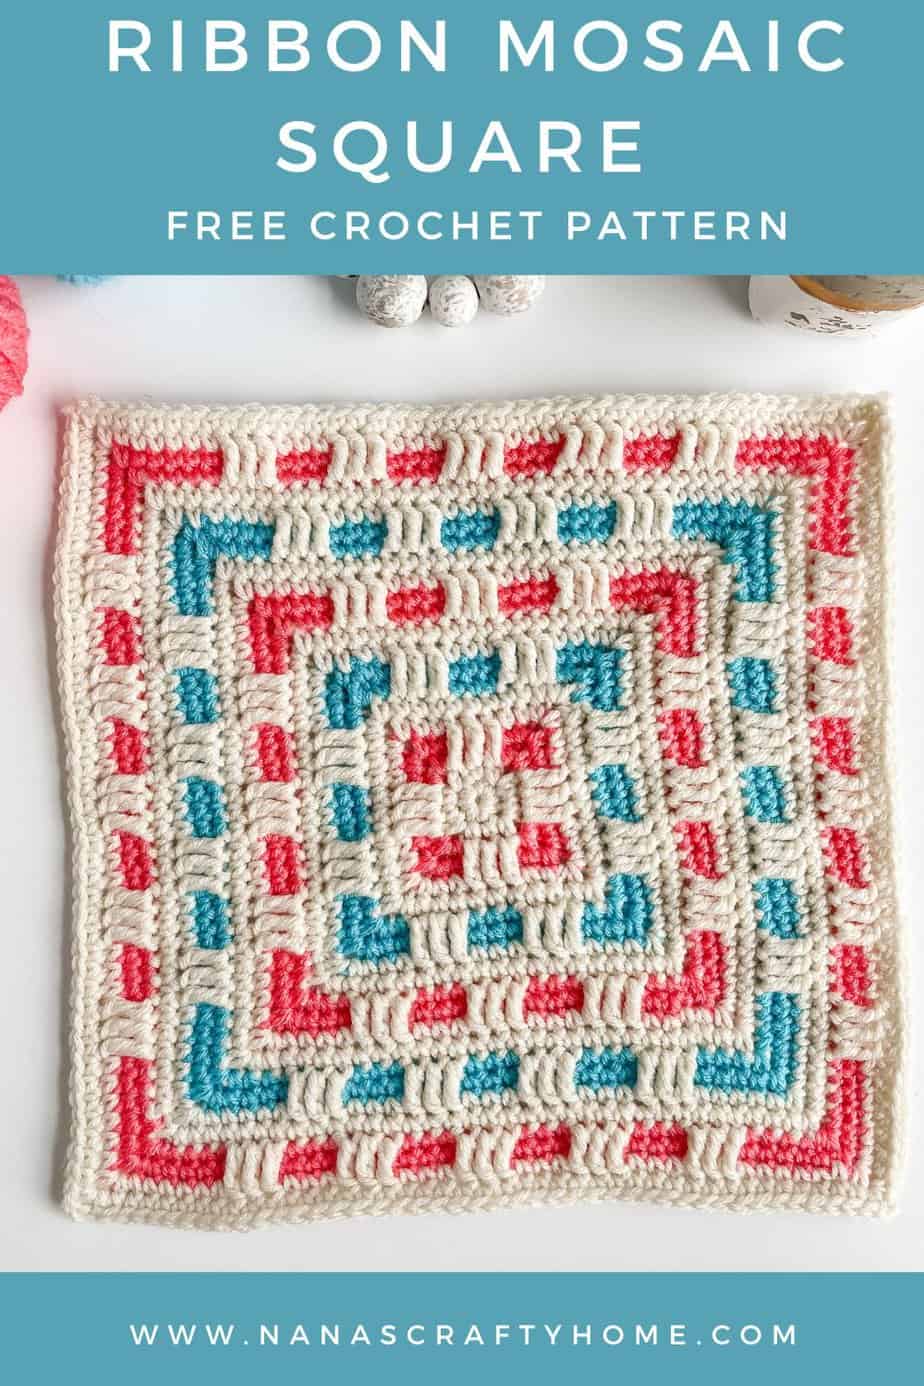
The Ribbon Mosaic Granny Square is a free crochet pattern by Nana’s Crafty Home!

This fun and interesting mosaic granny square is an easy solid square that would make the perfect introduction to the mosaic crochet technique.
The basic single crochet square is worked in rounds with a main color and two contrasting colors. However, it also looks lovely in just two colors as well.
This 12″ mosaic granny square could also be the start of a gorgeous blanket! You could follow the basic stitch pattern established in these rounds and continue to the size you desire. Perfect for a baby blanket!
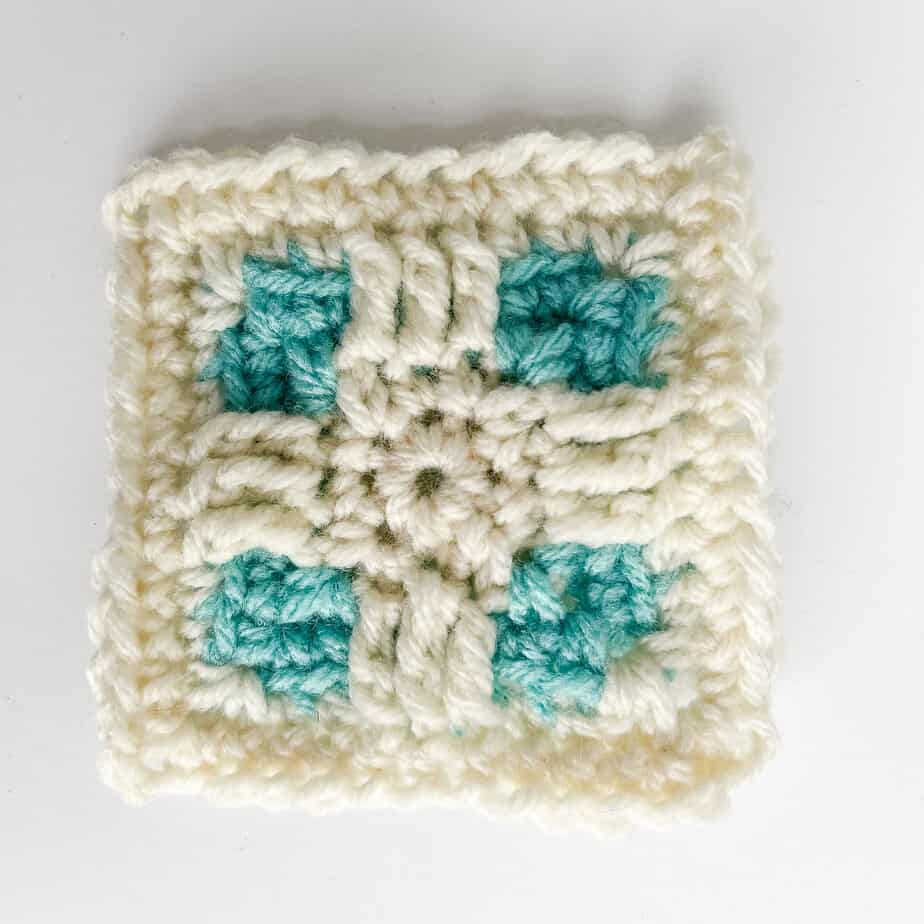
The texture in this square comes from working specified single crochet stitches into the back loop only. Two rounds later you will work elongated double crochet stitches into the front loops of those stitches.
Ribbon 12″ Mosaic Granny Square Pattern Details
You only need to know how to make single crochet stitches, double crochet stitches and chains for this square. You will also need to know how to work stitches into the back loop only in order to work the elongated double crochet stitch into the front loops.
What is an elongated double crochet stitch? Basically just a fancy way of saying you will pull your loops up a little higher in order for your double crochet stitch to be the height of your current row.
With the color changes – working your double crochet over the previous rounds of a contrasting color really lets those stitches stand out. Looks like ribbons in your blanket!

If you are new to mosaic crochet this would be the perfect introduction to it. A very simple pattern!
I used Red Heart Super Saver yarn* for my square which is an economical medium worsted weight acrylic yarn. However, you could certainly use your favorite substitute. If you are using this as a square with other squares just make sure that you are using the same yarn as your other squares.
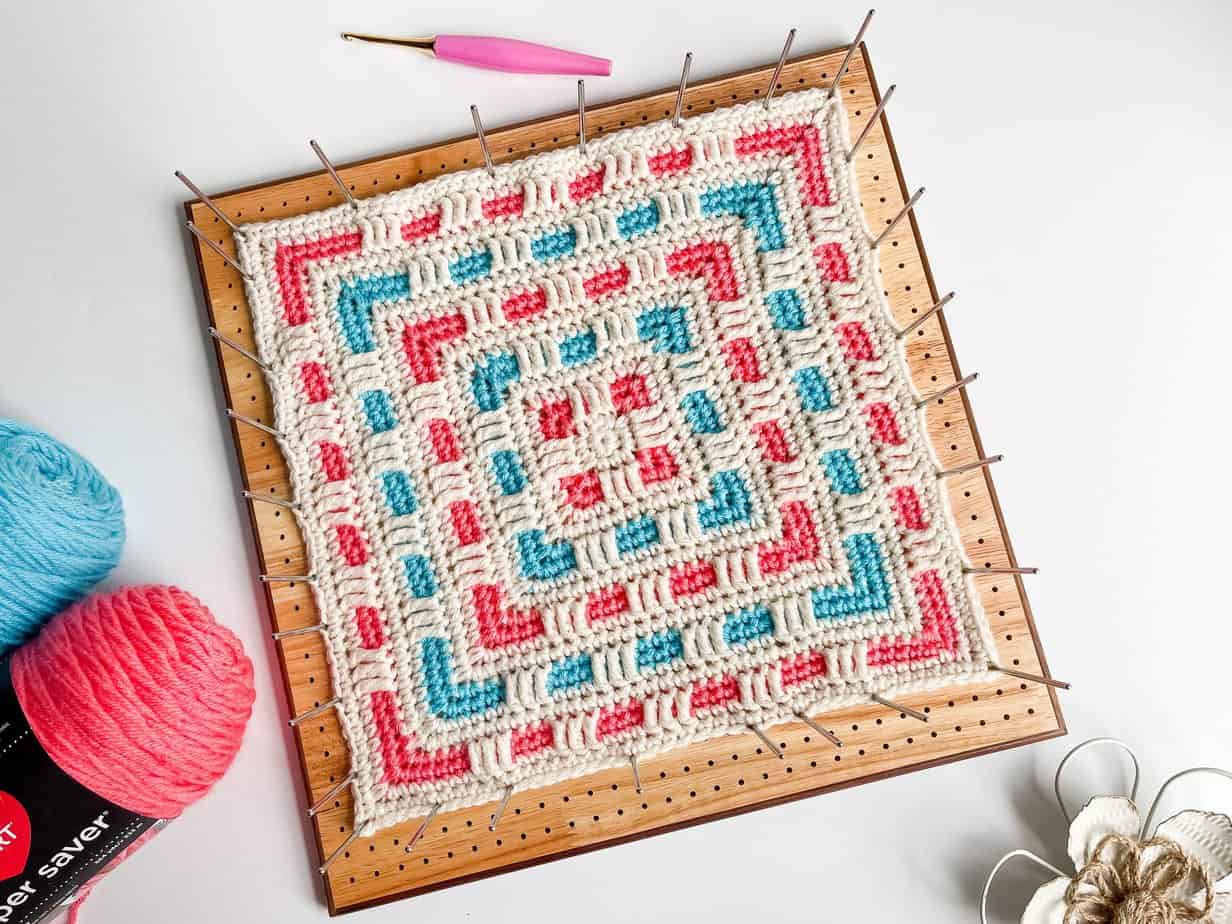
I do recommend a wet block once the square is complete. One of my favorite things for blocking squares is the Olikraft Handcrafted Wooden Blocking Board. This beautiful wood board comes with 50 4-inch stainless steel pins. I have the largest 14″ size board so I can easily block my 12″ squares.
*This post contains affiliate links. You can click on any yarn or material highlighted to purchase. I will receive a small commission if you purchase but it won’t cost you any extra! As an Amazon Associate I earn from qualifying purchases.
Stash Busting Crochet Along Sampler Blanket
This square is part of the 2023 Stash Busting Crochet Along Sampler hosted by The Unraveled Mitten. This CAL is going to be a total of 20 different 12″ squares each designed by a different designer. Such a fun project!
You can mix and match the squares to your liking – pick and choose your favorites! There are some really great ones included.
For the CAL we are using Red Heart Super Saver yarn which is a #4 medium worsted weight acrylic yarn. However, you can use your favorite yarn – just make sure if the squares are being joined together that you are using the same yarn throughout. Even if a yarn is listed as the same thickness there can be a lot of variation between them which will affect the finished size of your square.
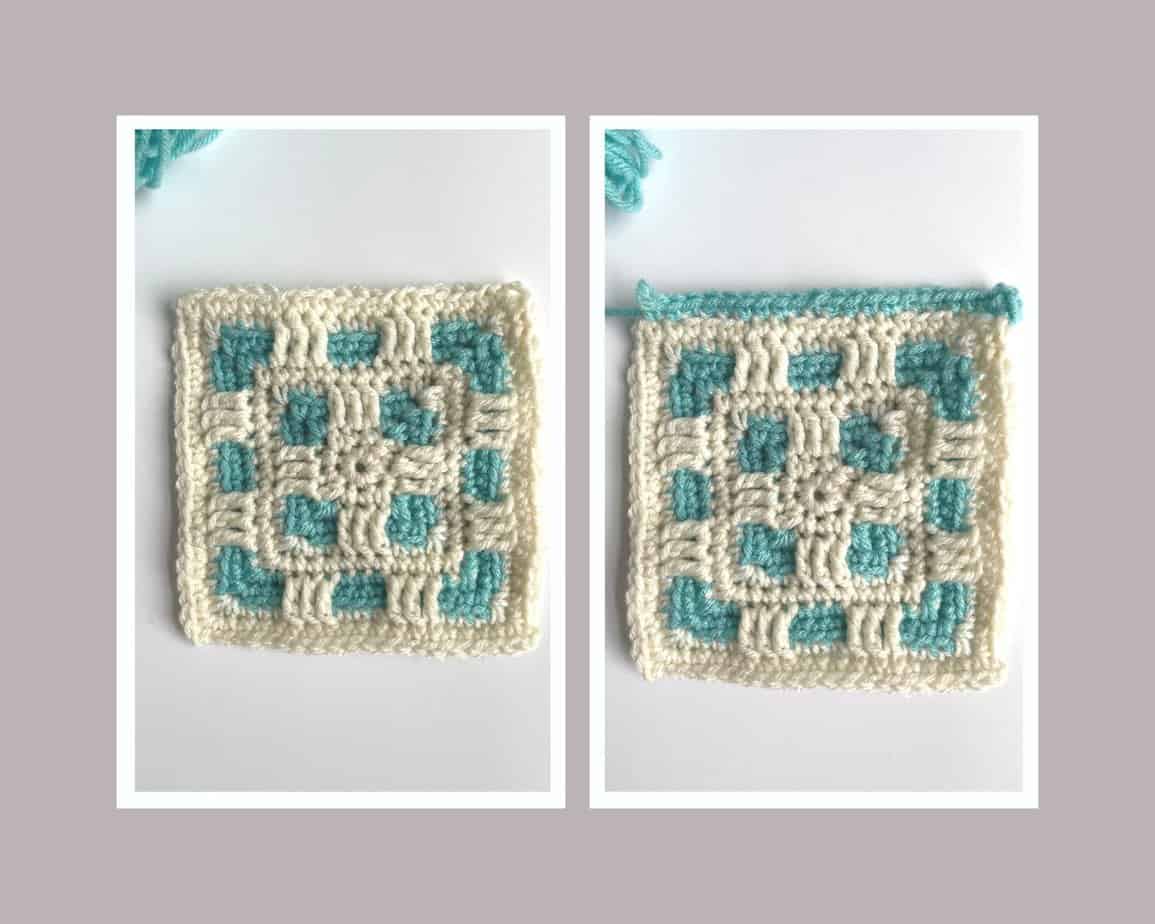
I also turned my Ribbon Mosaic Square into a beautiful double-thick Pot Holder using a simple, beginner-friendly fold and seam method. Check out the How to Fold a crochet square into a double-thick Hot Pad complete photo and video tutorial to help you as well!
The Ribbon Mosaic Square is available as an ad-free, printable PDF! You can purchase the individual pattern for the mosaic granny square, or if you love PDFs, you might want to check out my Lifetime Membership. It’s an awesome deal! Never pay for one of my PDFs again!! (Or, scroll down for the free version!)

Purchase the ad-free pdf of the Ribbon Mosaic granny square for a small fee. Thank you so much for supporting my work!

If you would like daily crochet inspiration be sure to follow me on Facebook, Instagram, Pinterest, YouTube, Twitter and Tumblr!
To get notified of my free easy crochet patterns and future giveaways, sign up for my newsletter. I never share or sell your information to third parties — it stays private!
*This post contains affiliate links. You can click on any yarn or material highlighted to purchase. I will receive a small commission if you purchase but it won’t cost you any extra! As an Amazon Associate I earn from qualifying purchases.
Do you love granny squares? You may also love these free crochet granny square patterns:


- 1. Cottage Bloom 6″ Granny Square free crochet pattern
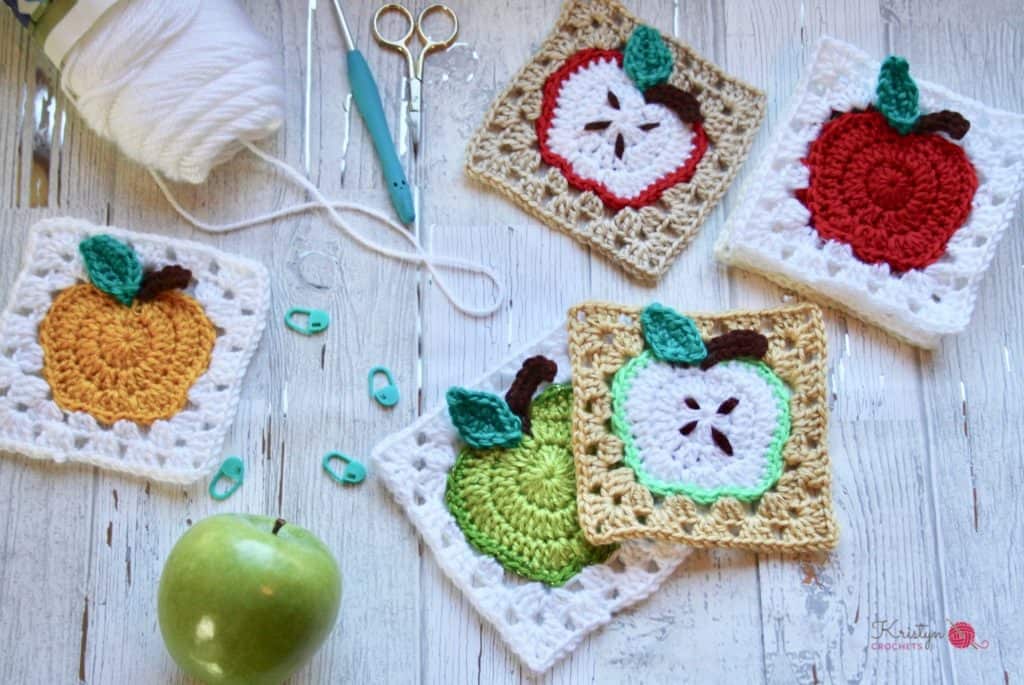
- 2. Apple Granny Square free crochet pattern
- 3. Sunflower Motif Square free crochet pattern

Ribbon Mosaic Square free crochet pattern
Pattern written in US crochet terminology
Supplies:
- Red Heart Super Saver, Weight 4 Medium (100% acrylic) 7 oz / 364 yds
- Color Aran (Color A)
- Color Persimmon (Color B)
- Color Torqua (Color C)
Crochet hook size I (5.5 mm)
Scissors
Tapestry Needle
Approximate finished size: 12” X 12” after blocking
Gauge: 1 square = 12”
Abbreviations:
- MC = magic circle
- RS = right side
- sc = single crochet
- ch(s) = chain(s)
- BLO = back loop only
- edc = elongated double crochet (see special stitches below)
- sl st = slip stitch
- sp = space
Special Stitches:
edc = standard double crochet stitch with loops pulled up taller to elongate the stitch.
Pattern Notes:
For this pattern, the edc will always be worked on front loops of a stitch 2 rows below, therefore, always skip the sts from the previous round that lie behind the edc sts that are made.
Recommended Tutorials:
How to Wet Block Crochet Projects
Pattern Instructions
Round 1: (RS) With Color A, make a MC, ch 1, 8 sc in MC. Alternative to MC: ch 2, 8 sc in second ch from hook. (8)
Round 2: *(1 sc, ch 2, 1 sc) in next st, 1 sc in next st,* repeat from * to * to end, sl st in first st. (12 sts + 4 ch-2 sps)
Fasten off Color A.
Round 3: Attach Color B to any ch-2 corner sp, ch 1, *(1 sc, ch 2, 1 sc) in ch-2 sp, working in BLO, sc in each st to next ch-2 sp,* repeat from * to * to end, sl st in first st. (20 sts + 4 ch-2 sps)
Round 4: *(1 sc, ch 2, 1 sc) in ch-2 sp, working in both loops, 1 sc in each st to next corner ch-2 sp,* repeat from * to * to end, sl st in first st. (28 sts + 4 ch-2 sps)
Fasten off Color B.
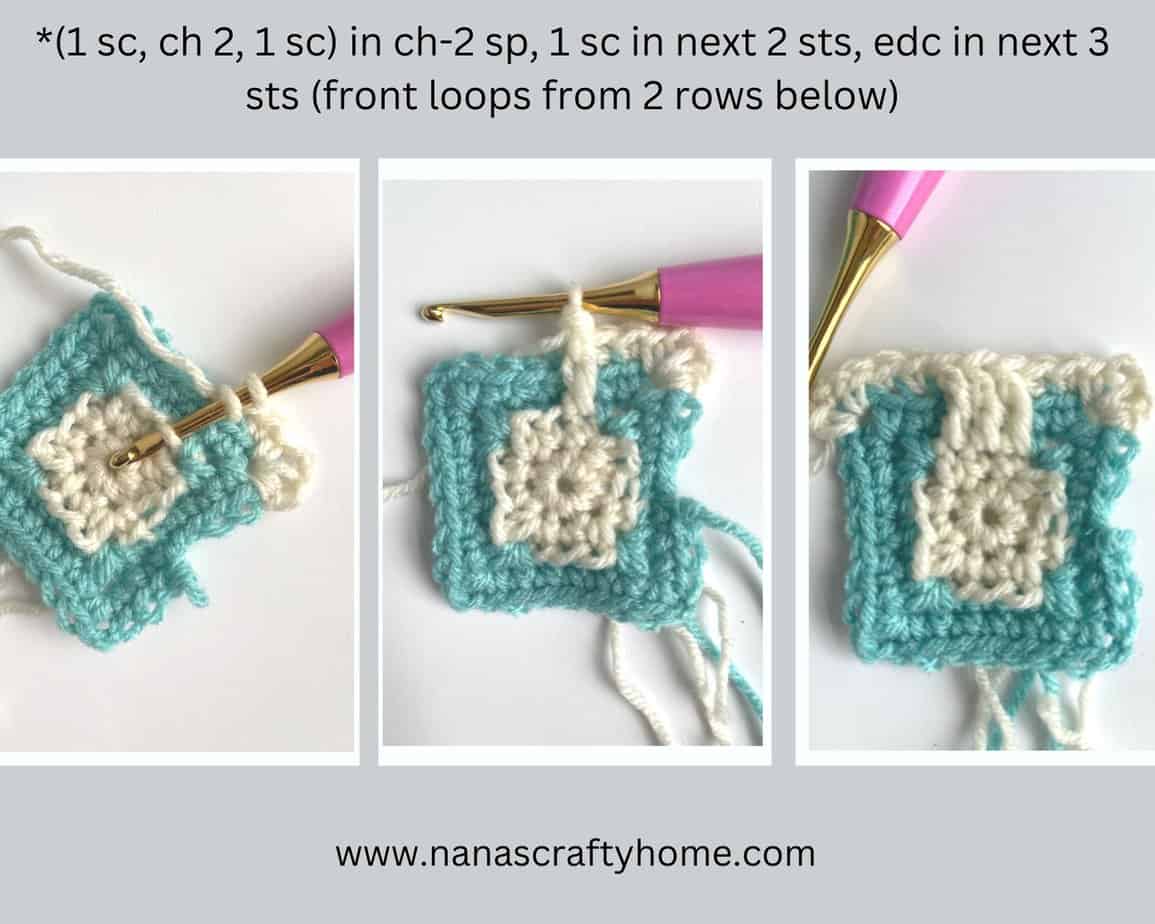
Round 5: Attach Color A to any ch-2 corner sp, ch 1, *(1 sc, ch 2, 1 sc) in ch-2 sp, 1 sc in next 2 sts, edc in next 3 sts (front loops from 2 rows below), sc in next 2 sts,* repeat from * to * to end, sl st in first st. (36 sts + 4 ch-2 sps)
Round 6: Repeat round 4. (44 sts + 4 ch-2 sps)
Fasten off Color A.
Round 7: Attach Color C to any ch-2 corner sp, ch 1, *(1 sc, ch 2, 1 sc) in ch-2 sp, 1 sc in next st, working in BLO, 1 sc in next 3 sts, working in both loops, 1 sc in next 3 sts, working in BLO, 1 sc in next 3 sts, working in both loops, 1 sc in next st,* repeat from * to * to end, sl st in first st. (52 sts + 4 ch-2 sps)
Round 8: Repeat round 4. (60 sts + 4 ch-2 sps)
Fasten off Color C.
Round 9: Attach Color A to any ch-2 corner sp, *(1 sc, ch 2, 1 sc) in ch-2 sp, 1 sc in next 3 sts, edc in next 3 sts (front loops from 2 rows below), sc in next 3 sts, edc in next 3 sts (front loops from 2 rows below), sc in next 3 sts,* repeat from * to * to end, sl st in first st. (68 sts + 4 ch-2 sps)
Round 10: Repeat round 4. (76 sts + 4 ch-2 sps)
Fasten off Color A.
Round 11: Attach Color B to any ch-2 corner sp, [(1 sc, ch 2, 1 sc) in ch-2 sp, 1 sc in next 2 sts, *working in BLO, 1 sc in next 3 sts, working in both loops, 1 sc in next 3 sts,* repeat from * to * once, working in BLO, 1 sc in next 3 sts, working in both loops, 1 sc in next 2 sts] 4 times, sl st in first st. (84 sts + 4 ch-2 sps)
Round 12: Repeat round 4. (92 sts + 4 ch-2 sps)
Fasten off Color B.
Round 13: Attach Color A to any ch-2 corner sp, [(1 sc, ch 2, 1 sc) in ch-2 sp, 1 sc in next 4 sts in both loops, *edc in next 3 sts (front loops from 2 rows below), sc in next 3 sts,* repeat from * to * to last st before next ch-2 sp, 1 sc in next st] 4 times, sl st in first st. (100 sts + 4 ch-2 sps)
Round 14: Repeat round 4. (108 sts + 4 ch-2 sps)
Fasten off Color A.
Round 15: Attach Color C to any ch-2 corner sp, [(1 sc, ch 2, 1 sc) in ch-2 sp, *working in both loops, 1 sc in next 3 sts, working in BLO, 1 sc in next 3 sts,* repeat from * to * to last 3 sts before next ch-2 sp, 1 sc in next 3 sts] 4 times, sl st in first st. (116 sts + 4 ch-2 sps)
Round 16: Repeat round 4. (124 sts + 4 ch-2 sps)
Fasten off Color C.
Round 17: Attach Color A to any ch-2 corner sp, [(1 sc, ch 2, 1 sc) in ch-2 sp, 1 sc in next 5 sts in both loops, *edc in next 3 sts (front loops from 2 rows below), sc in next 3 sts,* repeat from * to * to last 2 sts before next ch-2 sp, 1 sc in next 2 sts] 4 times, sl st in first st. (132 sts + 4 ch-2 sps)
Round 18: Repeat round 4. (140 sts + 4 ch-2 sps)
Fasten off Color A.
Round 19: Attach Color B to any ch-2 corner sp, [(1 sc, ch 2, 1 sc) in ch-2 sp, working in both loops, 1 sc in next 4 sts, *working in BLO, 1 sc in next 3 sts, working in both loops, 1 sc in next 3 sts,* repeat from * to * to last st before next ch-2 sp, 1 sc in next st] 4 times, sl st in first st. (148 sts + 4 ch-2 sps)
Round 20: Repeat round 4. (156 sts + 4 ch-2 sps)
Fasten off Color B.
Round 21: Attach Color A to any ch-2 corner sp, [(1 sc, ch 2, 1 sc) in ch-2 sp, 1 sc in next 6 sts in both loops, *edc in next 3 sts (front loops from 2 rows below), sc in next 3 sts,* repeat from * to * to last 3 sts before next ch-2 sp, 1 sc in next 3 sts] 4 times, sl st in first st. (164 sts + 4 ch-2 sps)
Round 22: Repeat round 4. (172 sts + 4 ch-2 sps)
Fasten off, weave in ends.
Wet block if desired.
Copyright 2023 Tonya Bush / Nana’s Crafty Home
Social Media links:
Facebook: https://www.facebook.com/nanascraftyhome
Instagram: https://www.instagram.com/nanascraftyhome/
Pinterest: https://www.pinterest.com/nanascraftyhome/
YouTube: https://www.youtube.com/c/TonyaBush
Twitter: https://twitter.com/nanascraftyhome
Facebook Group: https://www.facebook.com/groups/829792060522798
Sign up for my Newsletter: https://nanascraftyhome.com/sign-up-for-my-free-newsletter/
 Hi! Thank you so much for being here! I am Tonya the designer behind Nana's Crafty Home. As a wife, mother, Nana of 9 & with 2 fur babies, my days are filled with love, laughter, hugs and yarn! Here you will find colorful and creative crochet designs for yourself or loved ones. My hope is that you will be inspired to learn and create along with me!