Say hello to the Mosaic Medley Crochet Pumpkins Pattern!
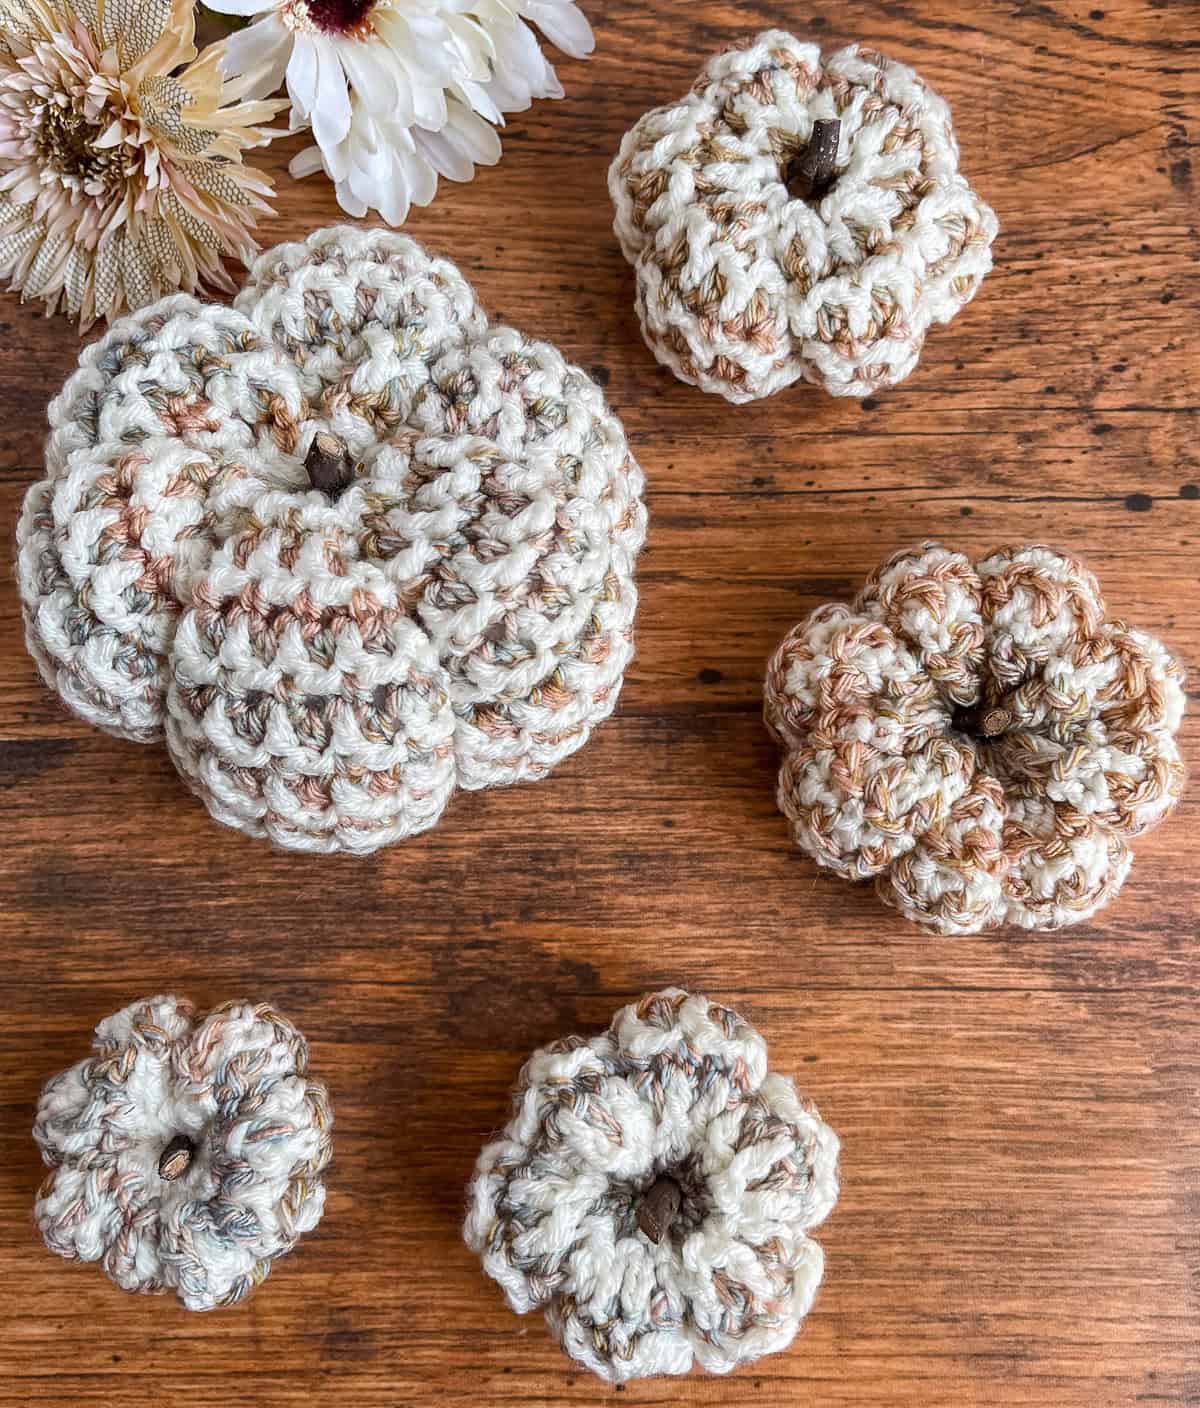
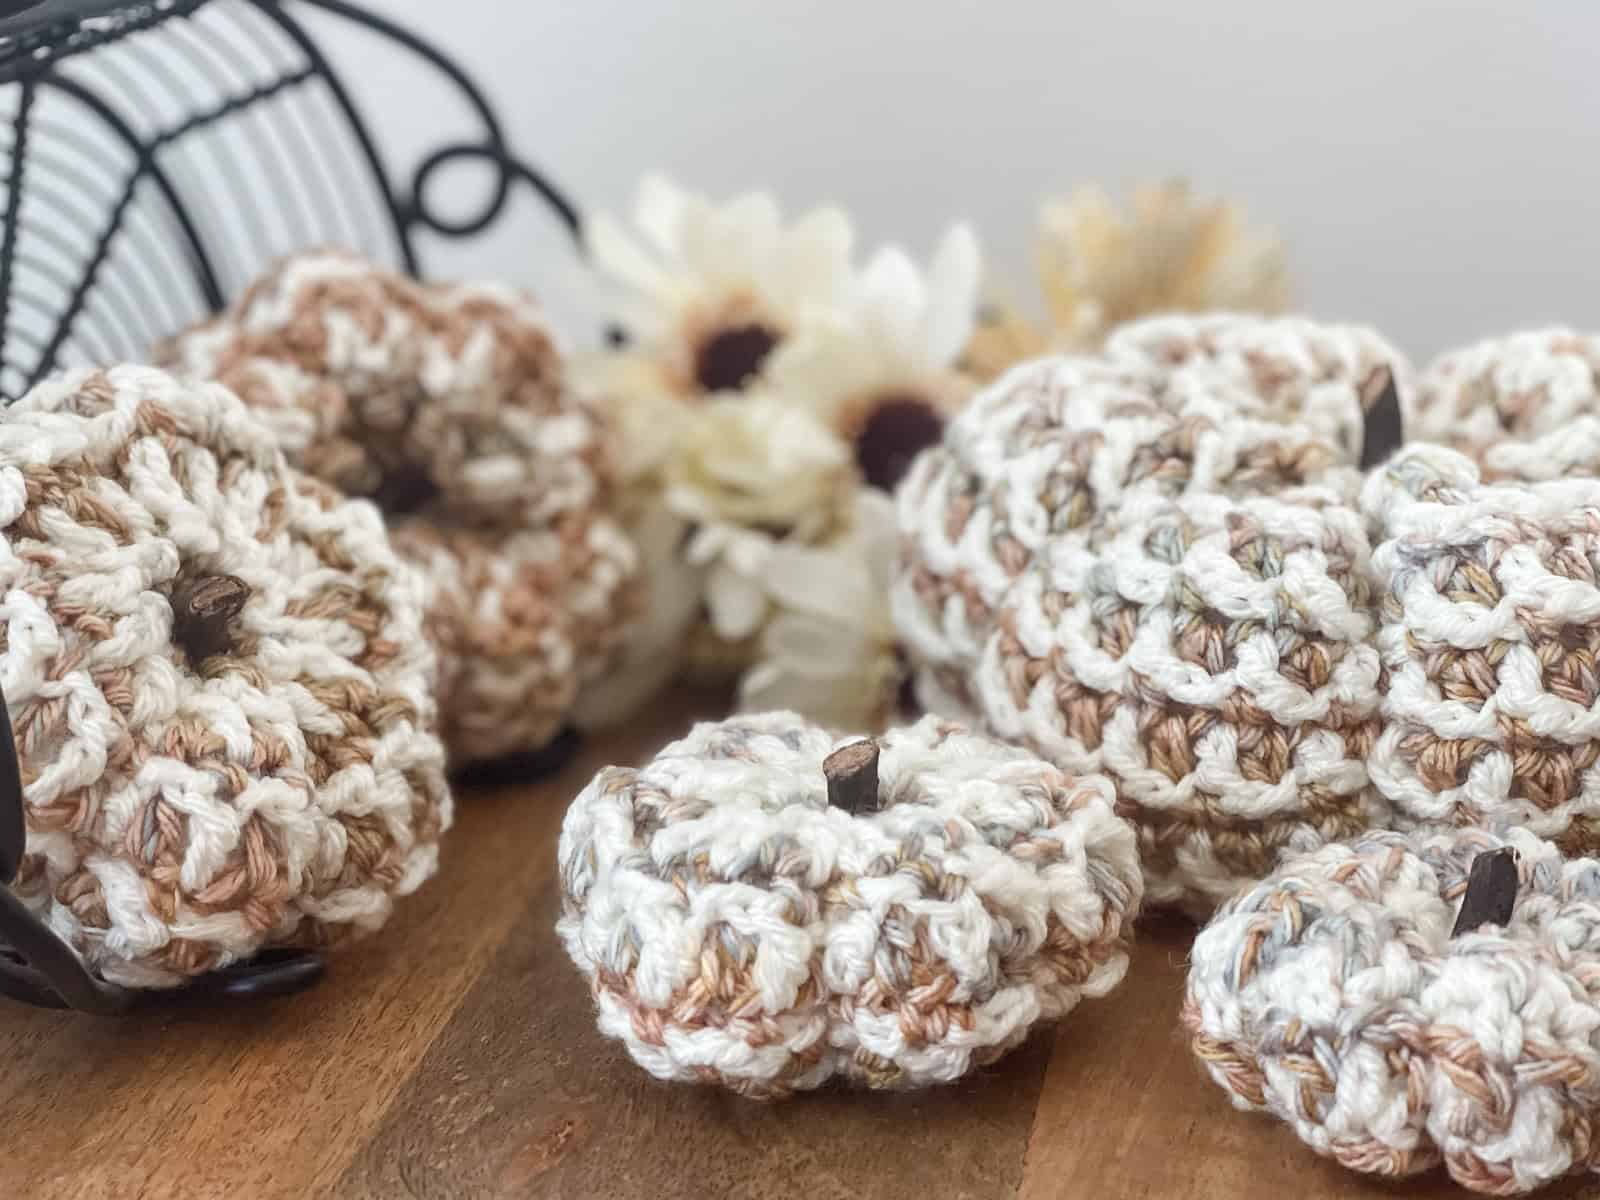
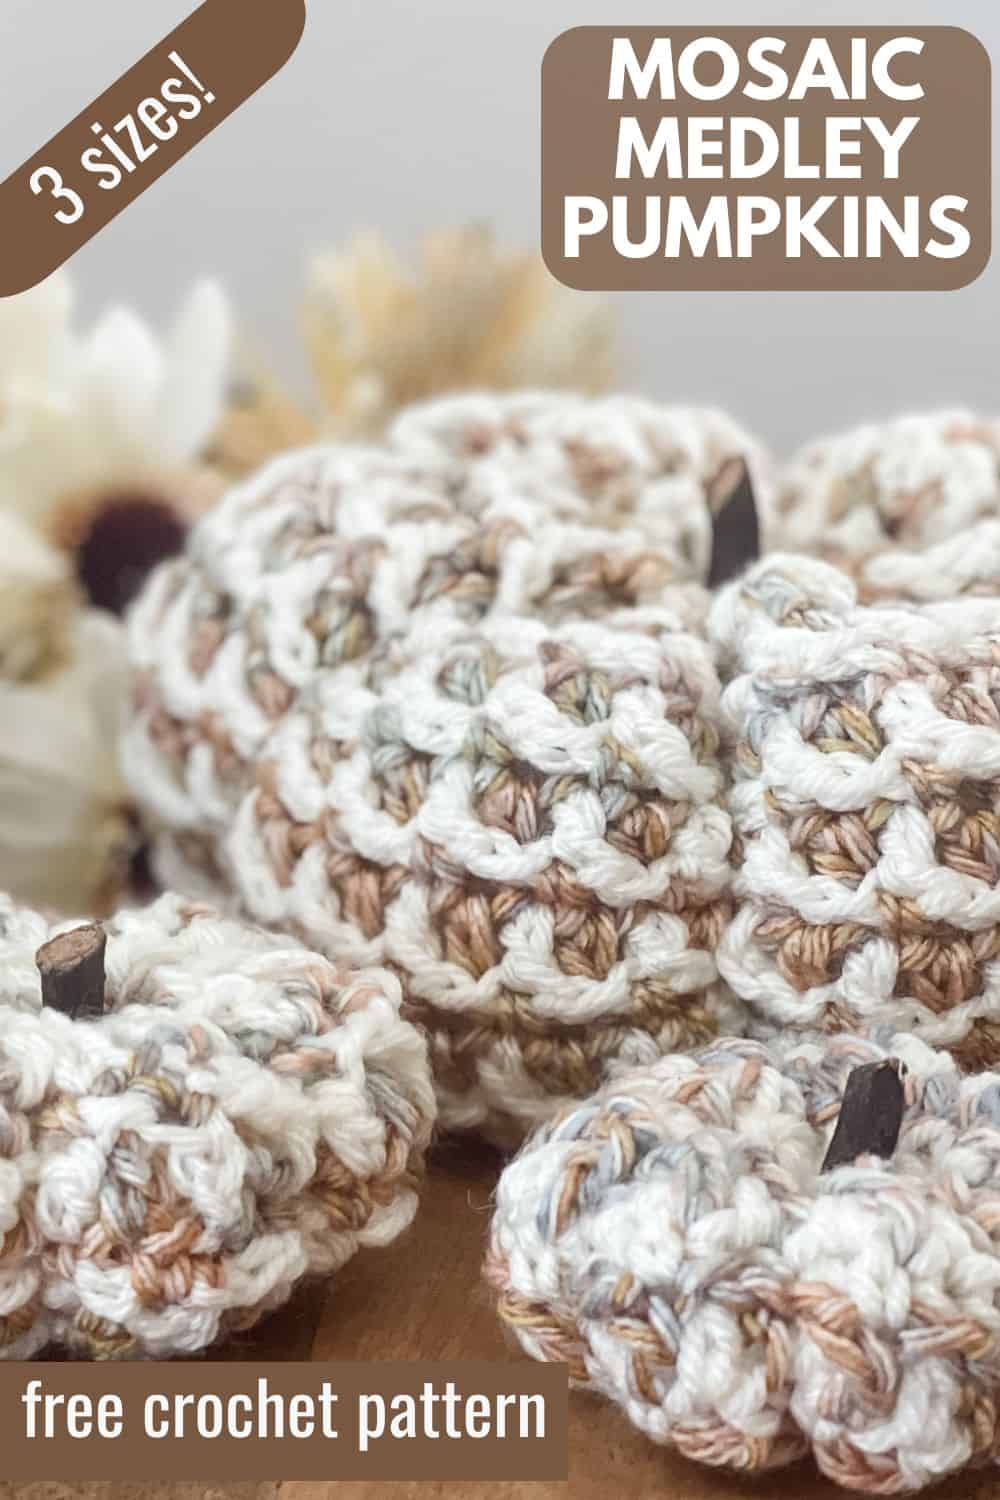
These charming crochet pumpkins come in three different sizes and they would be just perfect to add a touch of cozy autumn to your home. With their textured design and beautiful mosaic-style blend of colors, these stuffed crochet pumpkins feature a rustic yet elegant look, making them ideal for fall decorations, table settings, or seasonal gifts.
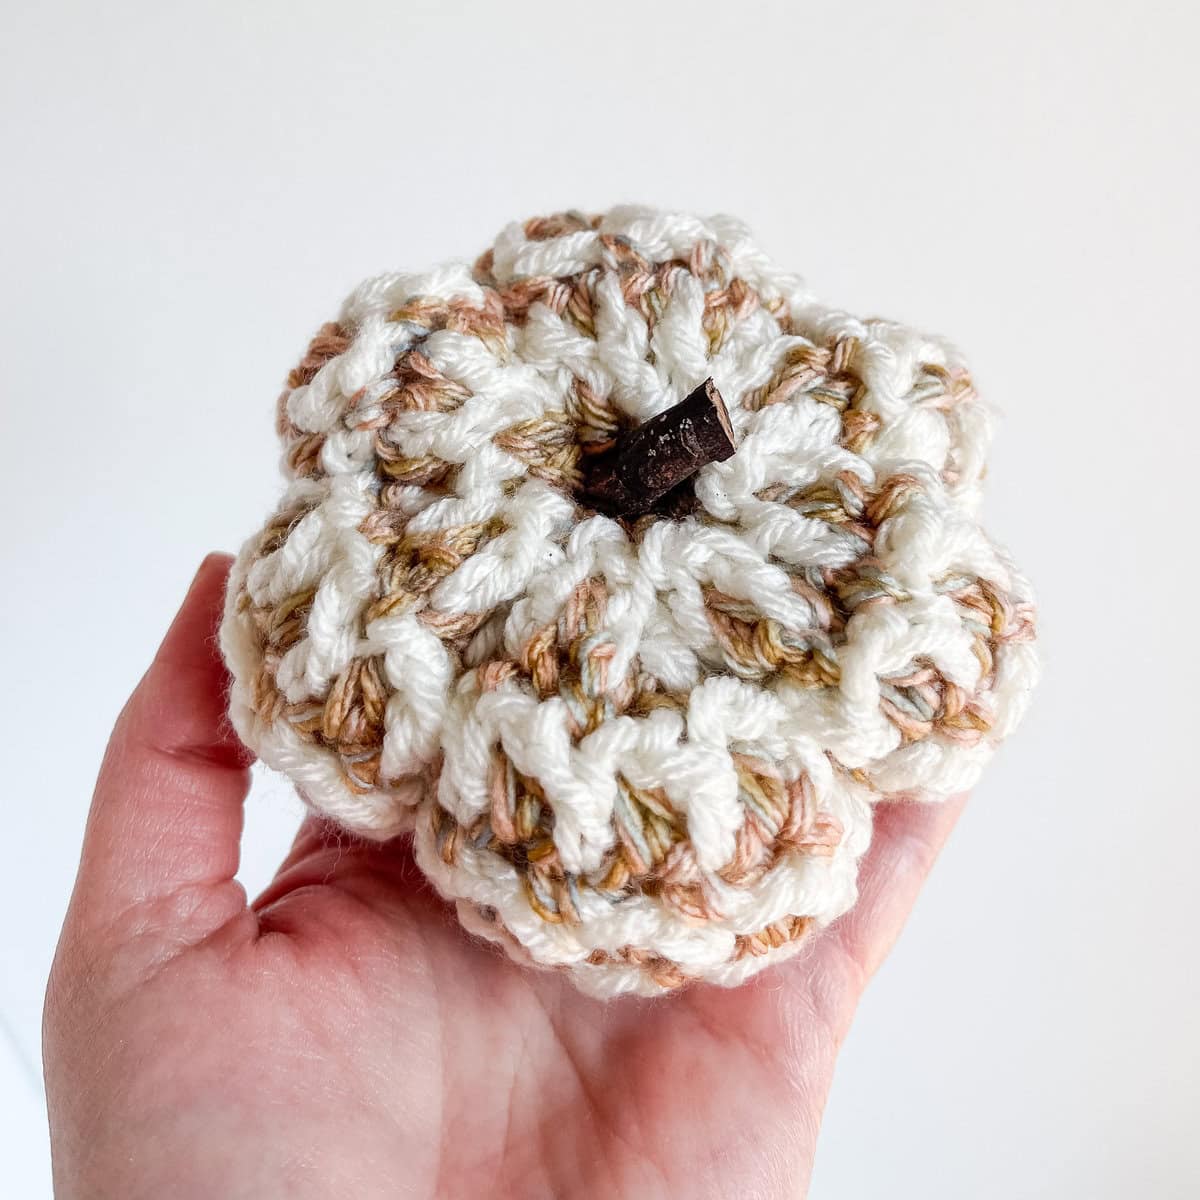
The pumpkins are crocheted using a subtle medley of hues in neutrals and soft autumn colors, adding depth to the stitches. The addition of the twig for the pumpkin stem adds a natural whimsical touch.
There are so many different ways to incorporate these crocheted pumpkins in your fall home decor! Use the smallest size for a fun pumpkin garland to drape on your mantle or along the center of any table or as a single party favor at a place setting!
The medium and large pumpkins are perfect to add as a centerpiece to a coffee table or as a dining table centerpiece.

How to Make the Crochet Pumpkins
For the full written pattern instructions for Mosaic Medley Pumpkins scroll down below. I have the ad-free PDF available for these crochet pumpkins in my shop. Or, become a Lifetime Member and never pay for a PDF again!
This easy crochet pumpkin pattern is worked from the bottom-up in the round and then cinched at the bottom, stuffed, cinched at the top to close the pumpkin, and then the “segments’ are created at the end with just one long length of yarn.
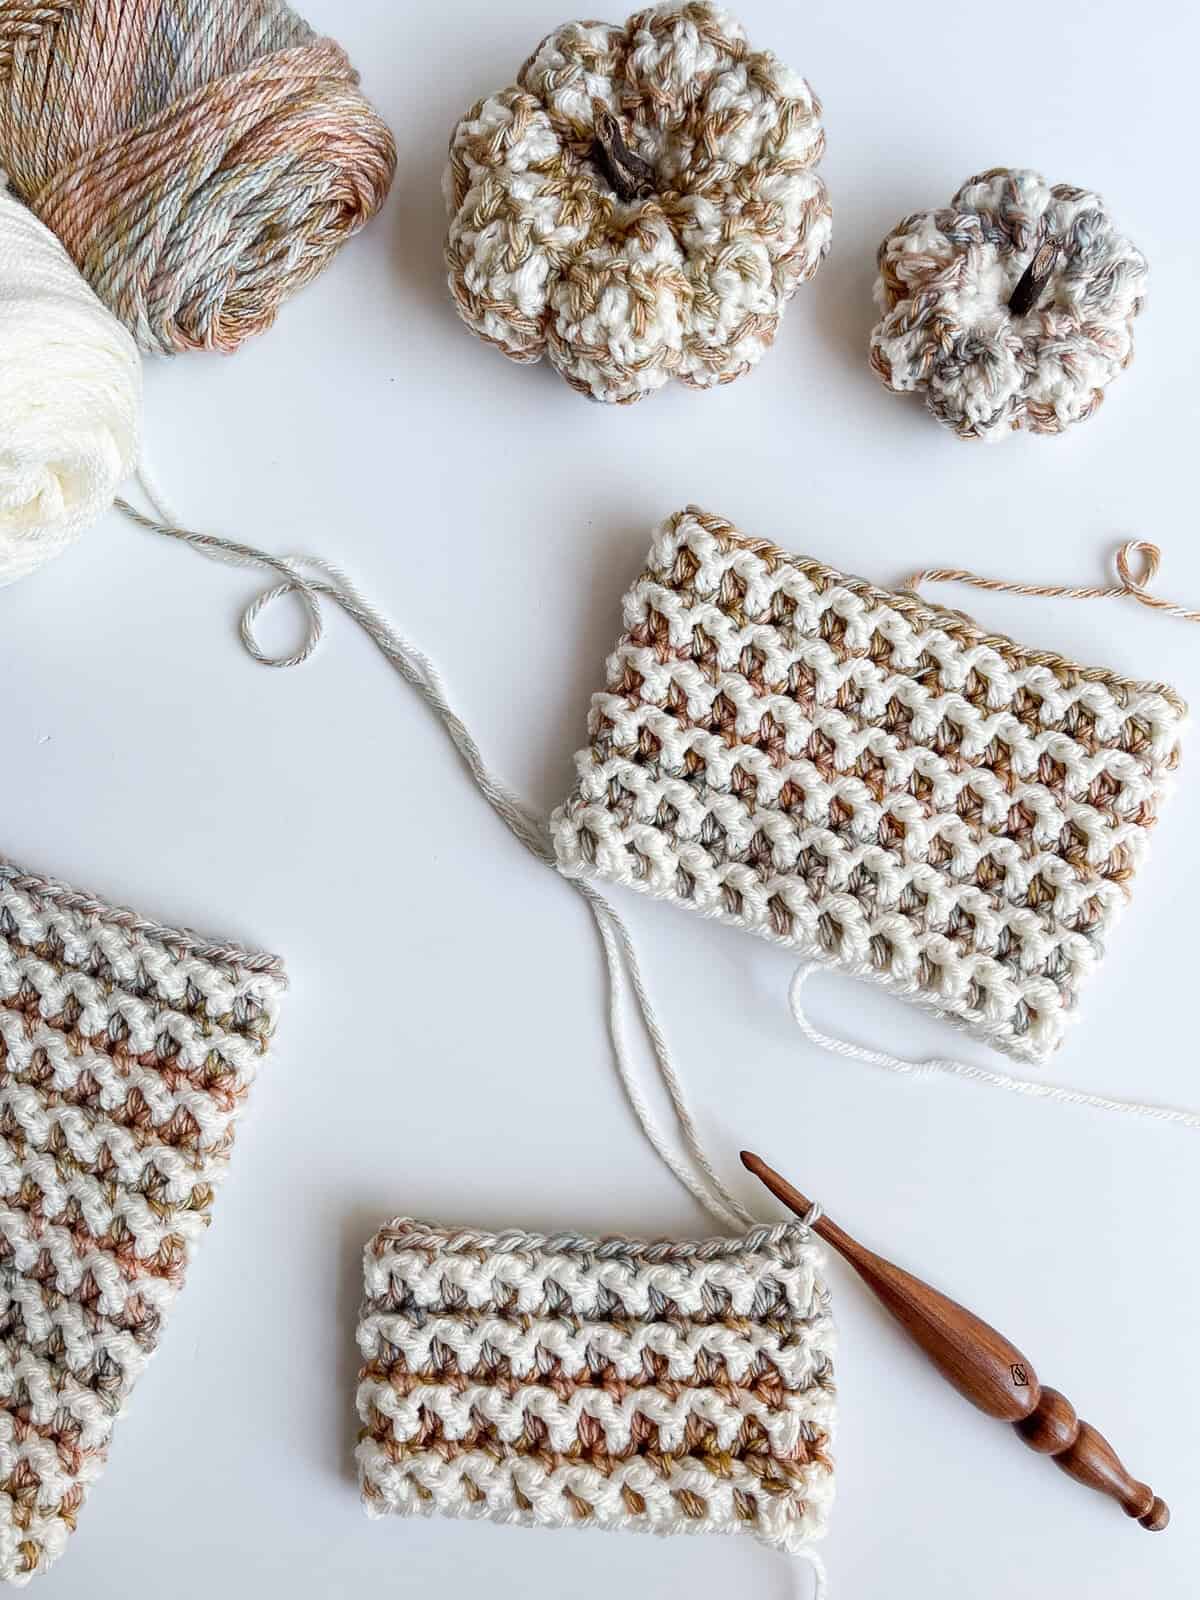
1. With your main color of yarn and leaving a long tail for cinching the bottom of your pumpkin, start with a foundation chain in multiples of 2, sl st to first chain to create a circle. The yarn you choose to start with will be the main color of the pumpkin – the second color used will be the yarn that shows from behind. I tend to prefer the neutral color for the main color and the multi-color yarn for the second contrasting color. But both options are so pretty!
2. The pumpkins are made with the Interlocking Arches Stitch which is the same stitch I used for the very popular Mosaic Medley Pot Holder pattern. I have a complete photo and video tutorial for the Interlocking Arches Stitch.
3. There is no need to fasten off when changing colors as the yarn “floats” from the color changes will be hidden inside your stuffed pumpkin – simply drop and pick up the yarn as indicated in the pattern. Which means no additional ends to weave in!
4. Once you have worked the pumpkin sides to the height desired, fasten off leaving a long tail for cinching the top of the pumpkin + creating the segments of the pumpkin sides.
5. Using the long tail left at the beginning, cinch the pumpkin bottom closed.
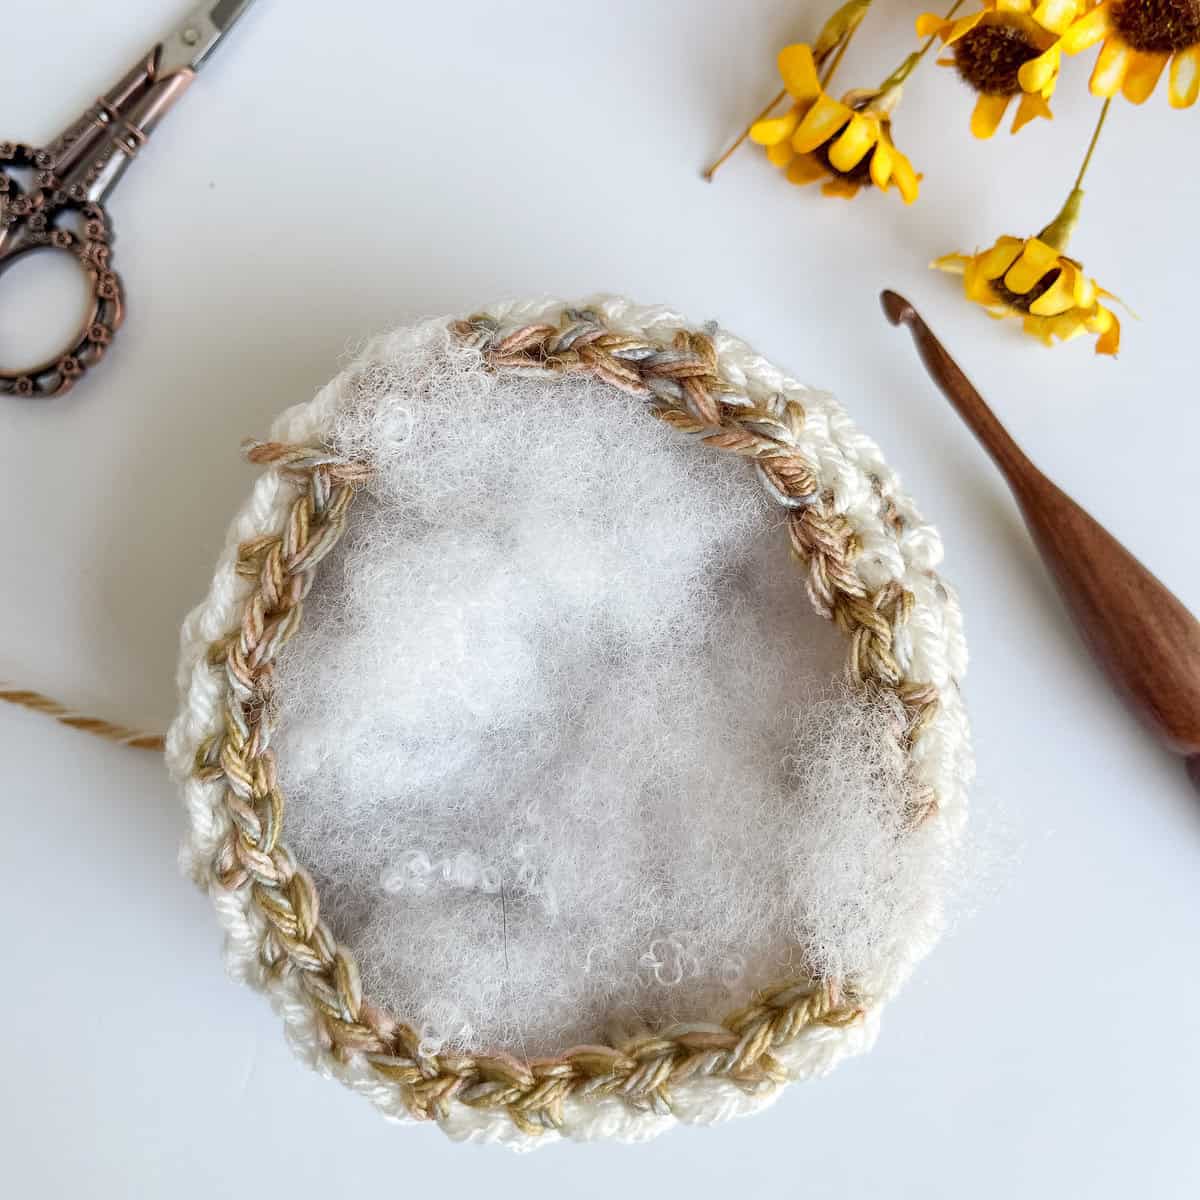
6. Stuff pumpkin.
7. With long tail left at the end, cinch the pumpkin top closed – add more stuffing just before closing if necessary. Do not overstuff your pumpkin!
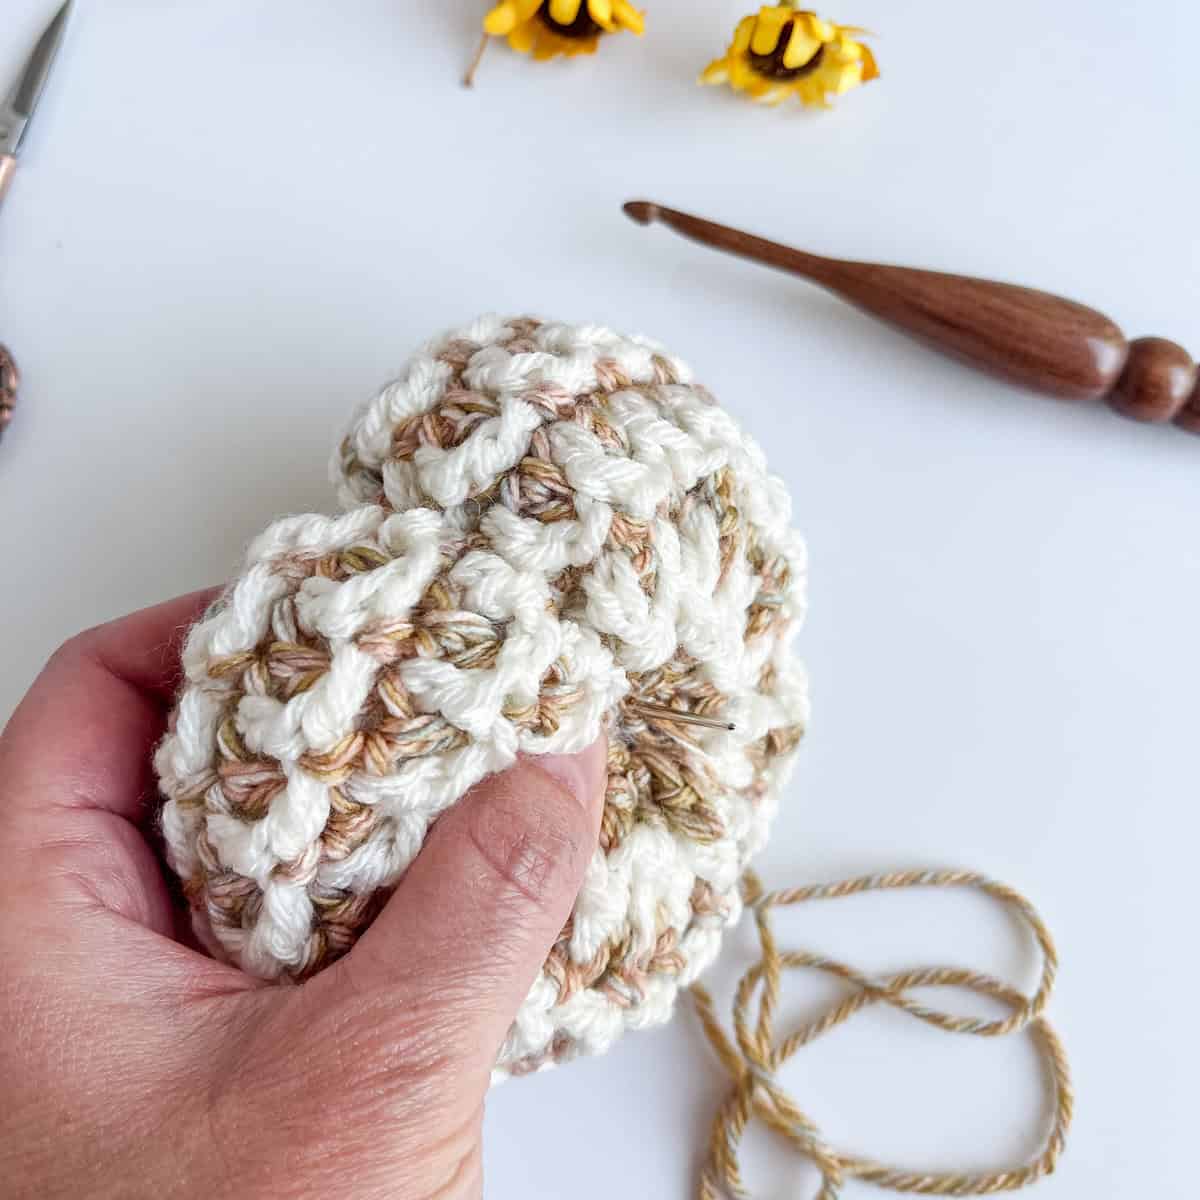
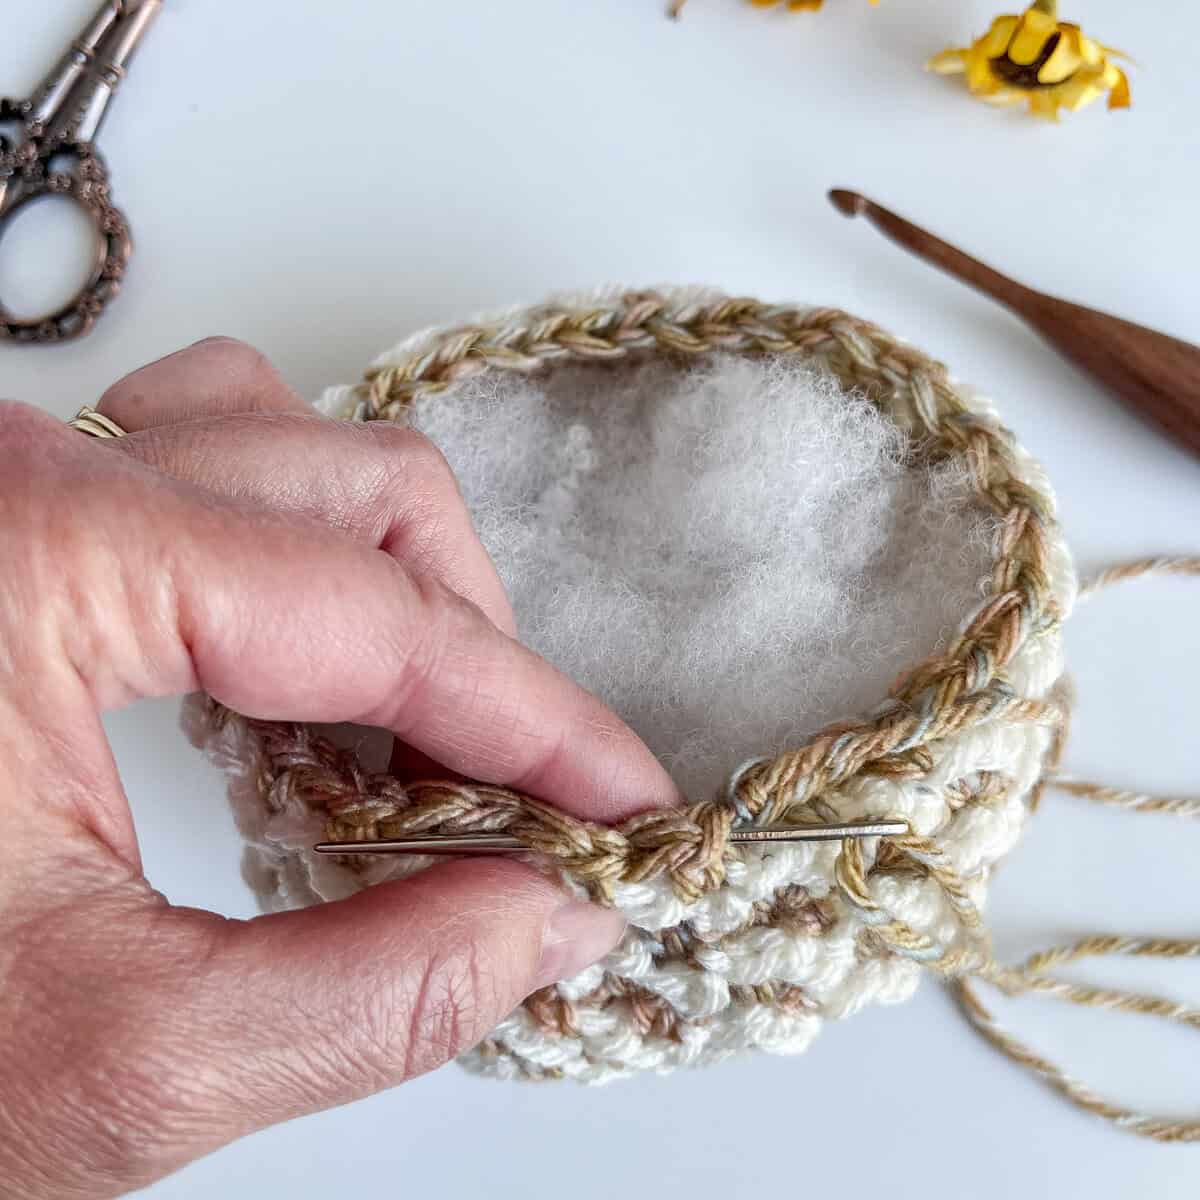
8. With the tail still on your needle, create the segments for the sides of your pumpkin.
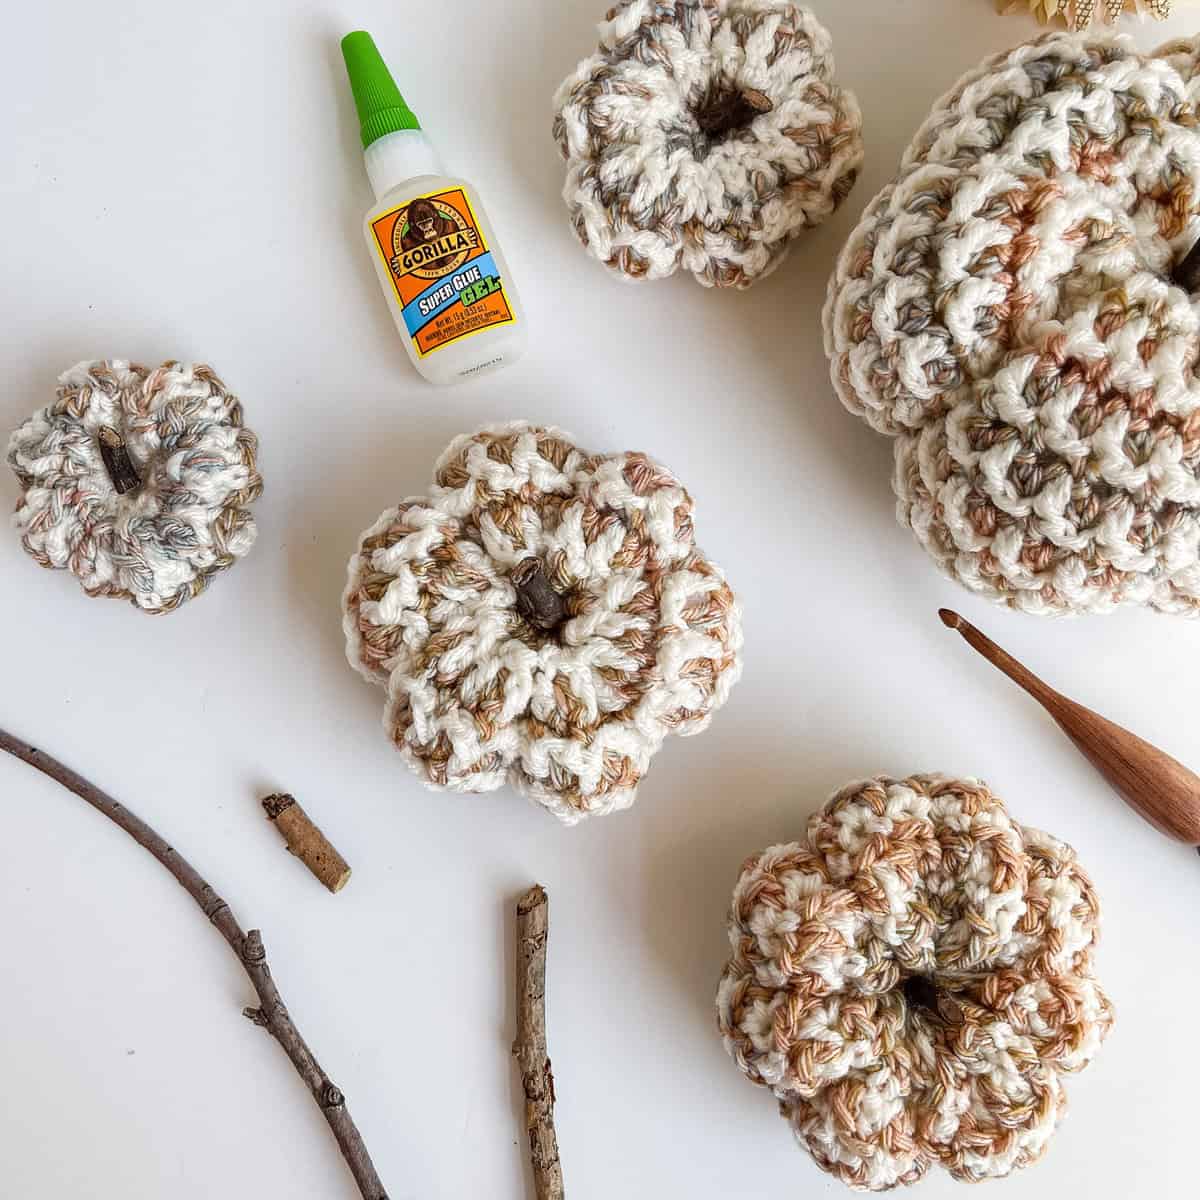
9. Cut your twigs to size and glue to the top of the pumpkin. Using twigs I found gave a nice rustic note to the pumpkins!
My Checked Pumpkin pattern is made with the very same techniques and I have a complete video tutorial to help you through cinching the top, bottom, stuffing & making the segments! Video is time stamped to the assembly process so you can get right to cinching, stuffing & segmenting!
I hope you enjoyed making the Mosaic Medley Pumpkin Set – I can’t wait to see all of your pumpkins! Be sure to scroll down for the complete written pattern instructions below!
Tonya 💕🌸
Mosaic Medley Pumpkins Supplies
*This post contains affiliate links. You can click on any yarn or material highlighted to purchase. I will receive a small commission if you purchase but it won’t cost you any extra! As an Amazon Associate I earn from qualifying purchases.
- I Love This Yarn!, Weight 4/Medium (100% acrylic)
- Ivory 7 oz / 355 yards (Color A)
- I Love This Yarn! Print, Weight 4/Medium (100% acrylic)
- Brushstroke Breeze 5 oz / 252 yards (Color B)
- Crochet hook size I (5.5 mm)
- Polyfil Fiber for stuffing
- Small twigs or cinnamon sticks for stems
- Glue for attaching stems to pumpkin
- Scissors
- Tapestry Needle
- Pruning Shears to cut through twigs
I am using Hobby Lobby’s I Love This Yarn! which is a medium worsted weight yarn. You could substitute your favorite yarn for this project in any size! If you choose to change up the yarn weight be aware that will change up the finished size of your pumpkins.
I recommend choosing a solid color as one of your yarn choices with a self-striping or variegated yarn for the contrasting color. I do recommend a self-striping yarn with short color changes since the pumpkins are small and you really want to showcase the different colors throughout. However, this stitch also looks lovely with two solid colors as well.
This is a great pattern for shopping your yarn stash – use what you have on hand!
For the pumpkin stems I chose to use sticks and twigs I found in our backyard woods. Why buy something when I can get something for free that looks amazing! I did need to use my pruning shears for cutting the sticks – scissors would not be strong enough.
Cinnamon sticks would also be another option for the pumpkin stems which would provide a lovely fall aroma in the air!
To get notified of free crochet patterns and future giveaways, sign up for my newsletter. I never share or sell your information to third parties — it stays private!
If you would like daily crochet inspiration be sure to follow me on Facebook, Instagram, Pinterest, YouTube, Twitter, Reddit and Tumblr!
If you love this crochet pattern you may also love these free crochet pumpkin patterns by Nana’s Crafty Home:


- 1. Checked Crochet Pumpkin pattern
- 2. Pumpkin Towel Topper free crochet pattern
- 3. Pumpkin Square pattern


Mosaic Medley Pumpkins in Three Sizes free crochet pattern
Pattern written in US crochet terminology
Supplies:
- I Love This Yarn!, Weight 4/Medium (100% acrylic)
- Ivory 7 oz / 355 yards (Color A)
- I Love This Yarn! Print, Weight 4/Medium (100% acrylic)
- Brushstroke Breeze 5 oz / 252 yards (Color B)
- Crochet hook size I (5.5 mm)
- Polyfil Fiber for stuffing
- Small twigs or cinnamon sticks for stems
- Glue for attaching stems to pumpkin
- Scissors
- Tapestry Needle
Approximate finished size before seaming:
- Small pumpkin: 2 1/2” x 4 1/2″
- Medim pumpkin: 4” x 6”
- Large pumpkin: 6 1/2” x 8”
Gauge is not important to this project.
Abbreviations:
- ch(s) = chain(s)
- dc = double crochet
- sk = skip(ped)
- st = stitch
- sc = single crochet
- sl st = slip stitch
- sp(s) = space(s)
- RS = right side
- WS = wrong side
Recommended Tutorial:
Interlocking Arches Crochet Stitch Tutorial
Checkered Pumpkin Tutorial with Time Stamp for assembly.
Pattern Notes:
- Pumpkin is worked by alternating colors from two colors, switching colors every round.
- Do not cut yarn when changing between colors – gently pull dropped yarn into your work.
- Chain 4 at beginning of a row counts as first dc + ch 1 throughout.
- Stitch counts are listed according to size small (medium, large)
- To adjust width of pumpkin, chain foundation chain in multiples of 2.
Pattern Instructions
With Color A, ch 36 (44, 60), without twist ch sl st in first ch to form a circle.
Round 1: Ch 4 (counts as first st + ch 1), *sk next ch, dc in next ch, ch 1* repeat from * to * to last ch, sk next ch, switch to color B with sl st in top of ch-3. 18 (22, 30) sts, 18 (22, 30) ch-1 sps
Round 2 (RS): Ch 1, sc in same st, *working behind ch-1 sp from previous round work dc in skipped ch from foundation chain, sc in next dc of round 1,* repeat from * to * last ch-1 sp, dc in skipped ch, switch to color A with sl st in top of first st. 36 (44, 60)
Round 3: Ch 4, sk next st, *dc in sc, ch 1, sk next st,* repeat from * to * to end, switch to color B with sl st in first st.
Round 4: Ch 1, sc in same st, *working behind ch-1 sp from previous round work dc in skipped st from previous round, sc in next st,* repeat from * to * last ch-1 sp, dc in skipped st, switch to color A with sl st in top of first st.
Rounds 5 – 8 (12, 20): Repeat rounds 3 – 4.
Leaving a long tail for cinching top of pumpkin together and creating (optional) pumpkin segments, fasten off and weave in ends not left for sewing.
Assembly
With long length of yarn left for sewing, use a gathering stitch to gather bottom of pumpkin together. Pull tightly; sew the bottom of the pumpkin shut. Weave in end. Stuff pumpkin – do not overstuff!
With long length of yarn, use a gathering stitch to gather top of pumpkin together. Pull tightly; sew the top of the pumpkin shut.
Create pumpkin segments by inserting needle from top of pumpkin through bottom 6-8 times evenly spacing these long stitches apart. Tighten each ridge stitch to desired look. Once complete, knot yarn and weave in end.
I have a video tutorial that shows you how to sew, stuff & add segments to your pumpkin: Checkered Pumpkin Tutorial with Time Stamp for assembly.
Cut twigs to size then glue to top of pumpkin.
Copyright 2024 Tonya Bush / Nana’s Crafty Home
Social Media links:
Facebook: https://www.facebook.com/nanascraftyhome
Instagram: https://www.instagram.com/nanascraftyhome/
Pinterest: https://www.pinterest.com/nanascraftyhome/
YouTube: https://www.youtube.com/c/TonyaBush
Twitter: https://twitter.com/nanascraftyhome
Facebook Group: https://www.facebook.com/groups/829792060522798
Sign up for my Newsletter: https://nanascraftyhome.com/sign-up-for-my-free-newsletter/
Reddit Community: https://www.reddit.com/r/NanasCraftyHome/
 Hi! Thank you so much for being here! I am Tonya the designer behind Nana's Crafty Home. As a wife, mother, Nana of 9 & with 2 fur babies, my days are filled with love, laughter, hugs and yarn! Here you will find colorful and creative crochet designs for yourself or loved ones. My hope is that you will be inspired to learn and create along with me!