A fun and easy Chunky Pumpkin Crochet Pattern in 3 sizes is the perfect way to cozy up your fall decor!
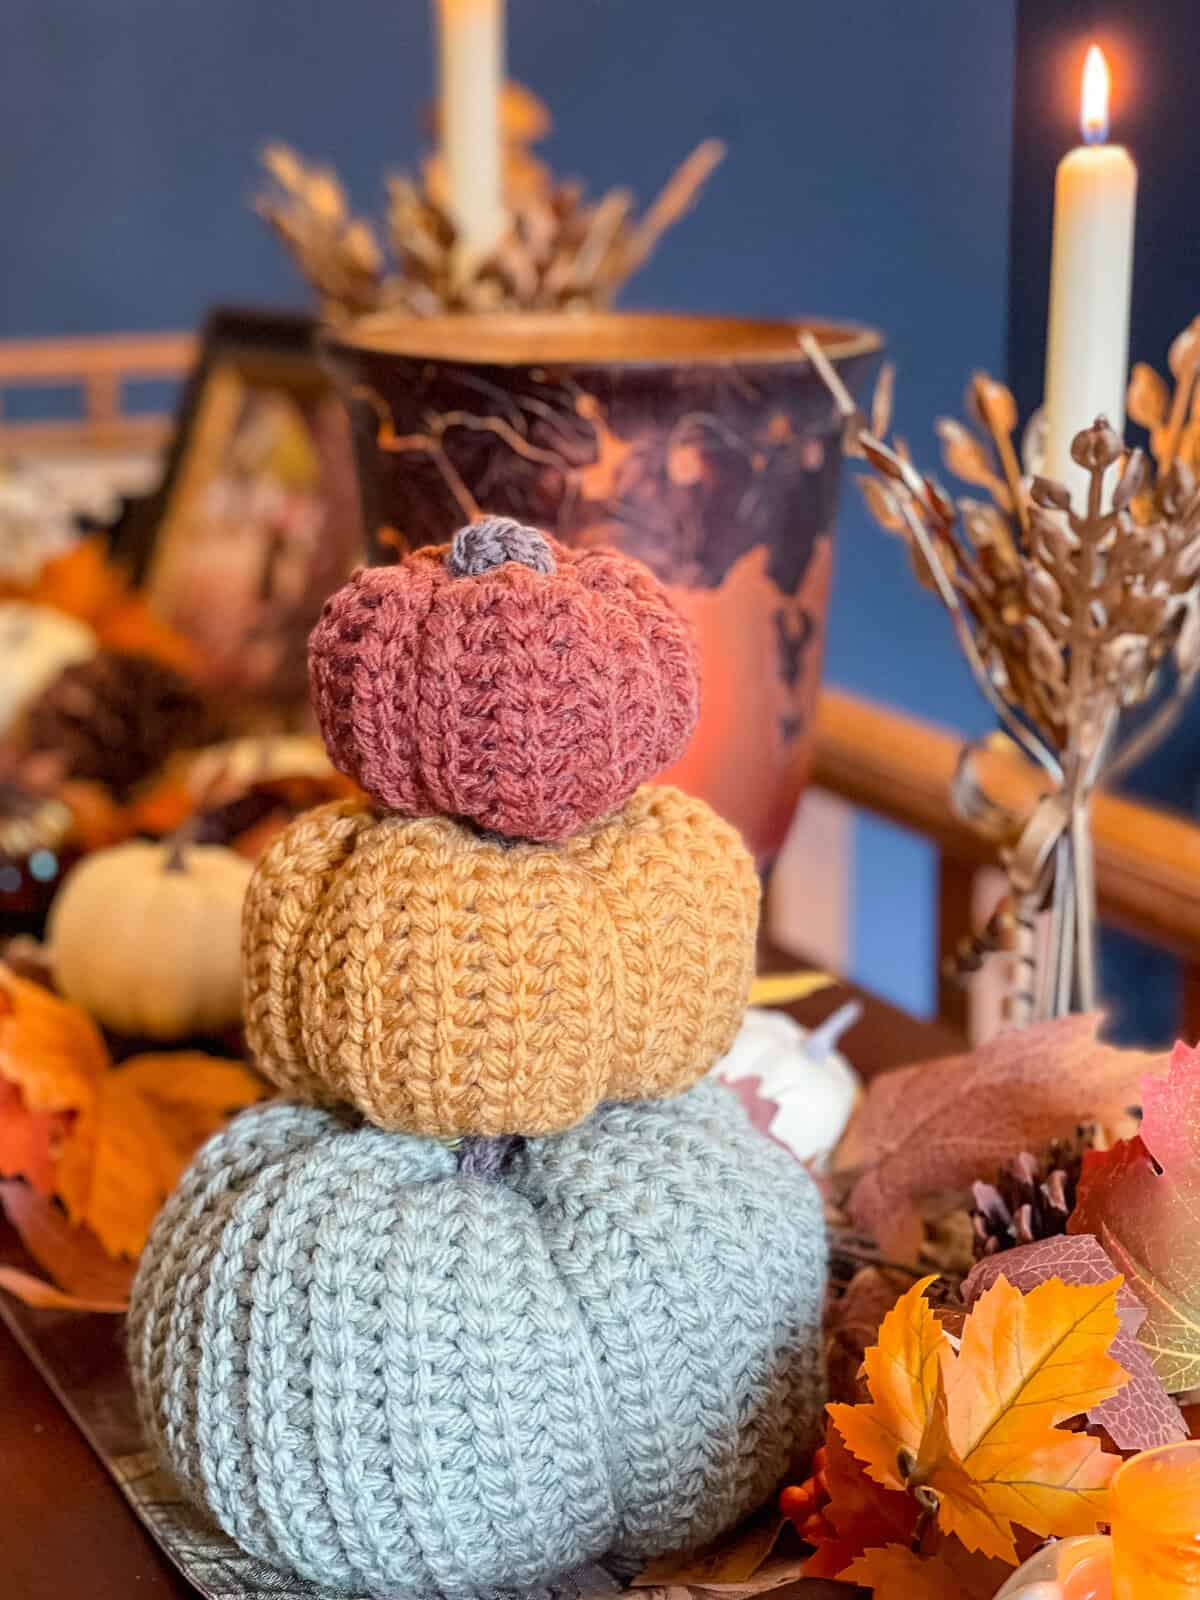
As the leaves start to turn and the air gets crisp, there’s nothing quite like adding a touch of handmade warmth to your home. Enter these adorable chunky crochet pumpkins – the perfect quick project to celebrate the season! Made from the bottom up in the round using a innovative knit-like crochet stitch, these stuffed beauties come in three versatile sizes and whip up super fast with bulky yarn. Whether you’re a crochet newbie looking for an easy win or a seasoned maker stocking up on fall decor, this chunky pumpkin crochet pattern is fun and oh-so-satisfying!


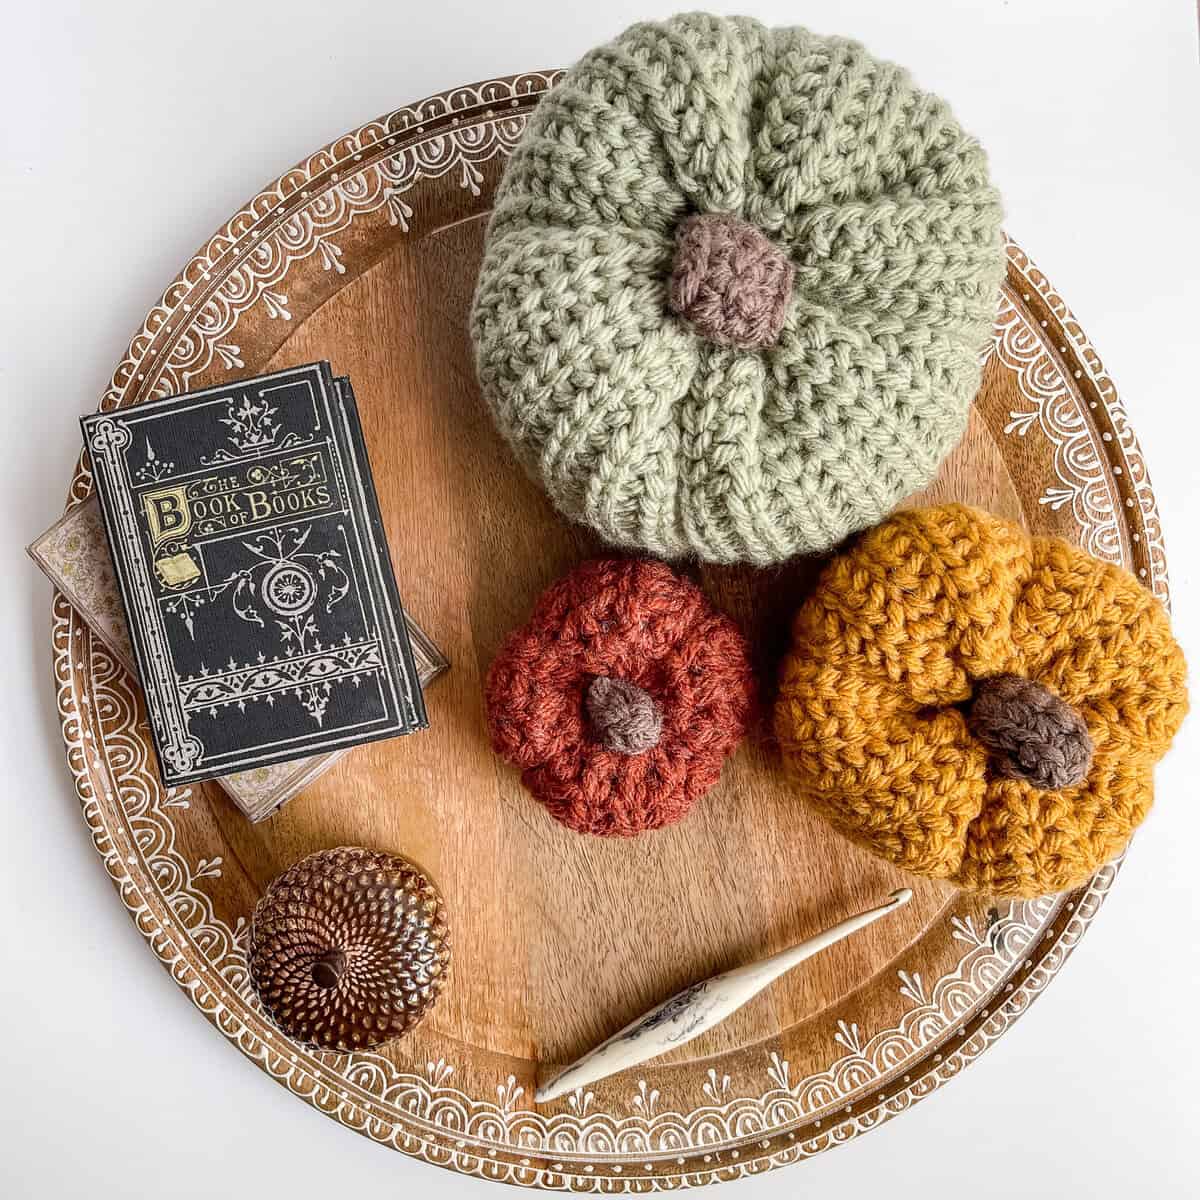
How to Make Chunky Pumpkin Crochet Pumpkins
For the full free written pattern instructions for the Rustic Chunky Pumpkin Crochet Pattern set, scroll down below. You can purchase the ad-free PDF of this pattern set for a small fee. Or, become a Lifetime Member and never pay for a PDF again!
1. These chunky crochet pumpkins are made from the bottom up in the round without joining – no seams!
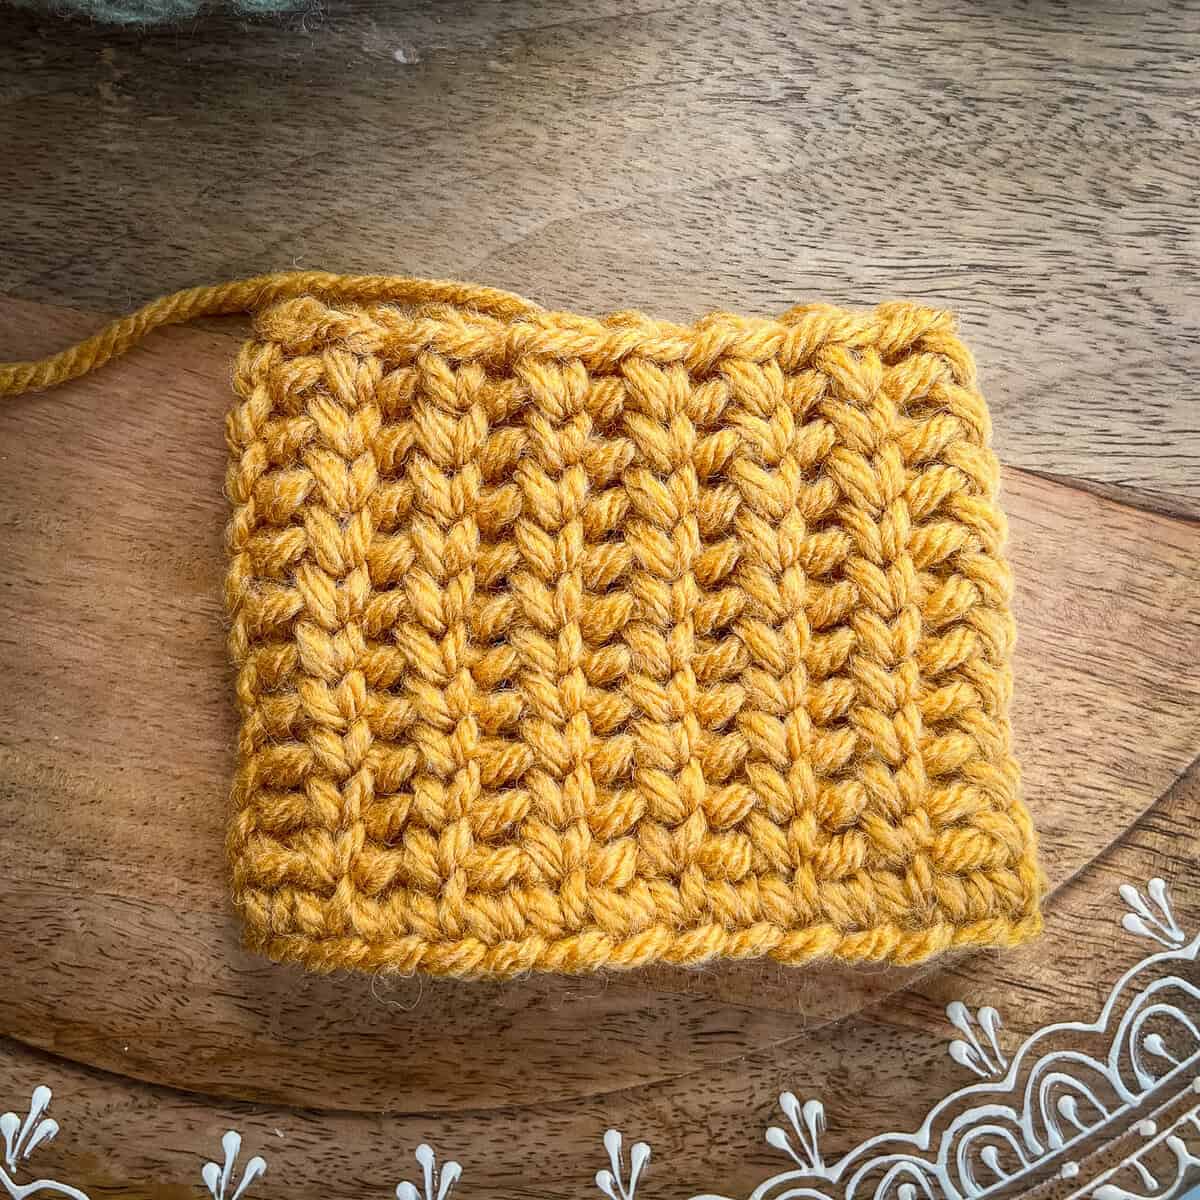
2. This knit-like crochet stitch is so easy, too! Made with a combination of the center single crochet aka waistcoat crochet stitch plus chains! I have a video tutorial to help you with this stitch!
3. I am providing three sizes for my free crochet pumpkin pattern. However, you can easily resize your pumpkins by adjusting your foundation chain in multiples of 2.
4. If you’re experimenting with a different yarn weight or simply want to customize the proportions, use this easy sizing formula to ensure your pumpkin turns out perfectly plump. After crocheting the first round, measure the width across the base then subtract 1 inch—this gives you the ideal height to aim for as you continue working up the body. This quick math keeps everything balanced and squash-like, no matter your yarn choice!
- 5″ wide (measurement after first round)= 5″ subtract 1″ so your finished measurement = 5″ wide x 4″ tall before cinching closed.
5. Once the main body of your pumpkin is complete you will cinch the bottom of your pumpkin closed, stuff, cinch the top of your pumpkin closed and then add your pumpkin segments if desired.
6. If you need some extra visual guidance for how to cinch closed, stuffing and adding segments to your pumpkin check out the tutorial for my Checkered Pumpkin.
Checkered Pumpkin Tutorial with Time Stamp for assembly.
7. The stem of your crochet pumpkin starts as a long chain of single crochets, which you’ll then fold in half to form a sturdy tab. For the smaller sizes, this handy tab doubles as a loop, making it a breeze to hang your pumpkins on garlands, wreaths, or wherever your creativity takes you!
I hope you enjoy making your stuffed crochet pumpkins with knit-like texture! If you make them I would love to see them – tag me on social media @nanascraftyhome or send me a photo by email tonya@nanascraftyhome.com. I love seeing your beautiful projects!
Tonya 💕
Supplies for the Rustic Chunky Pumpkins
*This post contains affiliate links. You can click on any yarn or material highlighted to purchase. I will receive a small commission if you purchase but it won’t cost you any extra! As an Amazon Associate I earn from qualifying purchases.
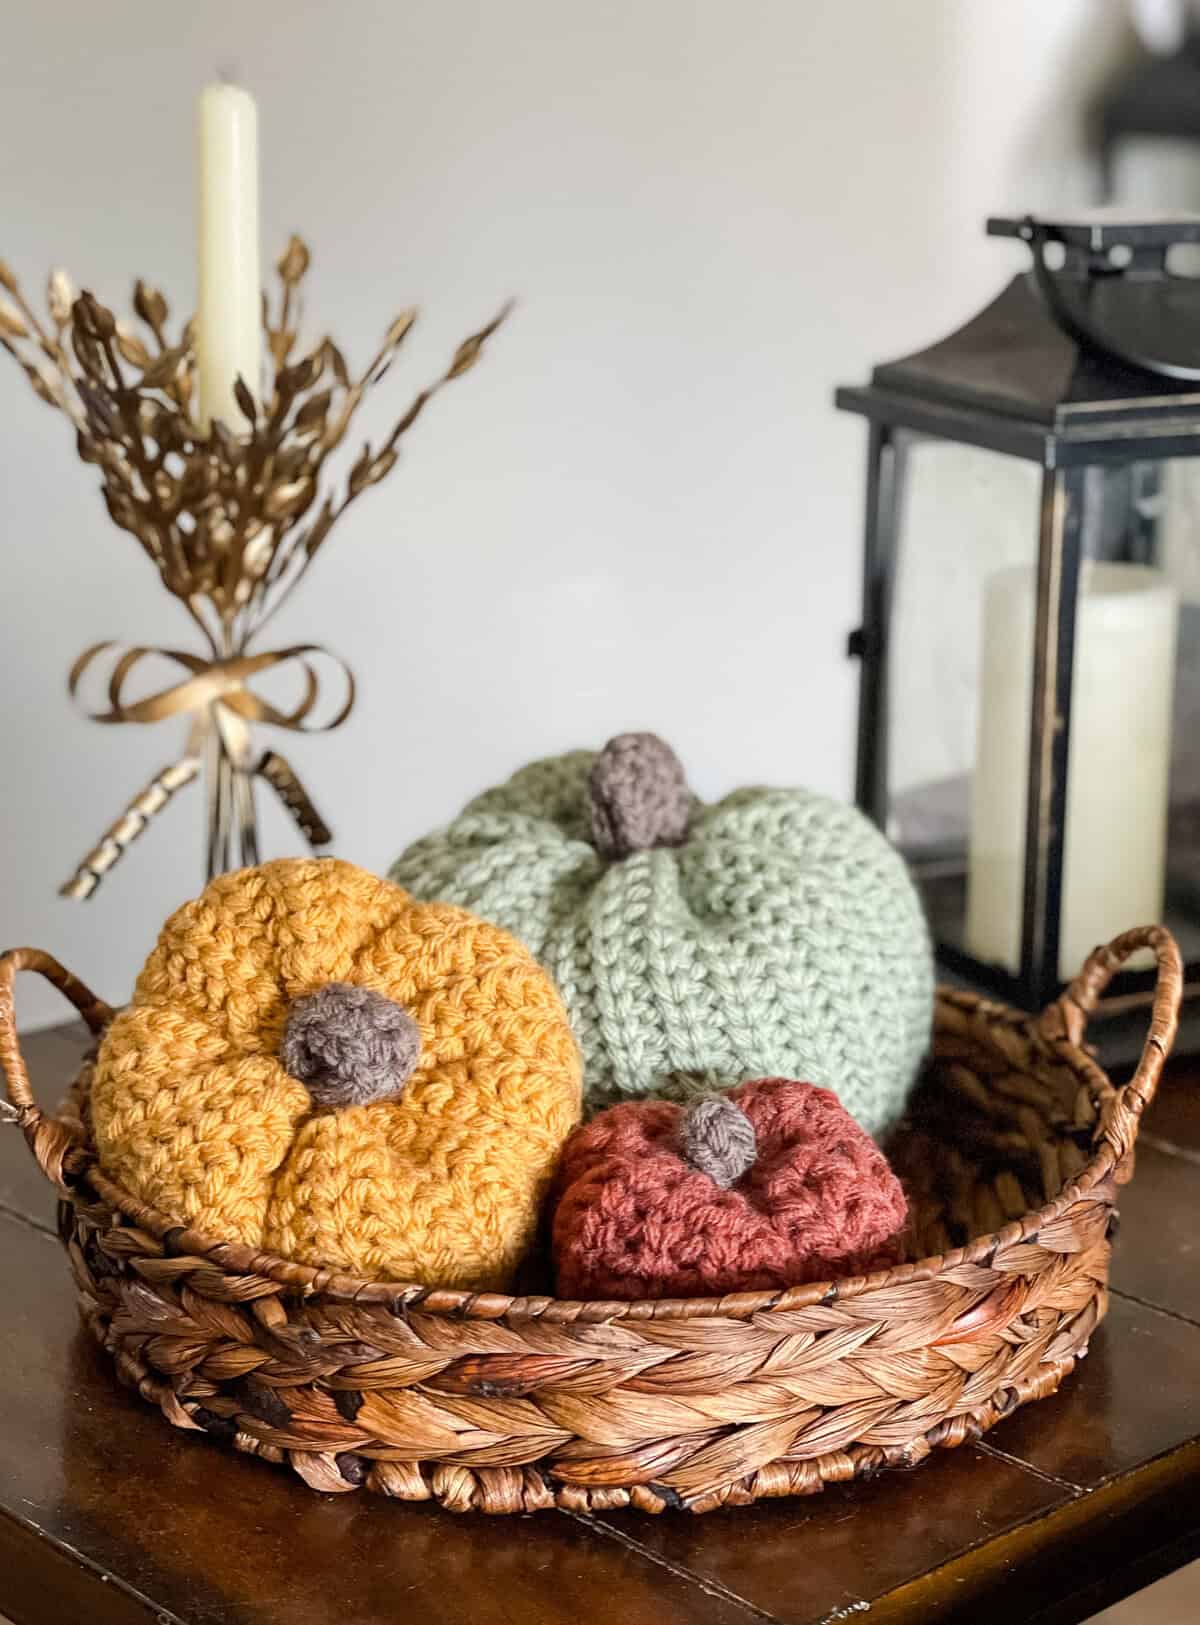
I am using Lion Brand’s Hue + Me* for these stuffed crochet pumpkins which is a plush bulky-weight yarn blending 80% acrylic and 20% wool for ultimate coziness and durability. Each shade in its curated palette—from warm oranges and earthy greens to rustic reds—stands out beautifully on its own or blends seamlessly for multi-colored pumpkin variations, letting you create a personalized fall harvest vibe.
With 137 yards per skein, I would be able to make approximately 4 of the small, 2 of the medium or 1 of the large per skein!
For stuffing my pumpkins I used small amounts of Poly-fil. I always have a supply on hand!
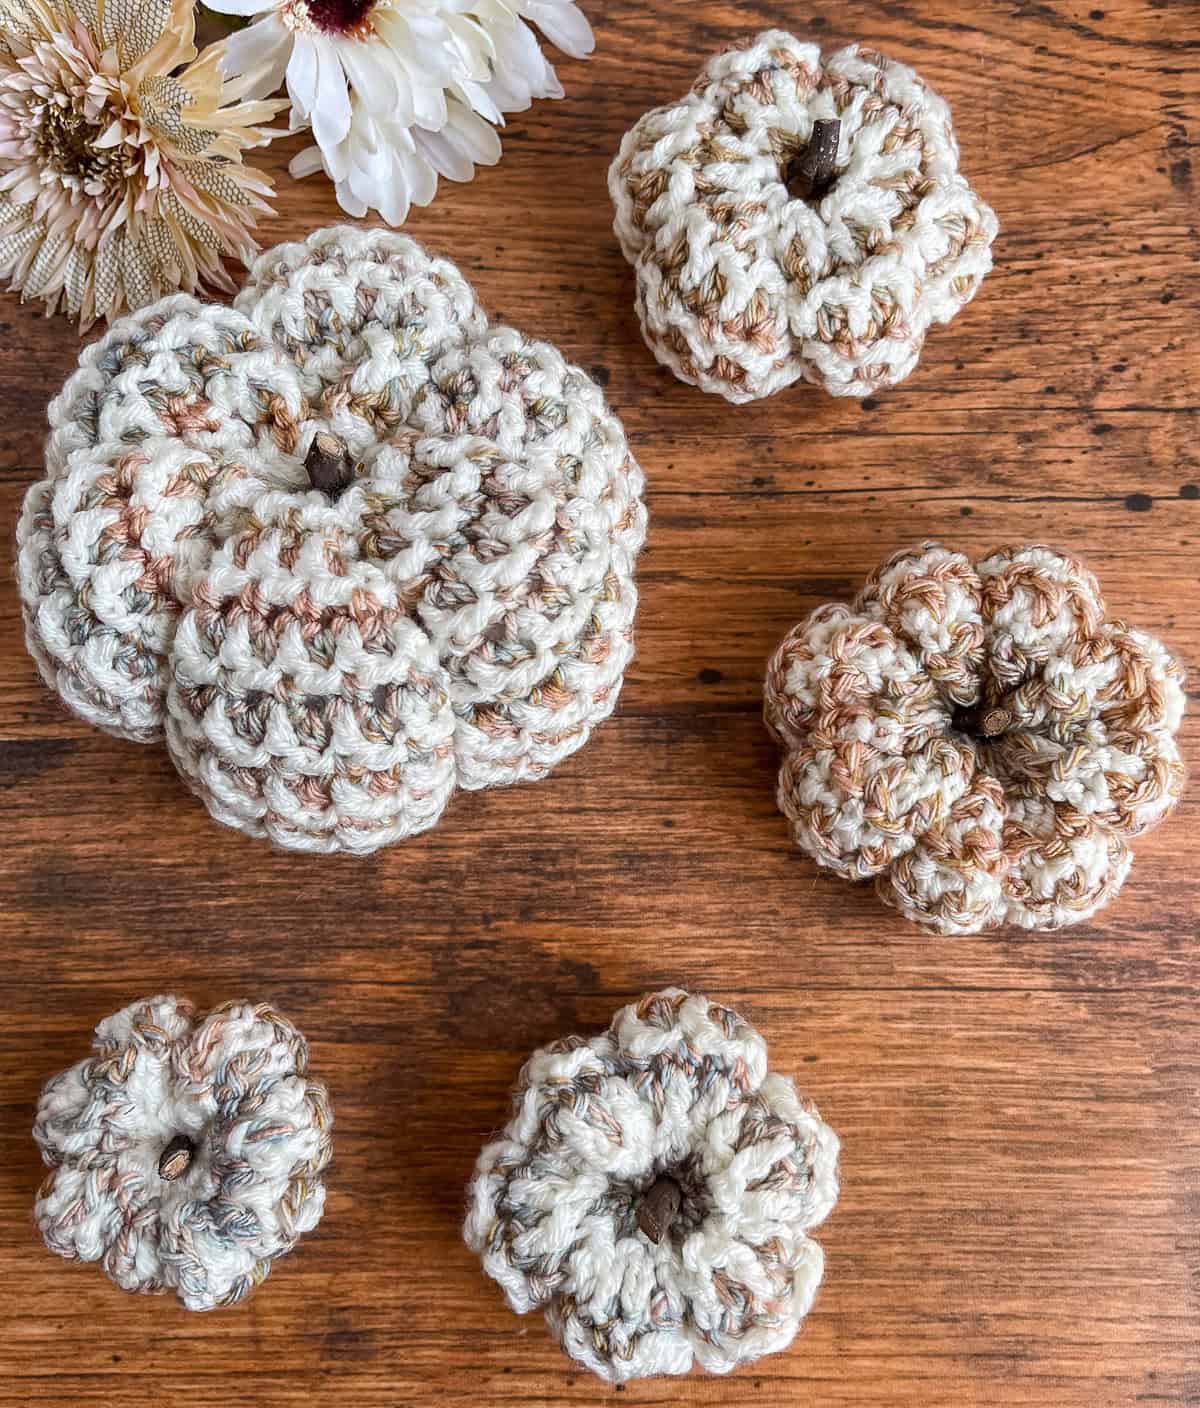
You could use other options for the pumpkin stem including wood stems – cut down a cinnamon stick and I also love finding the perfect small twig or branch in my yard and cut them to size for an even more rustic look! Simply glue to the top of your pumpkin once you have stuffed, cinched and added your segments! Check out my Mosaic Medley stuffed pumpkins to see how I did that!
Supplies:
Hue + Me, Weight 5 Bulky (80% acrylic, 20% wool)
- Small: Color Spicy 1.0 oz / 32 yards (MC)
- Medium: Color Mustard 2.0 oz / 64 yards
- Large: Color Artichoke 4.4 oz / 137 yards (MC)
Stem: Color Terra (BR)
Crochet hook size K (6.5 mm)
Approximate finished size:
- Small: Approximately 5” width x 4” height
- Medium: Approximately 7 1/2” width x 6 1/2” height
- Large: Approximately 10” width x 9” height
Purchase the ad-free PDF
You can purchase the ad-free PDF of this Stuffed Pumpkin Crochet Pattern Set for a small fee. You can purchase the individual pattern, or if you love PDFs, you might want to check out my Lifetime Membership. It’s an awesome deal! Never pay for one of my PDFs again!!


If you would like daily crochet inspiration be sure to follow me on Facebook, Instagram, Pinterest, YouTube, Twitter and Tumblr!
To get notified of my free crochet patterns and future giveaways, sign up for my newsletter. I never share or sell your information to third parties — it stays private!
If you love this crochet pattern you may also love these free crochet pumpkin patterns by Nana’s Crafty Home:


- 1. Mosaic Medley Stuffed Crochet Pumpkin free pattern
- 2. Checkered Pumpkin free crochet pattern with bulky weight yarn
- 3. Pumpkin Towel Topper free crochet pattern
And if you love all things pumpkin, check out these 30+ free crochet patterns featuring pumpkins!
Rustic Chunky Pumpkin crochet pattern free written instructions
Pattern written in US crochet terminology
Supplies:
Hue + Me, Weight 5 Bulky (80% acrylic, 20% wool)
- Small: Color Spicy 1.0 oz / 32 yards (MC)
- Medium: Color Mustard 2.0 oz / 64 yards
- Large: Color Artichoke 4.4 oz / 137 yards (MC)
Stem: Color Terra (BR)
Crochet hook size K (6.5 mm)
Scissors
Tapestry Needle
Approximate finished size:
- Small: Approximately 5” width x 4” height
- Medium: Approximately 7 1/2” width x 6 1/2” height
- Large: Approximately 10” width x 9” height
Gauge: 12 sts in pattern x 11 rounds = 4” x 4”
Abbreviations:
- MC = main color
- RS = right side
- Rnd(s) = round(s)
- ch(s) = chain(s)
- sl st = slip stitch
- sc = single crochet
- sk = skip
- csc = center single crochet (see special stitches section below)
Special Stitches:
csc = center single crochet: single crochet stitch is worked between the legs of the single crochet stitch from the previous round.
Pattern Notes:
- Pumpkin is worked from bottom up, leaving long tails for cinching bottom and top of pumpkins together.
- Worked in the round without joining or turning.
- Instructions are written for size S with sizes M, L in parentheses as S (M, L).
- Resize width of pumpkin smaller or larger by chaining in multiples of 2. Resize height by adding or subtracting rounds.
- To adjust proportions — measure the base width after the first round and subtract 1″ for the ideal height. Ex. 5″ wide after first round: 5” width – 1” = 4” in height before cinching closed.
Recommended Tutorial:
Crochet Rib Stitch Tutorial
Checkered Pumpkin Tutorial with Time Stamp for assembly.
Pattern Instructions
With MC and leaving a long tail for cinching bottom of pumpkin, ch 30 (46, 60) and without twisting ch, sc in first ch to form a ring.
Rnd 1: Sc in each ch around. Do not sl st join at end. 30 (46, 60)
Rnd 2: *Ch 1, sk next st, csc in next st,* repeat from * to * around.
Rnd 3. *Ch 1, sk ch-1, csc in next st,* repeat from * to * around.
Rnds 4 – 11 (20, 25): Repeat round 3.
Leaving a long tail for cinching top of pumpkin together, fasten off and weave in ends not left for sewing.
Stem
With BR, ch 8 (11, 13).
Row 1: Sc in second ch from hook and in each ch to end. Turn. 7 (10, 12)
Small size: Fasten off.
Continue to row 2 for medium and large sizes.
Row 2: Ch 1, sc in each st. Turn.
Medium size: Fasten off.
Continue to row 3 for large size.
Row 3: Repeat row 2.
Fasten off.
Assembly
With long length of yarn left for sewing, use a gathering stitch to gather bottom of pumpkin together. Pull tightly; sew the bottom of the pumpkin shut. Weave in end. Stuff pumpkin – do not overstuff!
With long length of yarn, use a gathering stitch to gather top of pumpkin together. Pull tightly; sew the top of the pumpkin shut.
Create pumpkin segments by inserting needle from top of pumpkin through bottom 4-8 times evenly spacing these long stitches apart. Tighten each ridge stitch to desired look. Once complete, knot yarn and weave in end.
I have a video tutorial that shows you how to sew, stuff & add segments to your pumpkin: Checkered Pumpkin Tutorial with Time Stamp for assembly.
Fold short ends of stem together and using lengths of yarn from beginning and end, sew to top of pumpkin.
Weave in any remaining ends.
Copyright 2025 Tonya Bush / Nana’s Crafty Home, LLC.
Social Media links:
Facebook: https://www.facebook.com/nanascraftyhome
Instagram: https://www.instagram.com/nanascraftyhome/
Pinterest: https://www.pinterest.com/nanascraftyhome/
YouTube: https://www.youtube.com/c/TonyaBush
Twitter: https://twitter.com/nanascraftyhome
Facebook Group: https://www.facebook.com/groups/829792060522798
Sign up for my Newsletter: https://nanascraftyhome.com/sign-up-for-my-free-newsletter/

 Hi! Thank you so much for being here! I am Tonya the designer behind Nana's Crafty Home. As a wife, mother, Nana of 9 & with 2 fur babies, my days are filled with love, laughter, hugs and yarn! Here you will find colorful and creative crochet designs for yourself or loved ones. My hope is that you will be inspired to learn and create along with me!