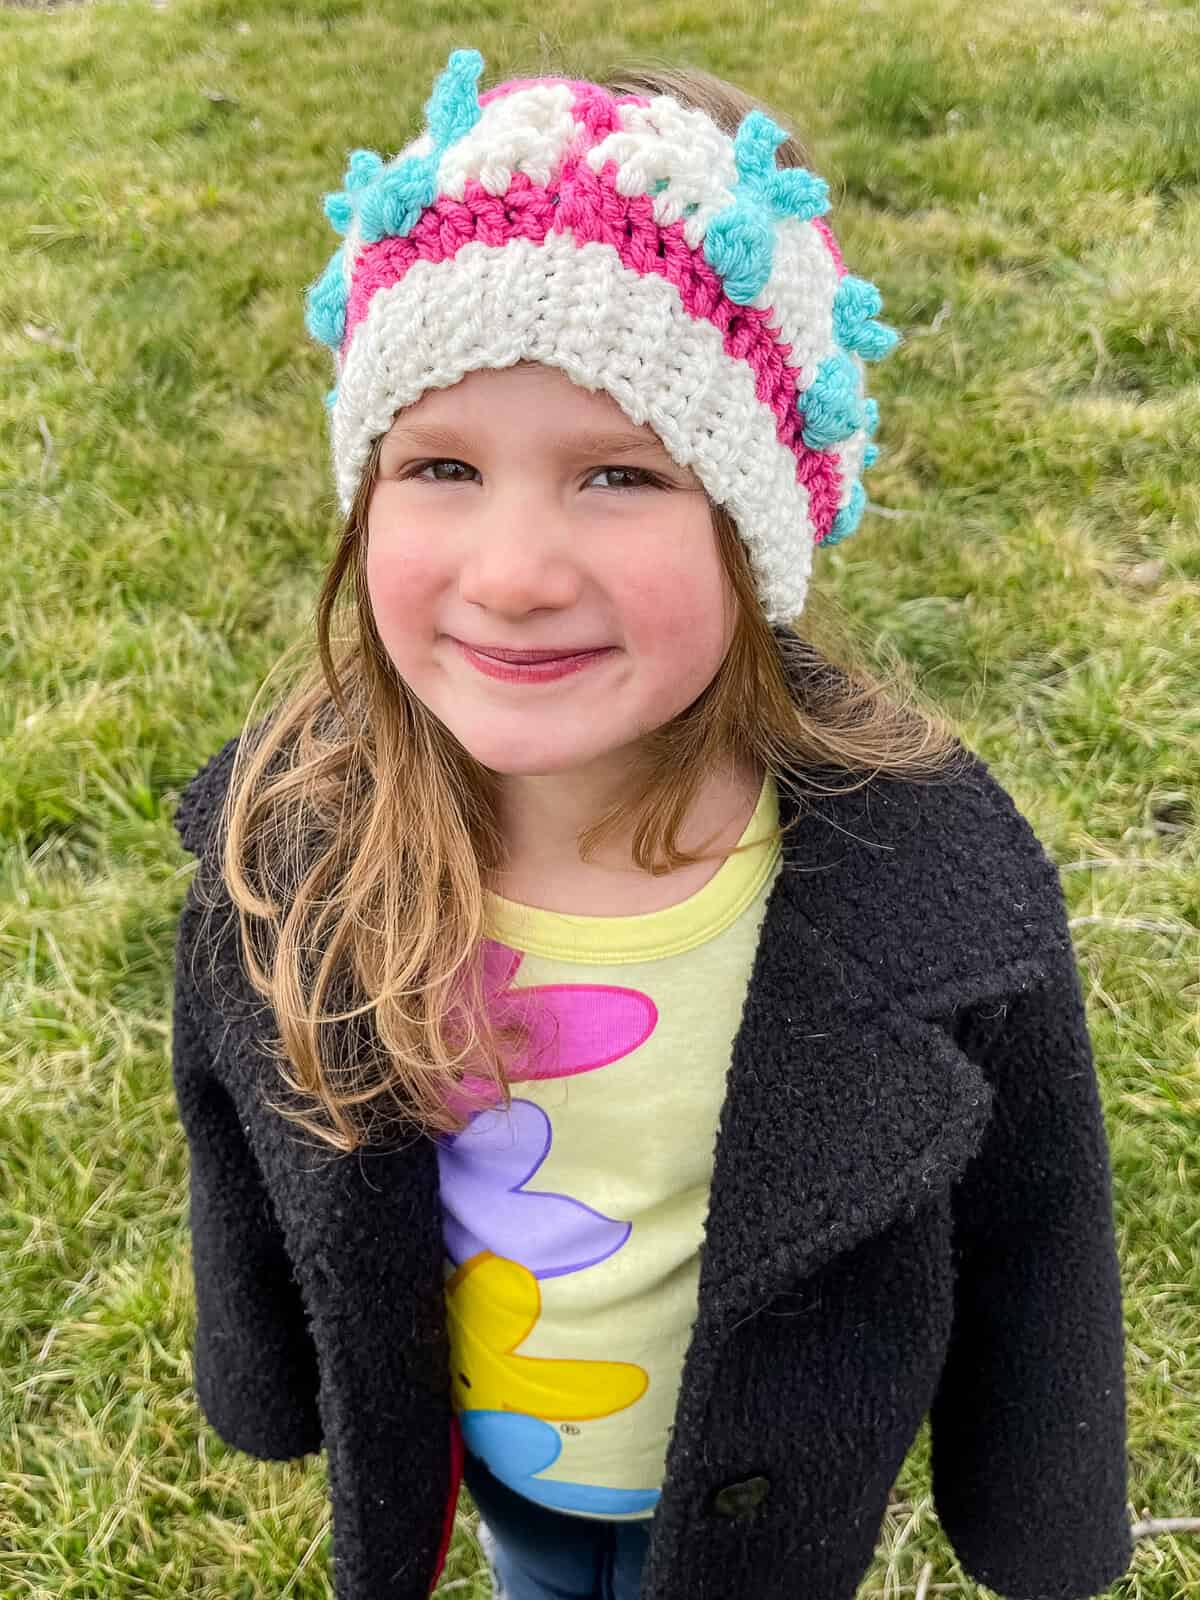
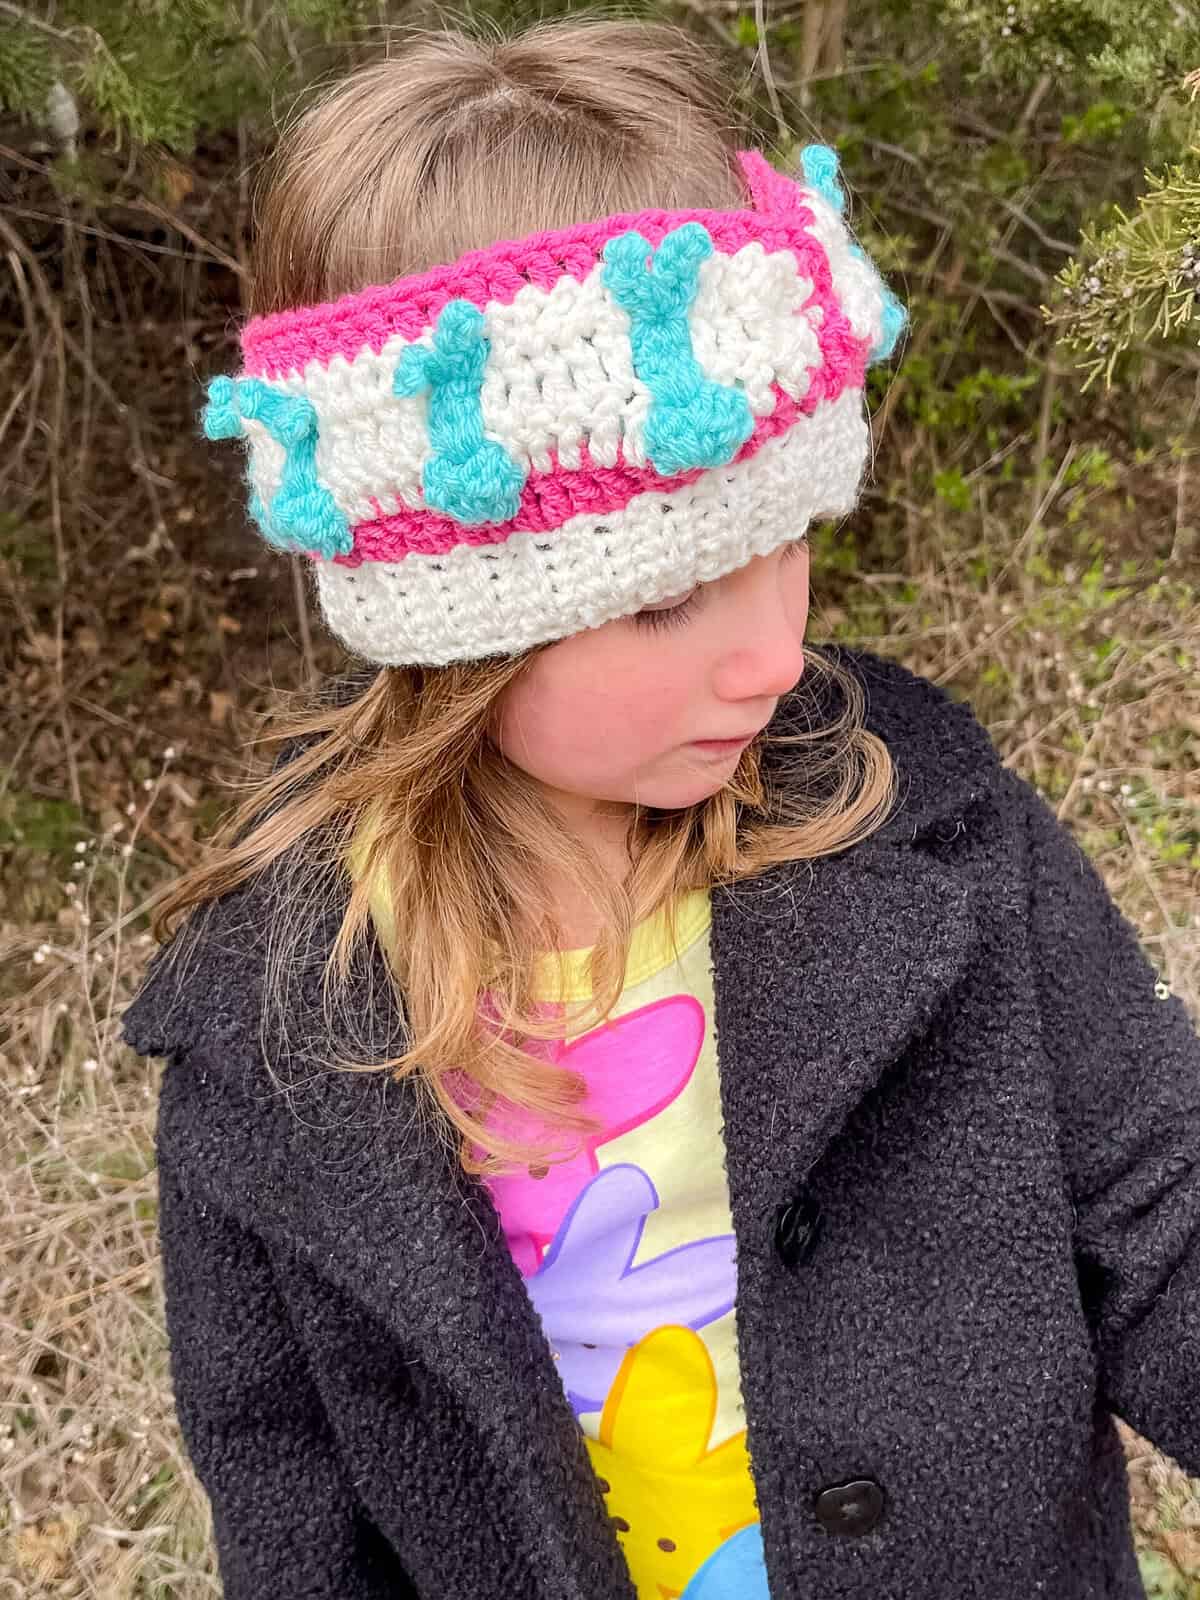
If you’ve been searching for the cutest free crochet bunny headband pattern, you’ve just found it! The Bunny Hop Headband is my brand-new design for spring, and honestly, I am so in love with how it turned out. Those sweet little bunnies popping up across a bold background make this headband absolutely irresistible — for babies, kids, and adults alike!
I’ve been wanting to design something special for Easter so I sat down and figured out a way to work little bunny shapes right into a stitch pattern using my Pumpkin Patch Stitch and Christmas Lights Headband for inspiration. The result is a headband that’s playful and charming. Whether you’re crocheting one for yourself, your grandchild, or tucking it into an Easter basket, this pattern is one you’ll come back to again and again.
The Bunny Hop Headband uses worsted weight (size 4) yarn and a size H hook, and the fun bunny texture is created using a combination of bobble stitches, clusters and picot stitches. The pattern comes in three sizes — toddler, child, and adult — so you can make the family a matching set. If you’re comfortable with intermediate crochet techniques, you’re going to have a blast making this one!

Why You’ll Love This Pattern
Skill Level: Intermediate. This pattern is perfect if you’re ready to level up beyond the basics. You’ll work with bobbles, clusters, and a fun layering technique that creates the dimensional bunny shapes — all clearly explained!
Three Sizes Included: The Bunny Hop Headband comes in Toddler (17″ circumference), Child (19″), and Adult (21″), so you can make matching sets for the whole family or crochet the perfect Easter gift for someone special at any age.
Adorable New Bunny Stitch: The star of this pattern is the unique bunny bobble cluster stitch that creates sweet raised bunny shapes right in the fabric. And once you see it come together on your hook, you won’t be able to stop making them!
Quick Easter Gift: With a small yarn investment — a fantastic scrap busting project in 3 colors — and a free evening, you can crochet a beautiful, thoughtful Easter gift that anyone would be thrilled to receive.
Video Tutorial Available: Not sure about a step? The Bunny Hop Stitch tutorial is now available and will help you with every step of this sweet bunny stitch! Check out this video tutorial below!
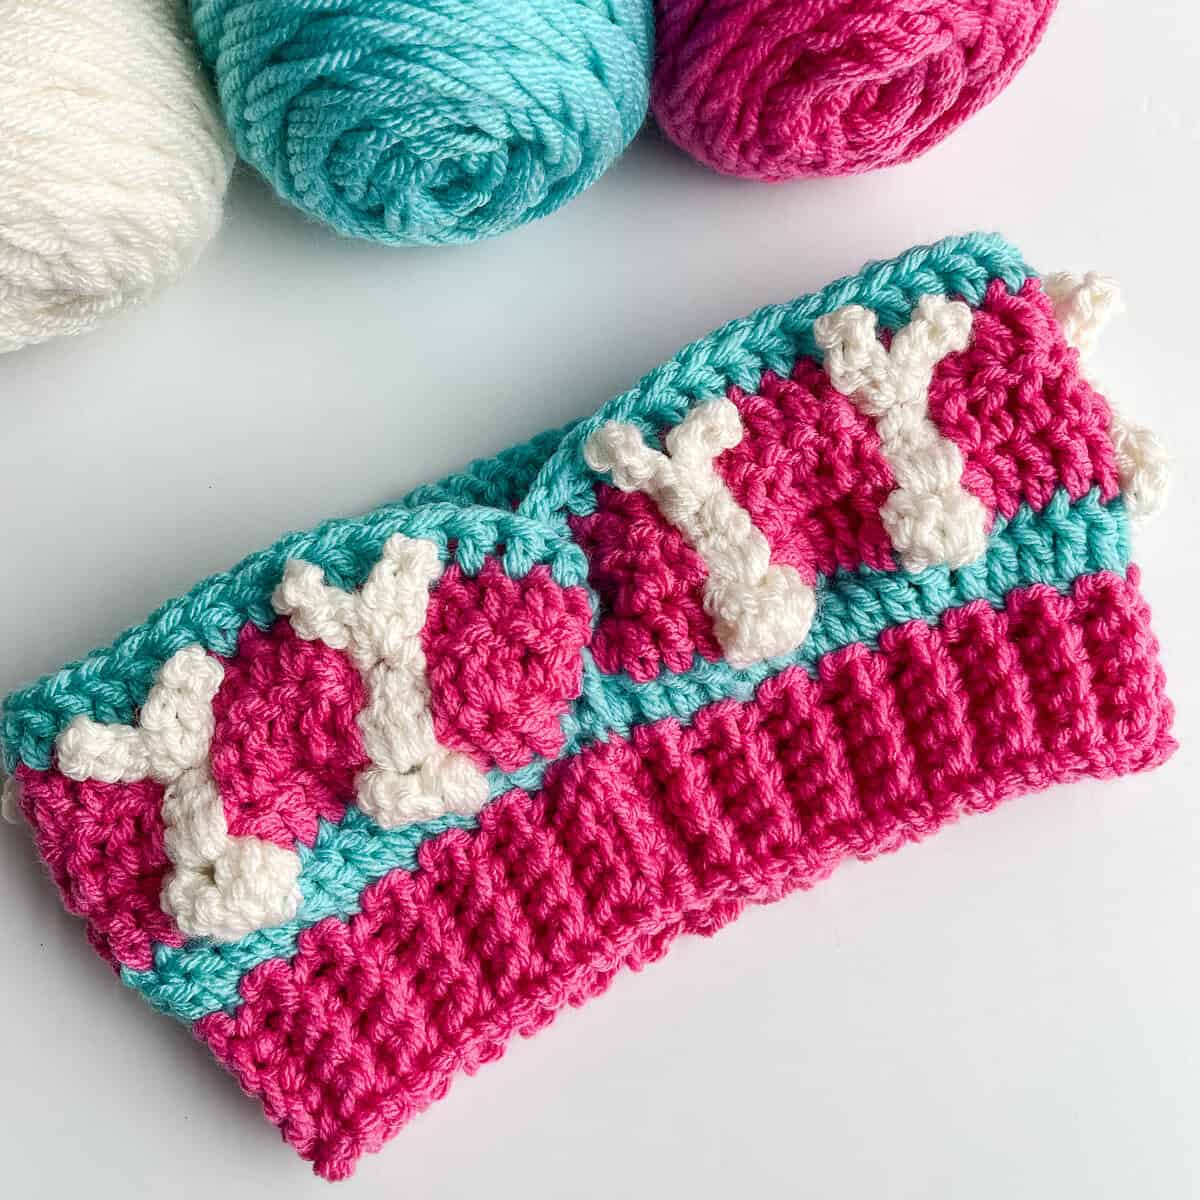
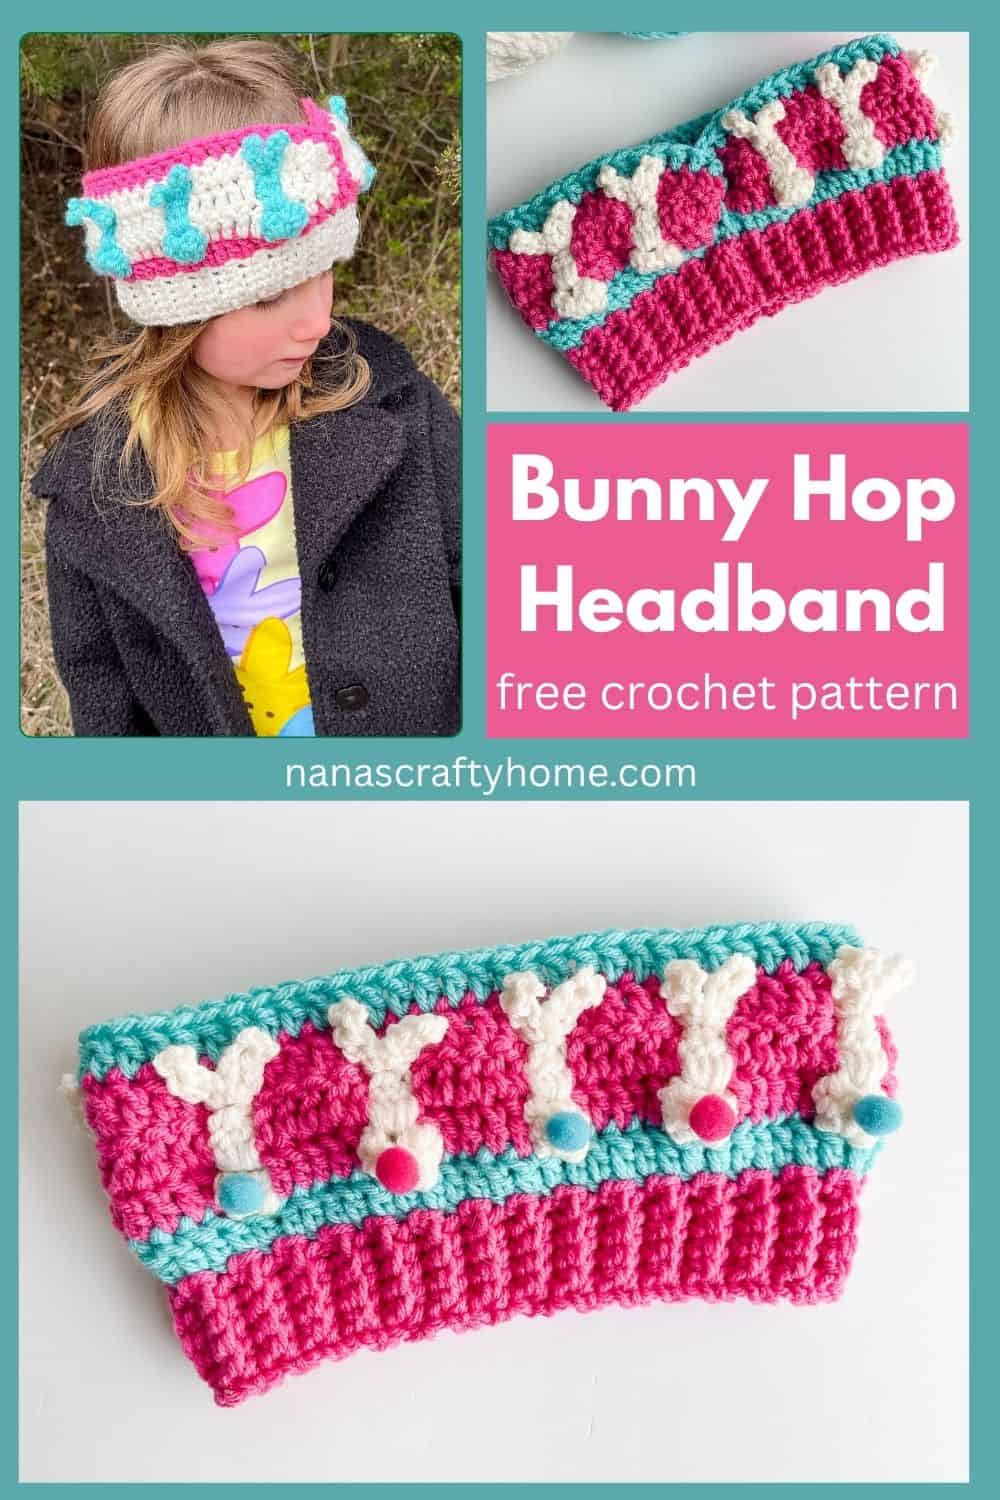
Fun Color Combo: The sample below is worked in Hot Rose (MC), Turquoise (Stripe), and Ivory (Bunny) — but this design would look gorgeous in so many colorways. Try pastels for Easter, or switch to neutrals for an everyday look. The possibilities are endless!
I also glued little craft pom poms to each little bunny bottom in matching colors for another fun option. You can find small craft pom poms at most craft stores or on Amazon. These are totally optional but I think they add such a sweet touch!
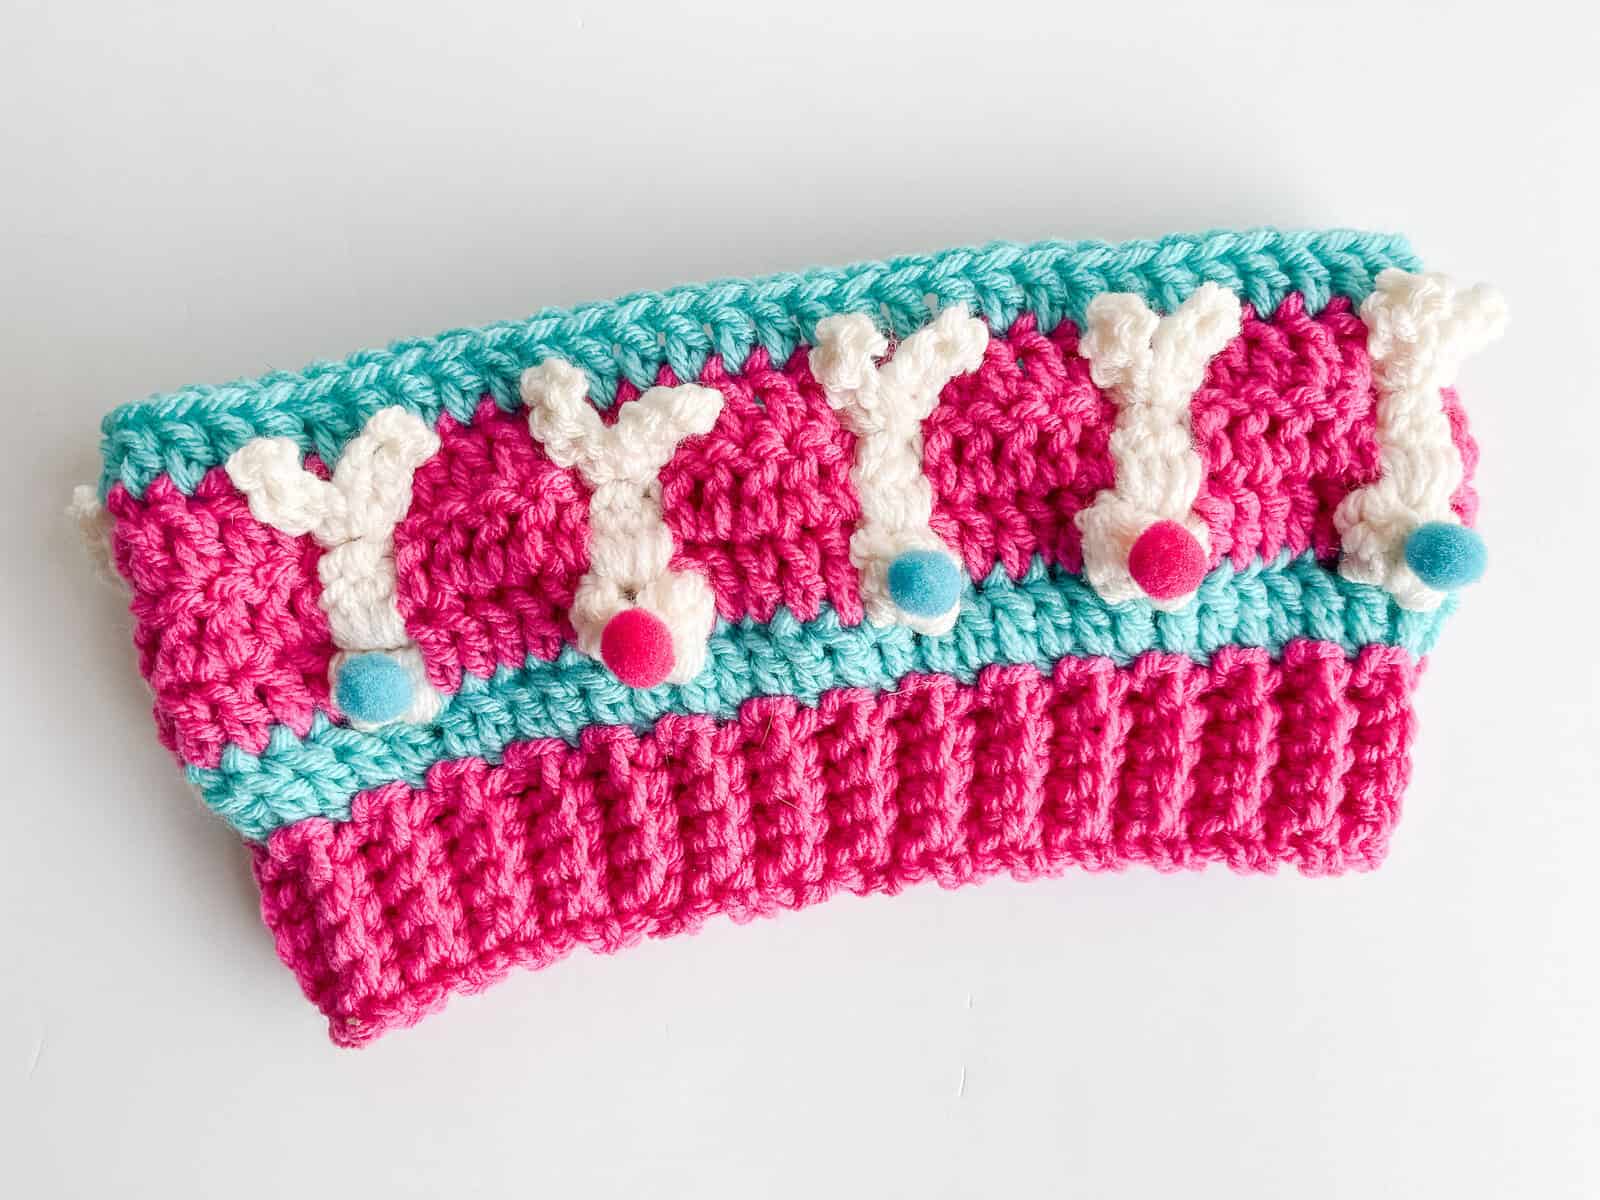
The finished Bunny Hop crochet headband without the twist front with the addition of little craft pom poms glued to each bunny bottom!
Bunny Hop Headband Supplies
*This post contains affiliate links. You can click on any yarn or material highlighted to purchase. I will receive a small commission if you purchase but it won’t cost you any extra! As an Amazon Associate I earn from qualifying purchases.
I am using three colors of I Love This Yarn! which is a medium #4 worsted weight acrylic yarn for this crochet bunny headband. This is the perfect scrap busting project – the adult size uses only 2 oz for the main color!
My favorite medium worsted #4 weight yarns list (and all would make suitable substitutes!) – Red Heart Super Saver, Premier Basix, Vanna’s Choice, Caron One Pound, Brava Worsted, and Big Twist Value yarn. So many options here – pick your favorite, raid your stash!
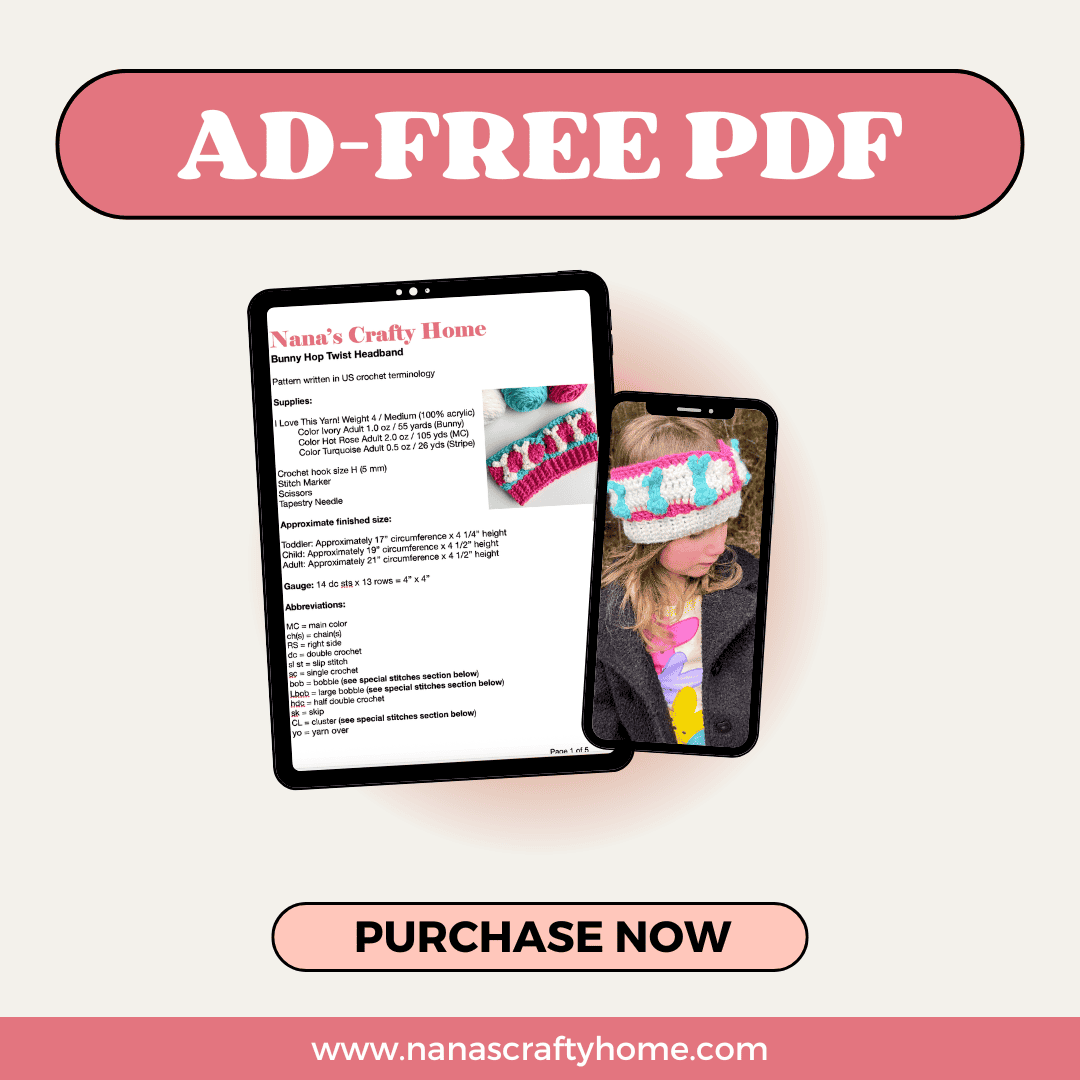
Get the Ad-Free Printable PDF
Want a clean, printer-friendly version of this pattern? The ad-free printable PDF version of the Bunny Hop Headband is available in my shop! It’s formatted beautifully for easy reading — no ads, no scrolling. Perfect for tucking in your project bag or printing to share at your next crochet night. If you love PDFs, you might want to check out my Lifetime Membership. It’s an awesome deal! Never pay for one of my PDFs again!!


To get notified of my free crochet patterns and future giveaways, sign up for my newsletter. I never share or sell your information to third parties — it stays private!
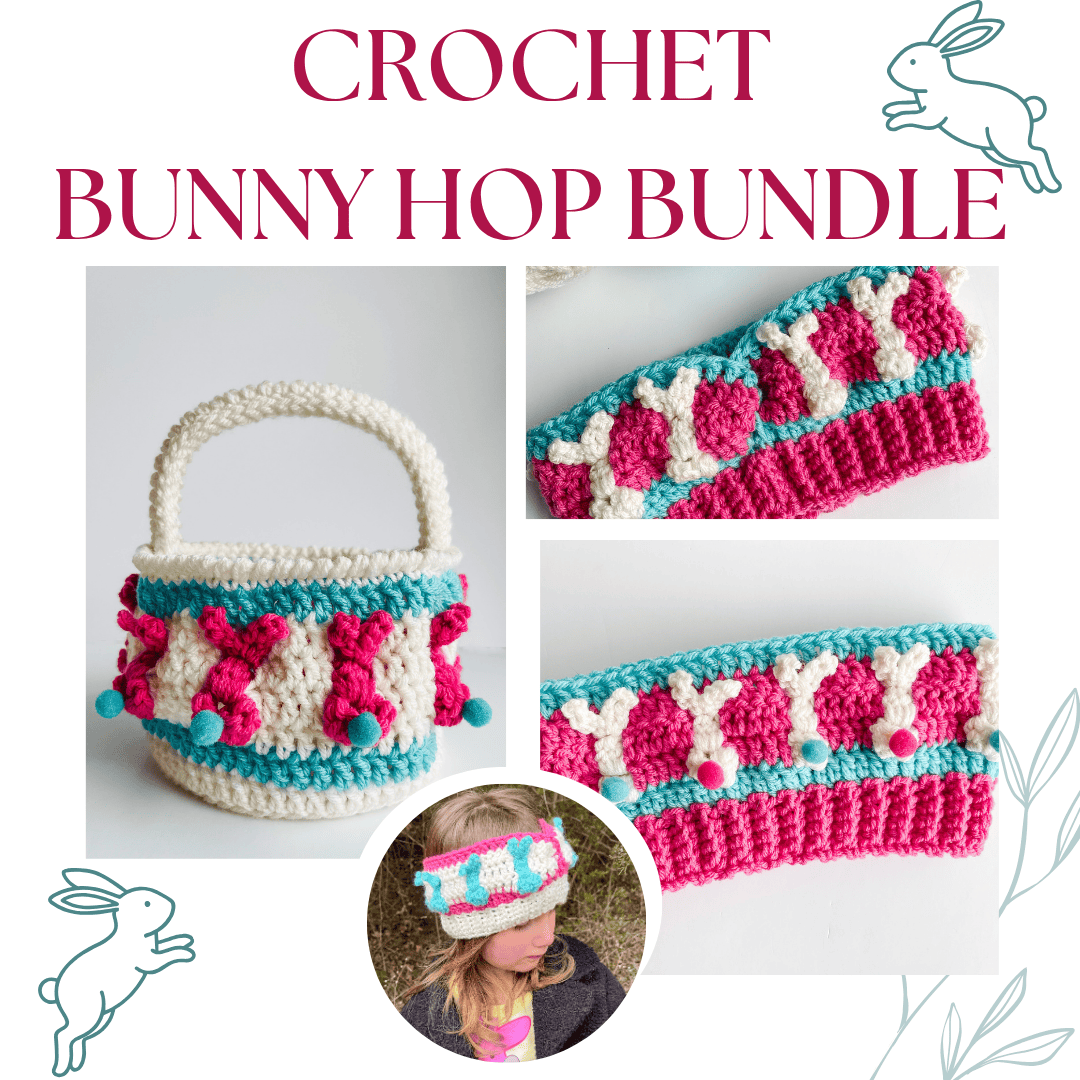
Bunny Hop Crochet Pattern Bundle
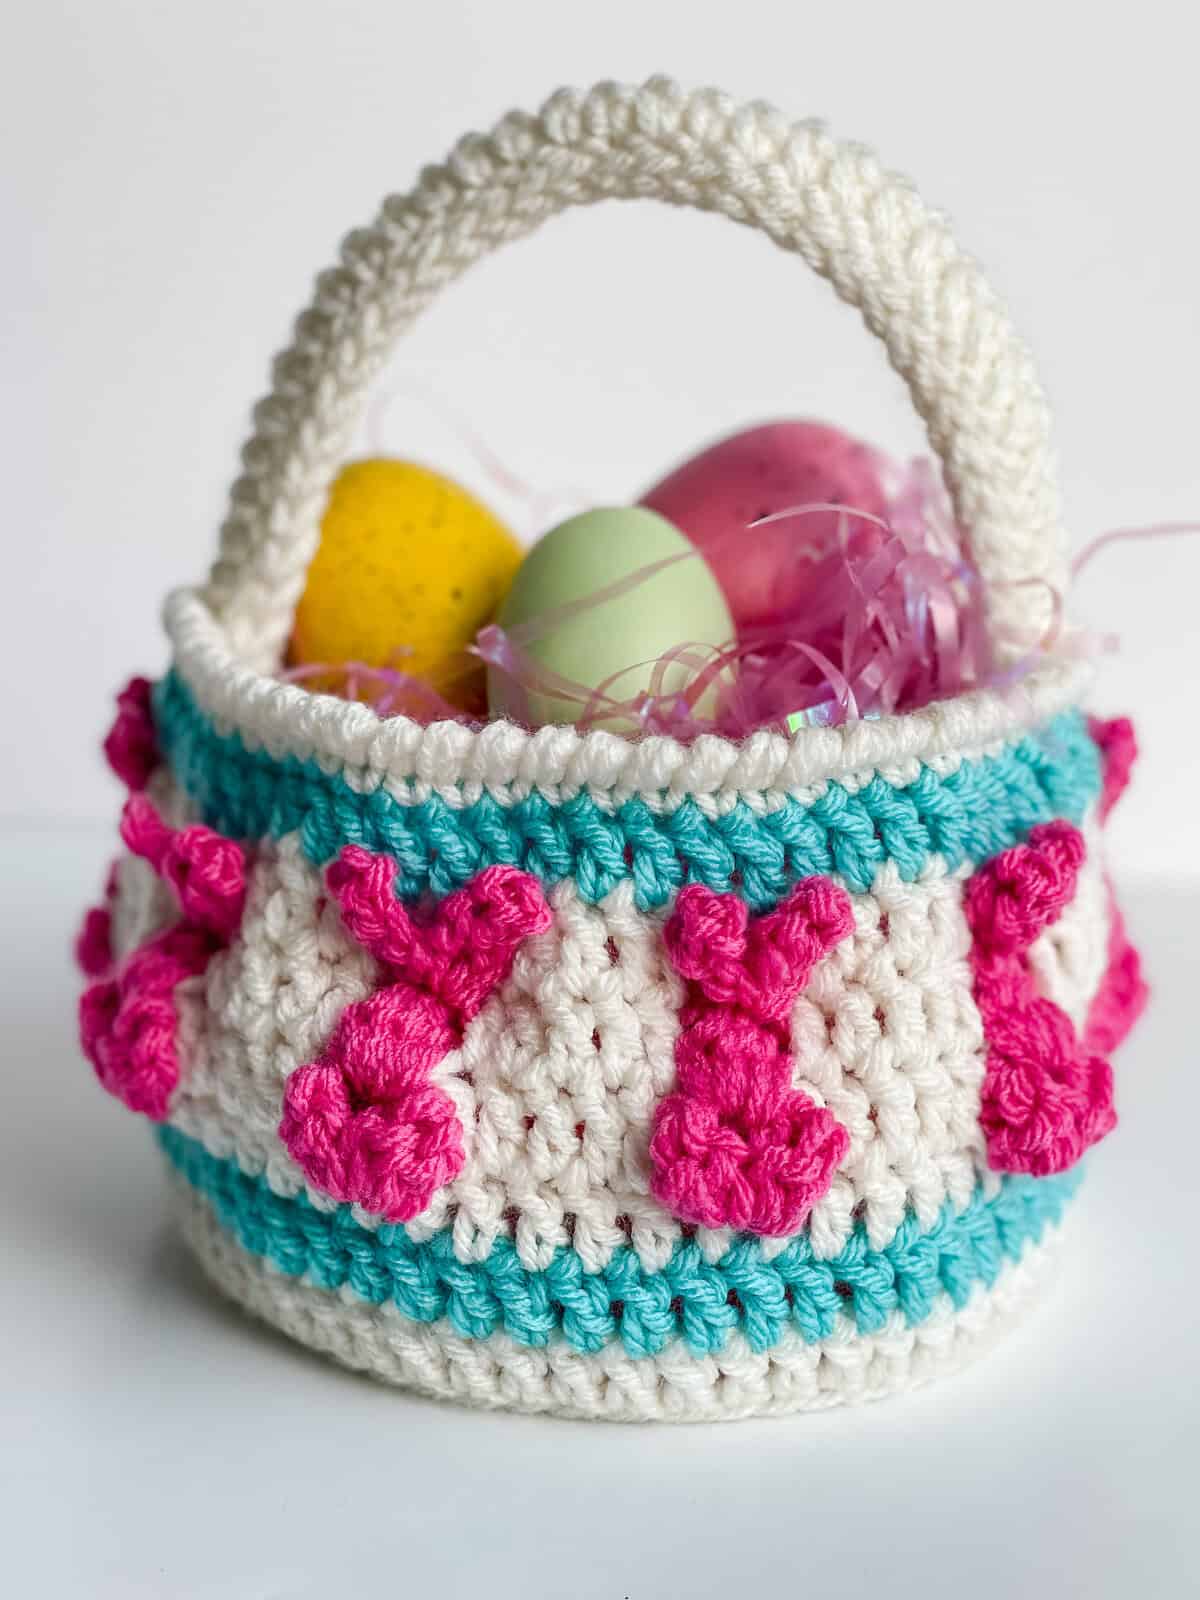
Get ready for Easter with the Bunny Hop Pattern Bundle — two adorable designs in one! This bundle includes the Bunny Hop Headband and the exclusive Bunny Hop Basket, the perfect pair for your Easter celebrations. The Bunny Hop Basket is not yet available as a free pattern on the blog, making this bundle the only way to get your hooks on it right now. Whether you are whipping up a sweet Easter basket for a little one or adding a festive touch with a matching headband, these patterns are sure to delight. Grab the Bunny Hop Pattern bundle today or become a Lifetime Member to unlock access to this pattern and so much more. Either way, your Easter crochet lineup just got a whole lot cuter!
You may also like the following free crochet bunny patterns on the blog:


- Peek a Boo Bunny Hat free crochet pattern
- Some Bunny Loves You Basket free crochet pattern
- Bunny Bum Towel Topper free crochet pattern
Bunny Hop Twist Headband free crochet pattern
Pattern written in US crochet terminology
Supplies:
I Love This Yarn! Weight 4 / Medium (100% acrylic)
- Color Ivory Adult 1.0 oz / 55 yards (Bunny)
- Color Hot Rose Adult 2.0 oz / 105 yds (MC)
- Color Turquoise Adult 0.5 oz / 26 yds (Stripe)
Crochet hook size H (5 mm)
Stitch Marker
Scissors
Tapestry Needle
Approximate finished size:
- Toddler: Approximately 17” circumference x 4 1/4” height
- Child: Approximately 19” circumference x 4 1/2” height
- Adult: Approximately 21” circumference x 4 1/2” height
Gauge: 14 dc sts x 13 rows = 4” x 4”
Abbreviations:
- MC = main color
- ch(s) = chain(s)
- RS = right side
- dc = double crochet
- sl st = slip stitch
- sc = single crochet
- bob = bobble (see special stitches section below)
- Lbob = large bobble (see special stitches section below)
- hdc = half double crochet
- sk = skip
- CL = cluster (see special stitches section below)
- yo = yarn over
Special Stitches:
(Bob) Bobble: (Yo, insert hook into stitch, yo, pull up a loop, yo and pull through 2 loops on hook) three times (4 loops on hook), yo and pull through all 4 loops on hook.
(Lbob) Large Bobble: (Yo, insert hook into stitch, yo, pull up a loop, yo and pull through 2 loops on hook) four times (5 loops on hook), yo and pull through all 5 loops on hook.
CL (cluster): (bob, ch 1, bob) all worked in the same st.
Picot: Ch 5, Sl st in third ch from hook, ch 2.
Pattern Notes:
- Resize by working foundation chain in multiples of 6 + 7.
- Instructions are written for sizes toddler, child and adult in parentheses as toddler (child, adult).
- Chain 3 at beginning of row counts as first st.
Recommended Tutorial:
How to Make a Modern Twist Headband Tutorial
Bunny Hop Crochet Stitch Tutorial
Pattern Instructions
With Stripe color, ch 61 (67, 73)
Row 1: (RS) Dc in fourth ch from hook (skipped chs count as first st) and in each ch to end. Fasten off Stripe color. Turn. 59 (65, 71)
Row 2: (WS) Join bunny color to first st with sl st, ch 6, sk next 4 sts, CL in next st, *ch 6, sk next 5 sts, CL in next st,* repeat from * to * to last 5 sts, ch 6, sk next 4 sts, sl st in last st. Fasten off bunny color. Turn. 9 (10, 11) clusters
Row 3: (RS) Join MC to first st with sl st, ch 3, working in front of and into skipped sts from previous row, dc in next 4 sts, *ch 1, sk over CL, dc in next 5 sts,* repeat from * to * to end. Do not fasten off, place stitch marker in loop to hold stitch. Turn. 50 (55, 60) + 9 (10, 11) ch-1 sps.
Push clusters through to RS of headband.
Row 4: (WS) Join bunny color to first st with sl st, ch 6, sk next 4 sts, Lbob into ch-1 sp from cluster of row 2 and over ch-1 sp from previous row, *ch 6, sk next 5 sts, Lbob into next ch-1 sp,* repeat from * to * to last 5 sts, ch 6, sk next 4 sts, sl st in last st. Fasten off bunny color. Do not turn.
Row 5: (WS) Insert hook into loop of MC, ch 3, working behind chs and into skipped sts from previous row, dc in next 4 sts, *ch 1, sk over Lbob, dc in next 5 sts,* repeat from * to * to end. Do not fasten off, place stitch marker in loop to hold stitch. Do not turn. 50 (55, 60) + 9 (10, 11) ch-1 sps.
Push bobbles through to RS of head band.
Row 6: (WS) Join bunny color to first st with sl st, ch 6, sk next 4 sts, *working in front of ch-1 from previous row, (sl st, picot, sl st, picot, sl st) into Lbob from previous row, ch 6, sk next 5 sts,* repeat from * to * to last Lbob, (sl st, picot, sl st, picot, sl st) in last Lbob, ch 6, sk next 4 sts, sl st in last st. Fasten off bunny color. Turn.
Row 7: (RS) Insert hook into loop of MC, ch 3, working in front of chs and into skipped sts from previous row, dc in next 4 sts, *working behind ears, dc in ch-1 sp from row 5, working in front of chs and into skipped sts from previous row, dc in next 5 sts,* repeat from * to * to end. Fasten off MC. Do not turn.
Row 8: (RS) Join stripe color to first st with sl st, ch 3, 1 dc in each st.
Fasten off, leaving a long tail for sewing. Weave in remaining ends.
Finishing
Lay the headband flat with the right side (RS) facing up.
Place a stitch marker into unused loop of last stitch of foundation chain. This marks the stitch for ribbing later.
Fold each end of the headband in half lengthwise, bringing the outer edges toward the center.
Bring the two folded ends together, with the wrong side (WS) facing outward. Slide the folded ends into each other, ensuring all four raw edges align neatly (refer to the diagram for guidance).
Using the long tail left for sewing, thread a yarn needle. Sew through all four layers along the aligned edges for a secure and invisible seam.
Fasten off. Weave in ends.
Turn the headband right side out to reveal the twisted front design.
Ribbing

Join MC to unused loop foundation chain marked with stitch marker.
Ch 5 (6, 6)
Row 1: Sc in second ch from hook and in each ch to end, now working in unused loops from foundation ch, sl st in next two sts. Turn. 4 (5, 5)
Row 2: Skip 2 sl sts, working in BLO of sc sts from row 1 of ribbing, sc in BLO of each st to last st, sc in both loops of last st. Turn. 5
Row 3: Ch 1, sc both loops of first st, then sc in BLO of each st to end, sl st in next two sts of foundation ch. Turn.
Rows 4 – 59 (65, 71): Repeat rows 2 – 3.
Fasten off leaving a long tail for sewing.
Thread a yarn needle with the long tail left from the ribbing (or attach a new length of matching yarn if the tail is too short). Starting at the bottom edge of the ribbing, sew the ribbing edges together using a whip stitch or mattress stitch for an invisible seam. Work evenly through both layers, matching stitches as you go. Sew any remaining gap between ribbing and main body of headband.
Weave in any remaining ends.
Looking for More Free Crochet Patterns?
If you loved making this Bunny Hop Headband, you’re going to want to explore all the other free patterns here on Nana’s Crafty Home! From cozy winter earwarmers to fun seasonal accessories, there’s always something new on the hook. Don’t miss a single pattern — sign up for my free newsletter and get new designs delivered straight to your inbox!
Sign up here: nanascraftyhome.com/sign-up-for-my-free-newsletter/
Copyright 2026 Tonya Bush / Nana’s Crafty Home, LLC.
Connect with Nana’s Crafty Home:
Facebook: https://www.facebook.com/nanascraftyhome
Instagram: https://www.instagram.com/nanascraftyhome/
Pinterest: https://www.pinterest.com/nanascraftyhome/
YouTube: https://www.youtube.com/c/TonyaBush
Facebook Group: https://www.facebook.com/groups/829792060522798
Sign up for my Newsletter: https://nanascraftyhome.com/sign-up-for-my-free-newsletter/
 Hi! Thank you so much for being here! I am Tonya the designer behind Nana's Crafty Home. As a wife, mother, Nana of 9 & with 2 fur babies, my days are filled with love, laughter, hugs and yarn! Here you will find colorful and creative crochet designs for yourself or loved ones. My hope is that you will be inspired to learn and create along with me!