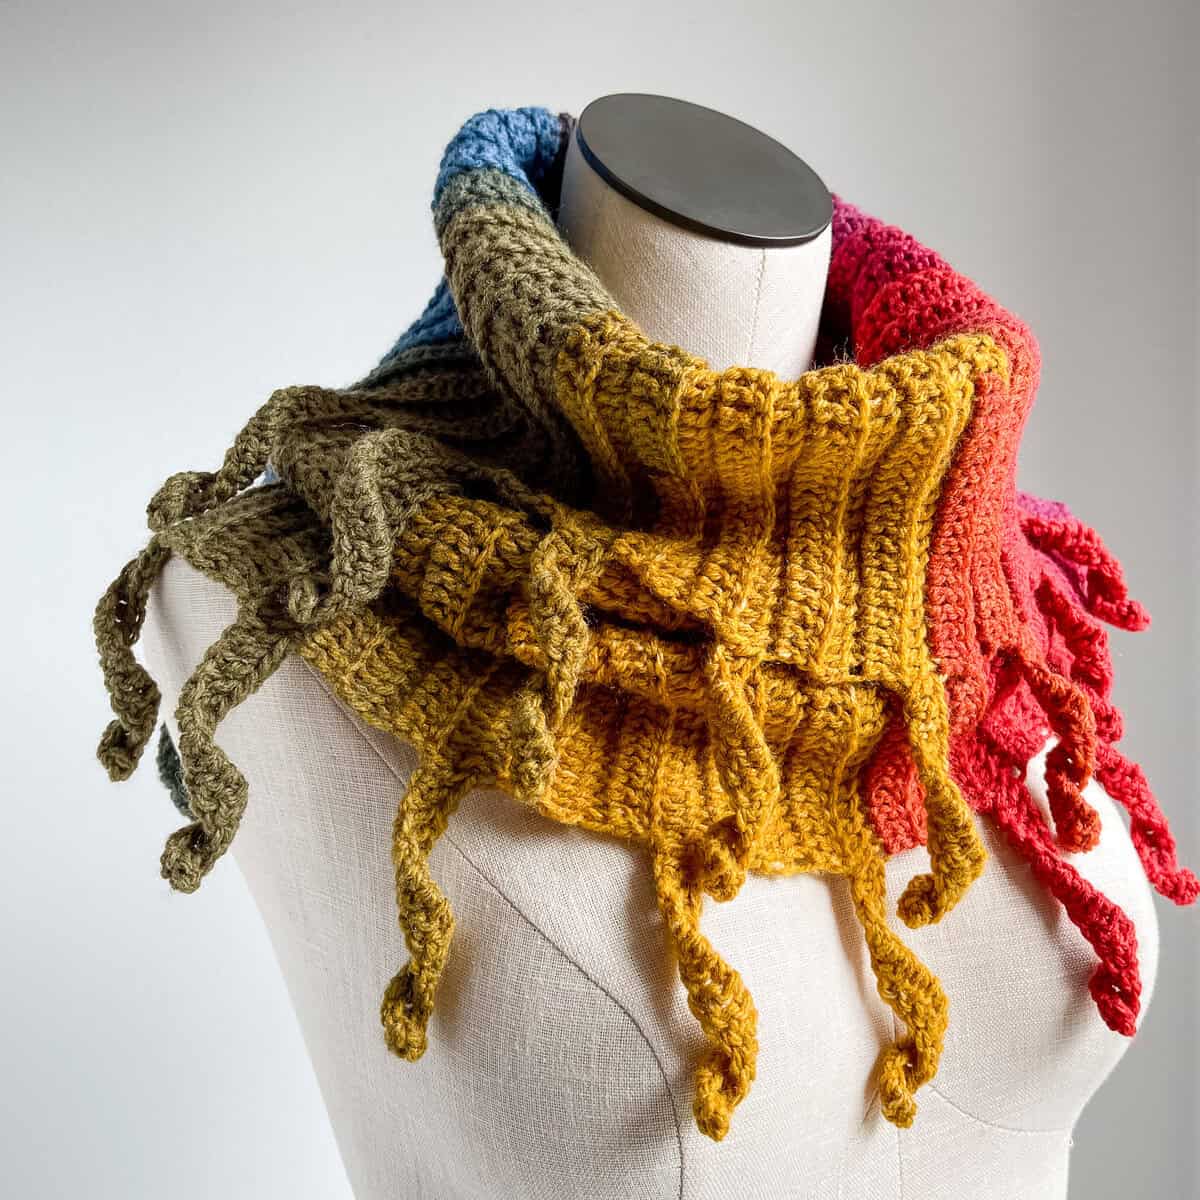
This easy crochet cowl is so fun with unique “curlies” along both edges creating a really interesting design!
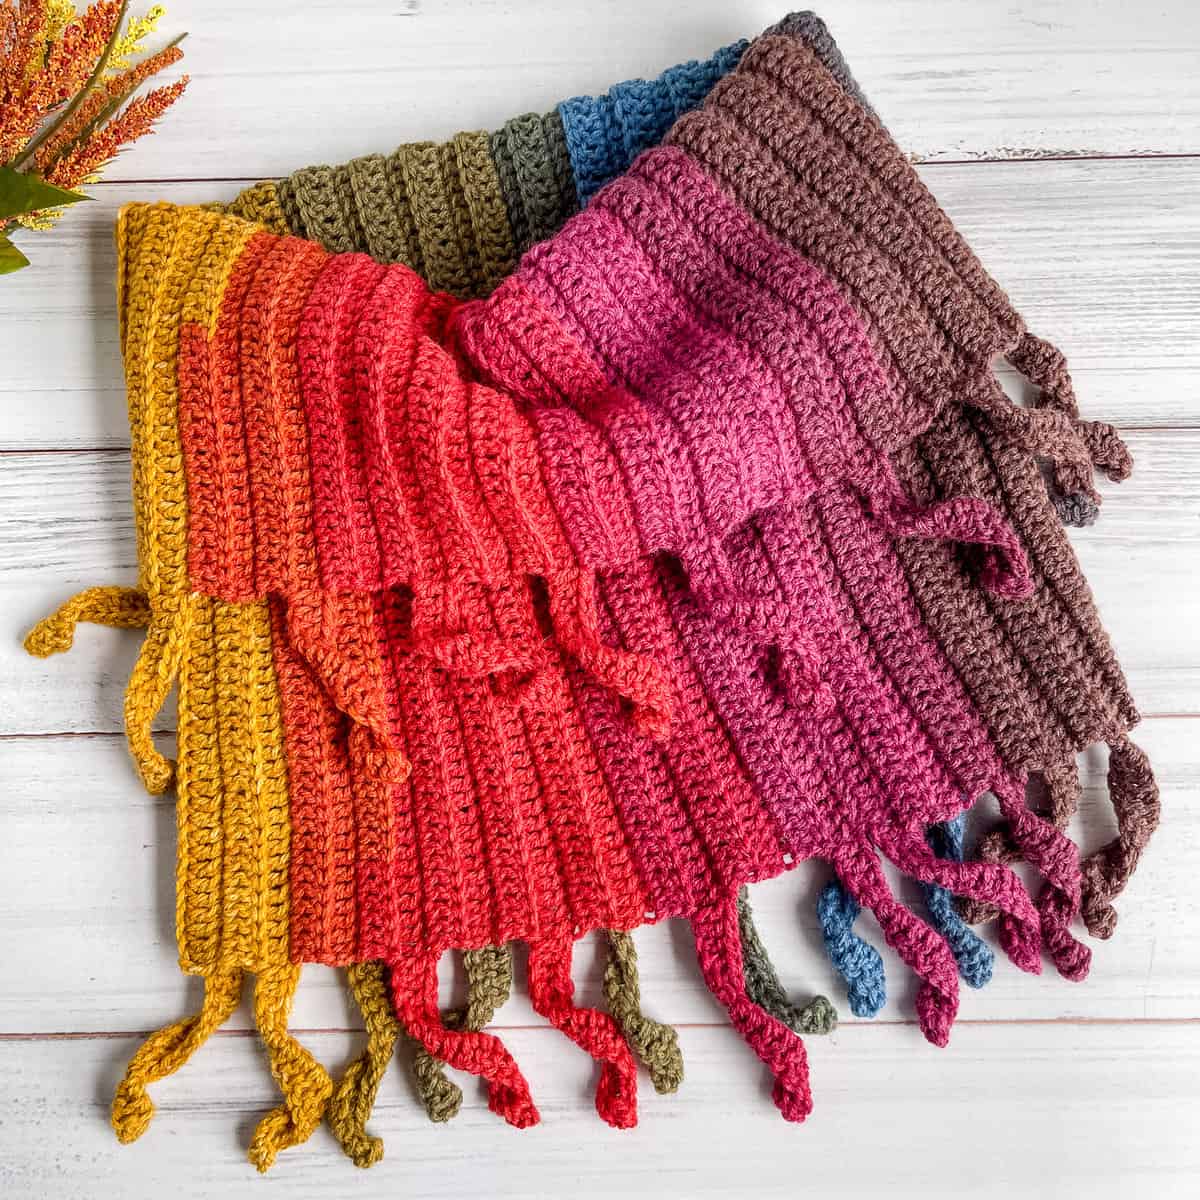
This crochet cowl is made sideways as a long rectangle with just one yarn cake of self-striping yarn all in one piece.
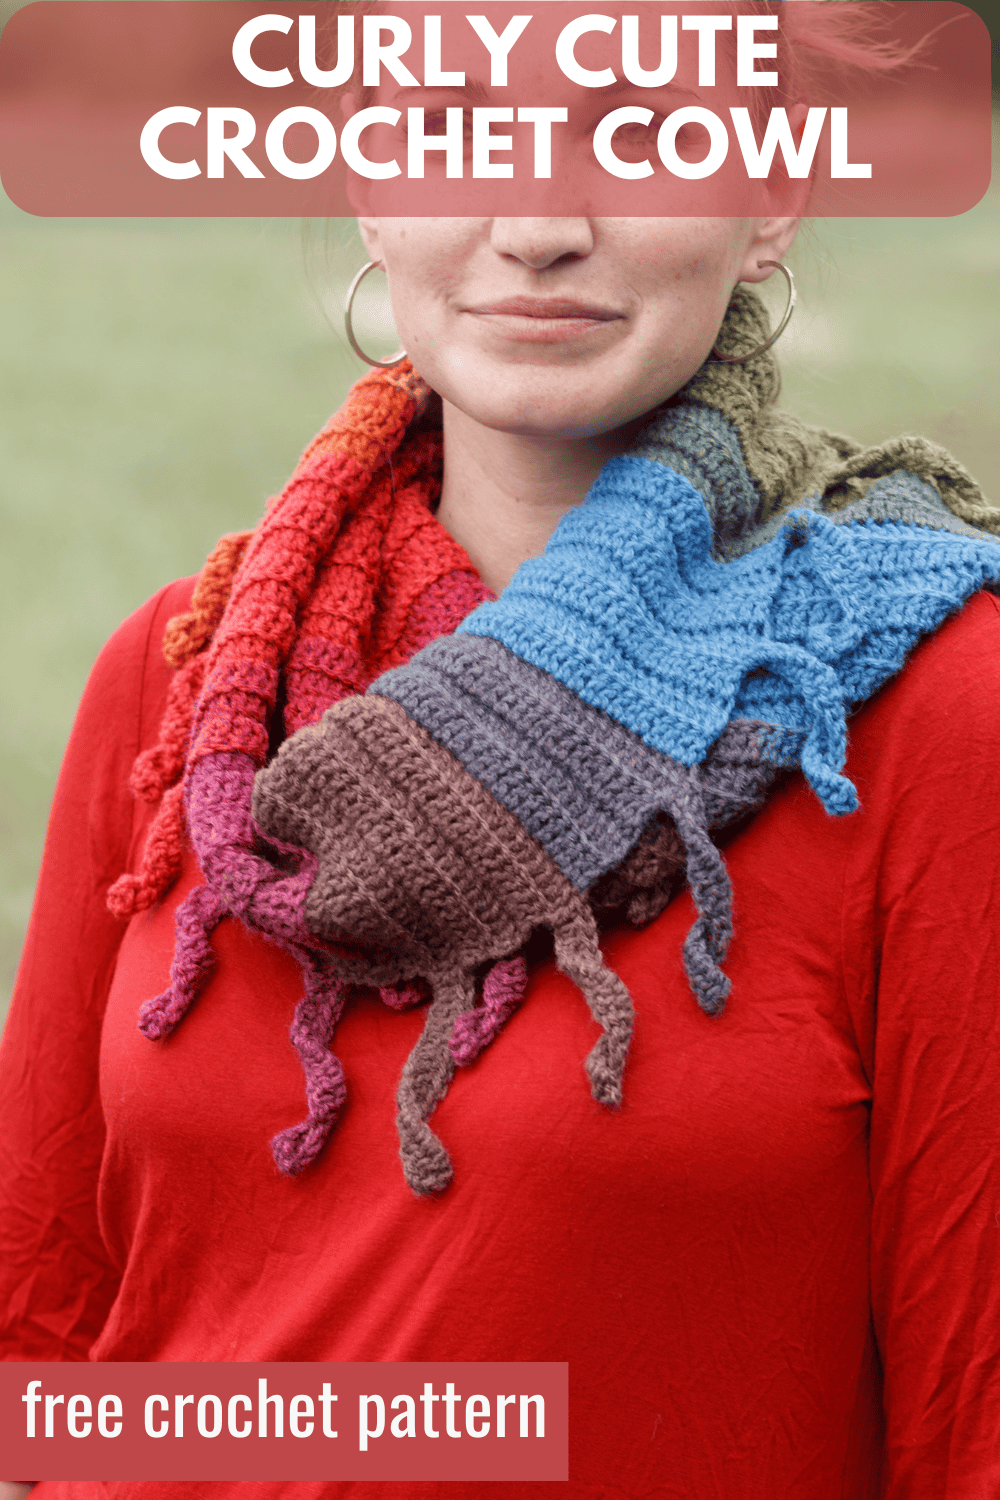
The Curly Cute Cowl is an eye-catching accessory with a playful and whimsical design. With a gentle ribbed texture and distinctive “curly” fringe along the edges for extra flair.
I love this cowl so much – it has such a unique look and the curly edges are so much fun! No need to do anything extra to those curls – they will naturally curl up all on their own!


How to Make this Easy Crochet Cowl
This really is an easy crochet cowl pattern that looks more complicated than it really is! Using basic crochet stitches throughout – just double crochet stitches and chains!
1. Make a long foundation chain – this can be adjusted easily to any size. If you would like to adjust the foundation chain just remember to keep the number of 15 unworked stitches the same on each end. The middle stitch count will be what is adjusted. Simply add or subtract any number of chains.
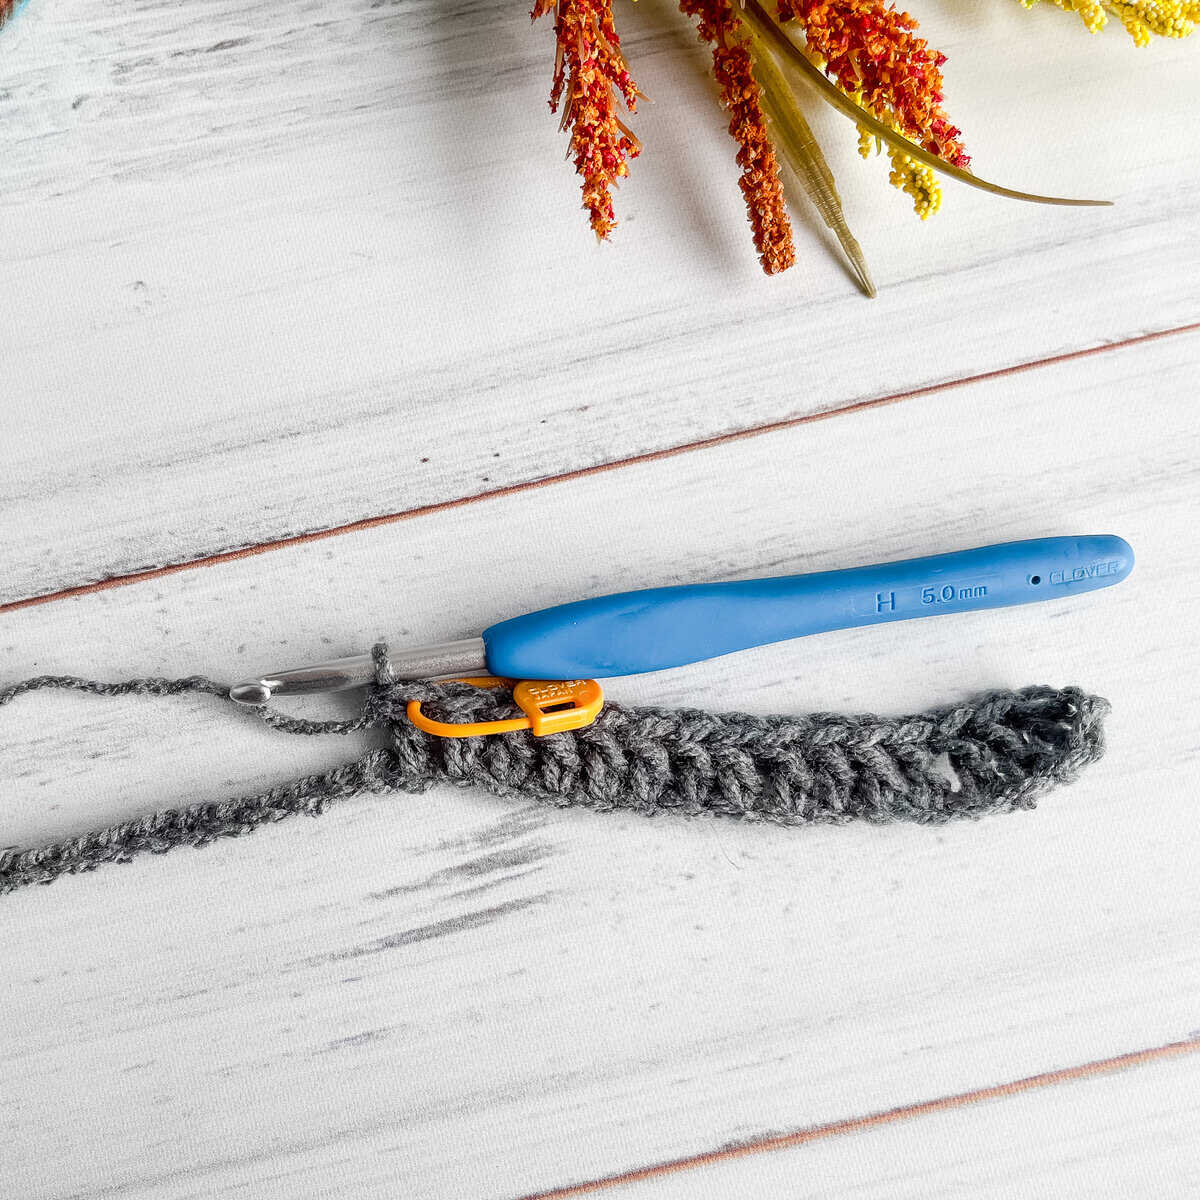
2. The first row of double crochet stitches are worked in each chain to the end. I recommend placing a stitch marker in the 15th dc stitch of the row as a visual cue for the next row’s unworked stitches.
3. Begin working in the back loop only for the remainder of your pattern.
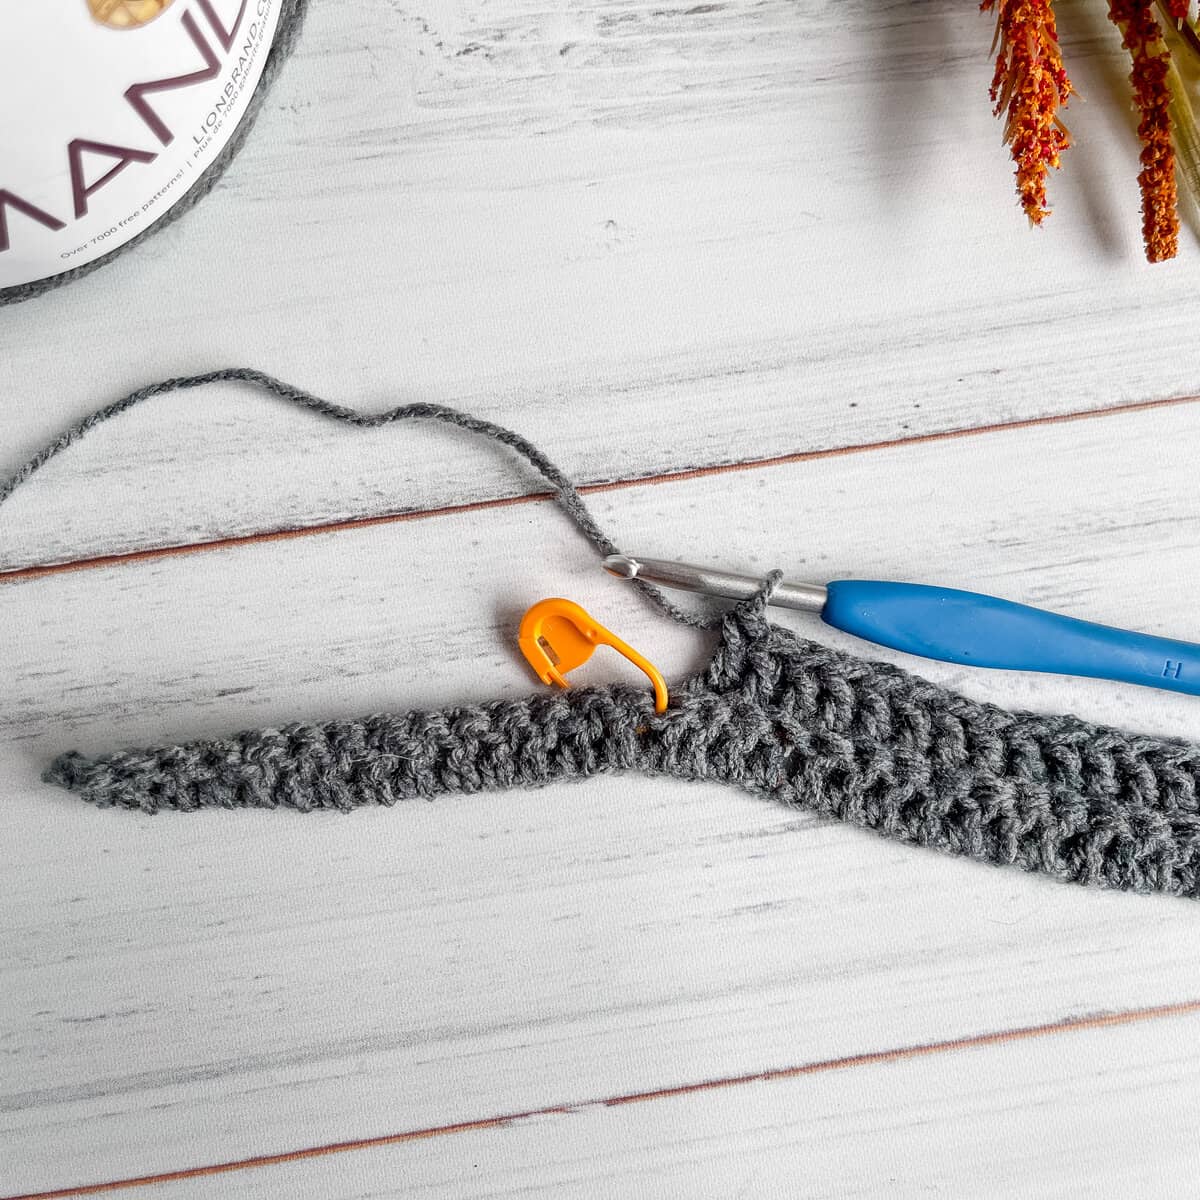
4. Row two you will work double crochet stitches in the back loop only to the stitch marker placed in the fifteenth stitch of the previous row. Leaving those 15 stitches unworked and turn for row 3.
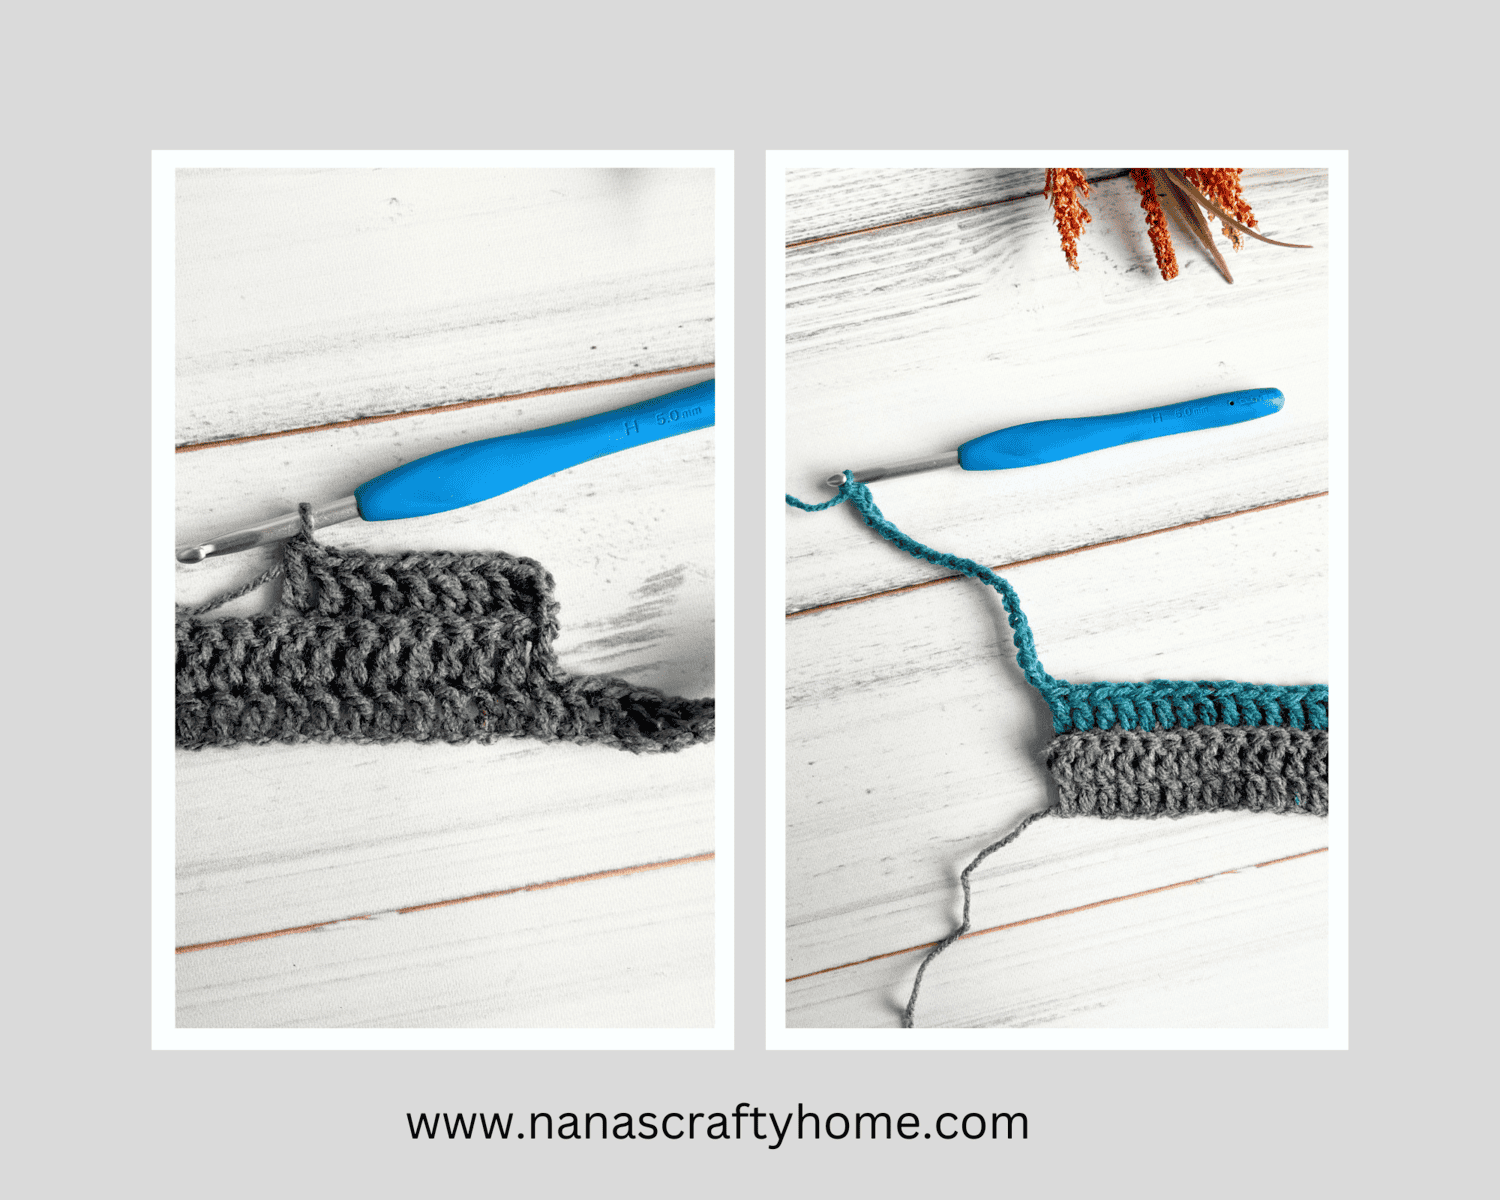
5. Row 3 work a dc in each st to the end and after working the final dc stitch, chain 17 and turn. Again, I recommend placing a stitch marker in the fifteen stitch (the last dc st worked into the chain).

6. Row 4 work a dc stitch in the chains worked at the end of row 3 and in each st to the last and then chain 17 at the end of row 4. Turn.
7. Row 5 work a dc stitch in the chains worked at the end of the previous row and in each st to the next stitch marker. If desired, place a stitch marker in the fifteenth st of this row as a visual cue for the next row.
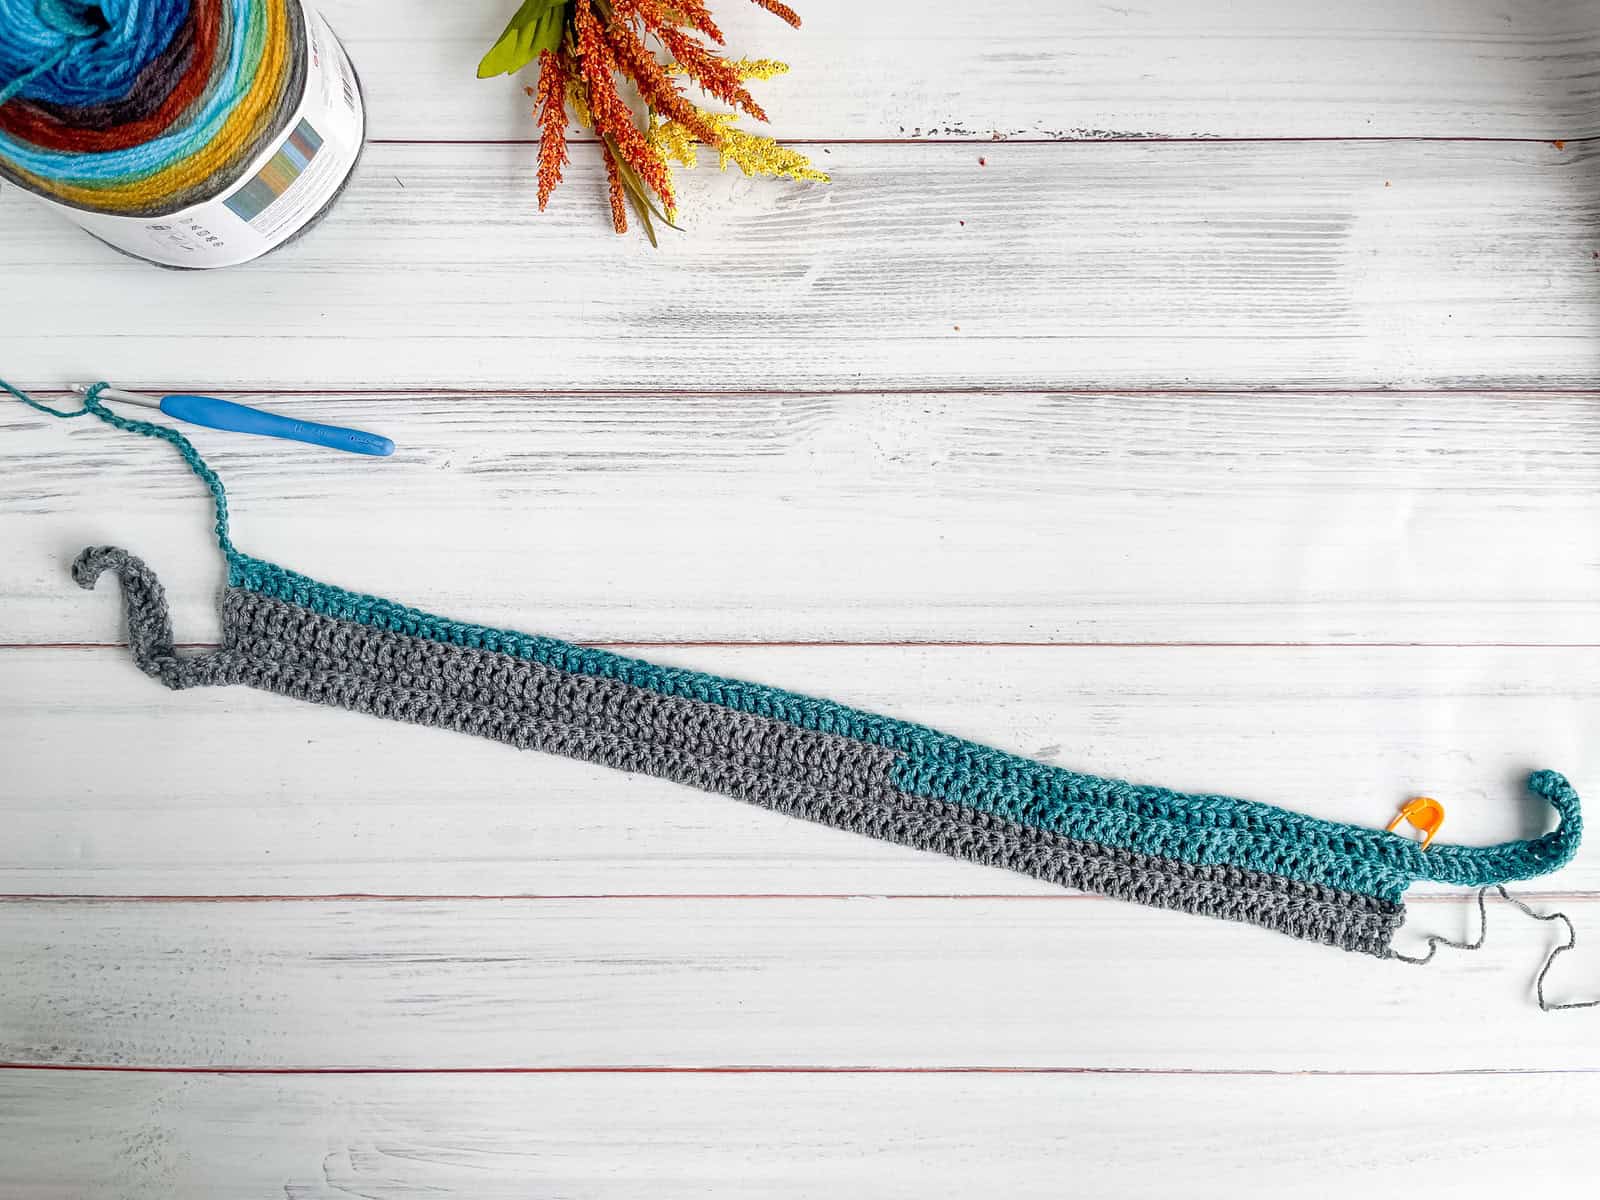
8. You will now begin repeating rows 2 – 5 to the size desired. I just kept on going to the end of my yarn cake. Once I had just enough yarn left to seam I stopped. I used all of a 590 yard yarn cake for a finished size of approximately 22″ x 26″ before folding and seaming.
I do have a complete video tutorial to help walk you through each step of the way as well!
Yarn Supplies for the Curly Cute Cowl Pattern
*This post contains affiliate links. You can click on any yarn or material highlighted to purchase. I will receive a small commission if you purchase but it won’t cost you any extra! As an Amazon Associate I earn from qualifying purchases.
One of my very favorite self-striping yarns is the Lion Brand Mandala yarn* but if you are unfamiliar with it you can read all about it in my Mandala yarn review. Lion Brand Mandala is a DK light weight #3 acrylic yarn. This pattern could certainly be made with another self striping dk yarn weight but if you are making it with a larger medium worsted weight yarn I would suggest doing fewer chains at the beginning.
I do not like having bits of yarn left over and so I basically made this pattern with the intent that you would just go until you almost run out of yarn and then sew the seams together. My first cowl in Chimera ended up with a total of 61 rows and the Wizard ended up with 67 rows — quite a big difference. My gauge was the same but there must have been a fairly significant difference in yardage in the cakes.
This isn’t the first time I experienced this. When I made my Aurora Skies baby afghan there also seemed to be a difference in yardage between some of the cakes. Just a heads up as I didn’t want to give a specified number of rows in the pattern since you may see a difference in your cakes as well. Frankly, not a big deal for this pattern.
There is nothing special you need to do to the curly cues to make them curl — they should just curl up like mine did.
If you aren’t a big fan of the curls, you can check out my Simple Sparkle crochet Cowl pattern which is the same pattern – minus the curls! Great for a beginner with a complete video tutorial to walk you through each step as well.
You may also love these free crochet patterns by Nana’s Crafty Home:


- 1. Mountain Trail Cowl free pattern
- 2. Mesa Sunset Bandana Cowl free crochet pattern
- 3. Chains of Love free crochet cowl pattern
This pattern is also available as an ad-free, printable PDF! You can purchase the individual pattern, or if you love PDFs, you might want to check out my Lifetime Membership. It’s an awesome deal! Never pay for one of my PDFs again!! (Or, scroll down for the free version!)


Curly Cute Cowl Free Written Pattern Instructions
Pattern written in US crochet terminology
Supplies:
Lion Brand Mandala, Weight 3 Light (100% acrylic) 5.3 oz / 590 yds
- (1) Chimera color way
Crochet hook size H/8 (5.0 mm)
Scissors
Tapestry Needle
Approximate finished size: 22″ width x 26″ long before sewing ends together.
Recommended Tutorials:
Abbreviations:
- ch(s) = chain(s)
- dc = double crochet
- RS = right side
- st(s) = stitch(es)
- BLO = back loop only
Pattern Notes:
- Ch 2 at beginning of row does not count as a stitch.
- Stitches in the main body of the cowl will be worked in the back loop only.
- Using stitch markers to mark the fifteen stitch of the rows indicated below is optional but will provide an easy visual of which stitches you will be leaving unworked.
Pattern Instructions
Ch 92.
Row 1: (RS) Dc in third ch from hook and each ch across. Turn. (90) Note: Place a stitch marker in the fifteenth stitch to make counting easier in next row.
Row 2: Ch 2, now working in BLO and throughout, dc in same st and next 74 sts to stitch marker, leave last 15 sts unworked. Turn. (75)
Row 3: Ch 2, dc in same st and each st to end, ch 17. Turn. (75 sts + 17 chs)
Row 4: Dc in third ch from hook and in each of the next 14 chains, dc in next 75 sts, ch 17. Turn. (90 sts + 17 chs) Note: Place a stitch marker in the fifteenth st to mark the unworked stitches in the next row.
Row 5: Dc in third ch from hook and in each of the next 14 chains, dc in next 75 sts to next st marker, leave last 15 sts unworked. Turn. (90) Note: Place a stitch marker in the fifteenth st to mark the unworked stitches in the next row.
Continue repeating rows 2 – 5 until you have only enough yarn left to sew seam together.
Fold ends of rectangle together, with RS together, sew together with mattress stitch.
Fasten off. Weave in ends.
Copyright 2024 Tonya Bush/Nana’s Crafty Home
Social Media links:
Facebook: https://www.facebook.com/nanascraftyhome
Instagram: https://www.instagram.com/nanascraftyhome/
Pinterest: https://www.pinterest.com/nanascraftyhome/
YouTube: https://www.youtube.com/c/TonyaBush
Twitter: https://twitter.com/nanascraftyhome
Facebook Group: https://www.facebook.com/groups/829792060522798
Sign up for my Newsletter: https://nanascraftyhome.com/sign-up-for-my-free-newsletter/
 Hi! Thank you so much for being here! I am Tonya the designer behind Nana's Crafty Home. As a wife, mother, Nana of 9 & with 2 fur babies, my days are filled with love, laughter, hugs and yarn! Here you will find colorful and creative crochet designs for yourself or loved ones. My hope is that you will be inspired to learn and create along with me!