
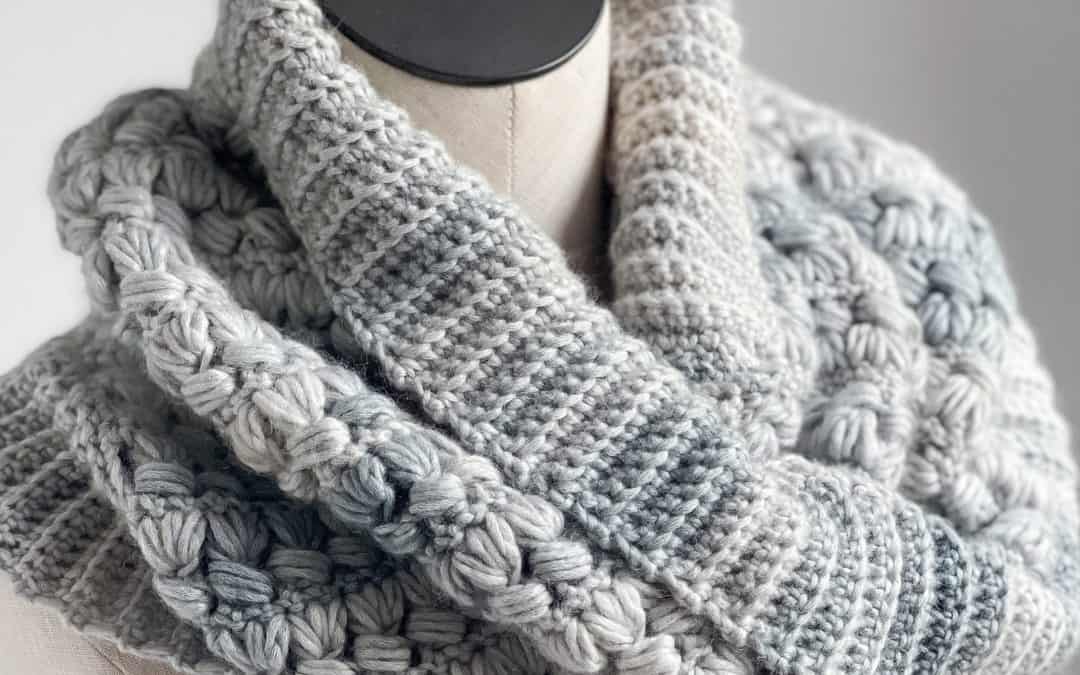
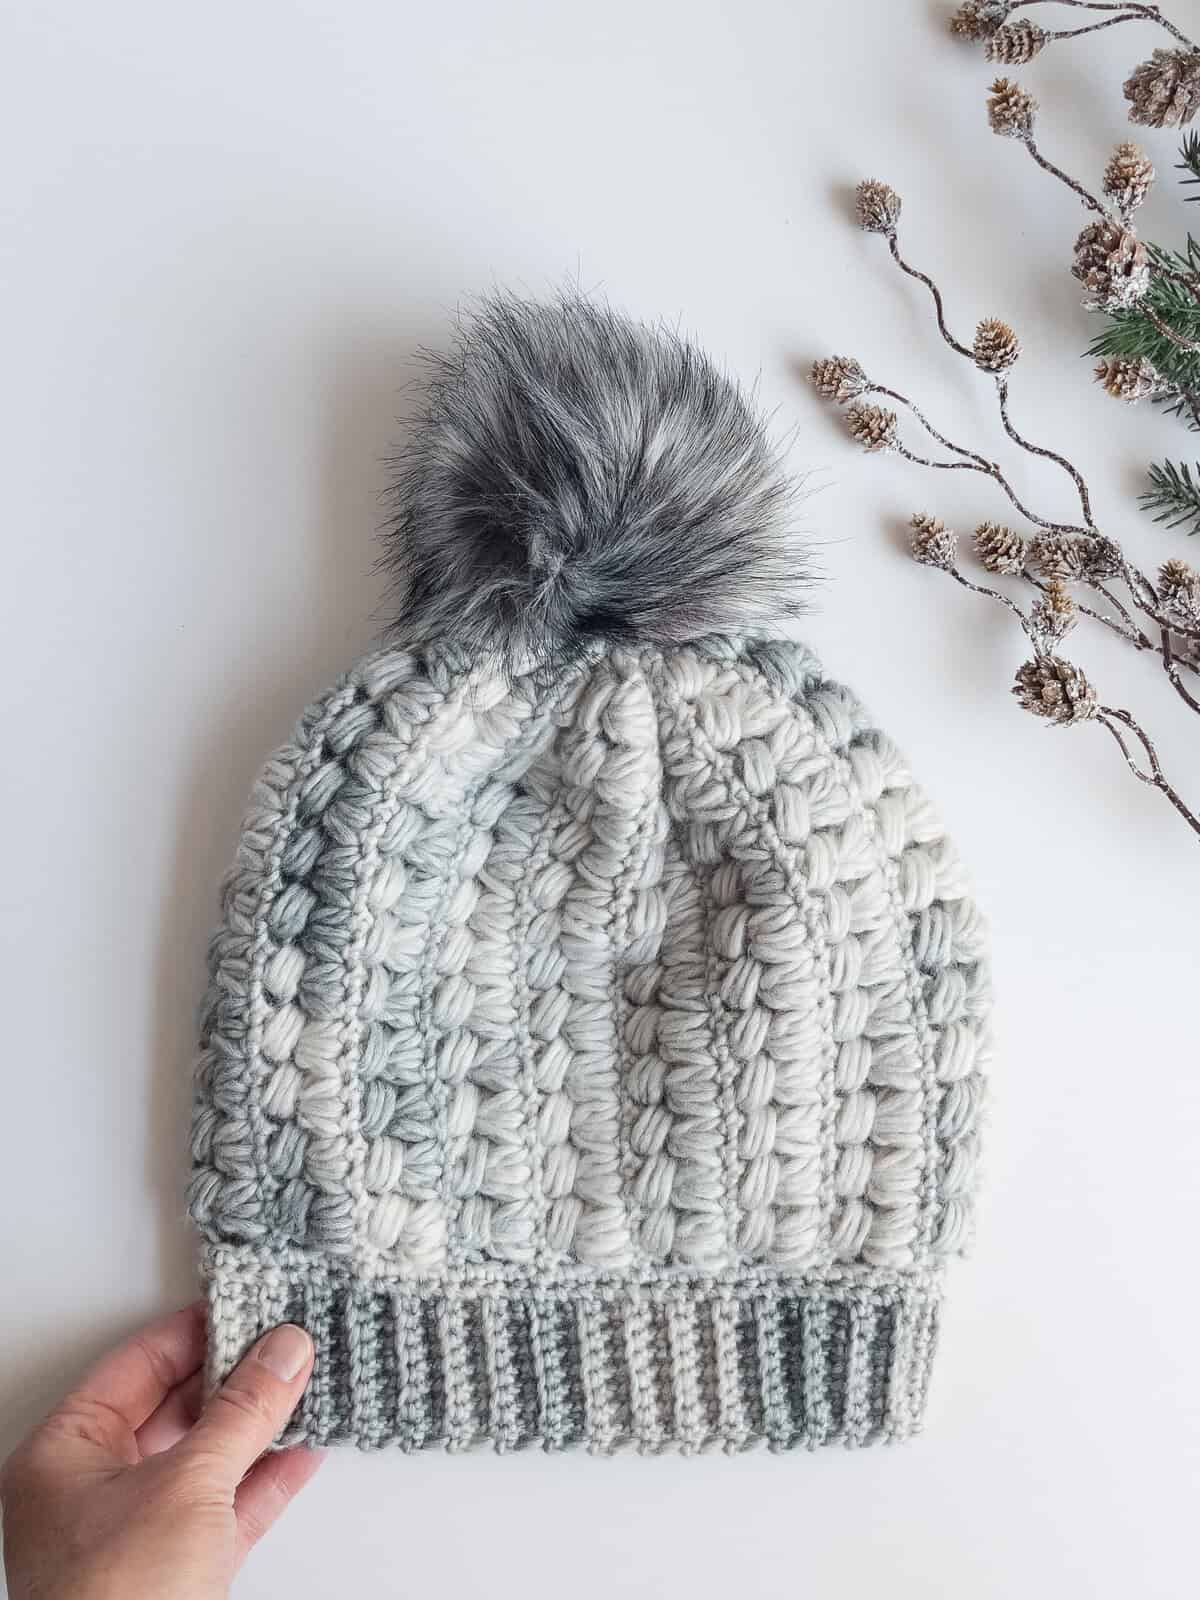
If you fell in love with my Sheltering Ridge Beanie, I have the perfect match for it. Meet the Sheltering Ridge Cowl, a free crochet puff stitch cowl made with the very same stitch as the Sheltering Ridge Beanie. Make them together and you'll have a cozy matching set, just in time for cold winter weather.
The Sheltering Ridge puff stitch is all about the feeling of being wrapped up and sheltered. The raised puffs stack up like cobblestones, or like snow-capped mountain ridges, and they make a thick, squishy fabric that's wonderful around your neck.
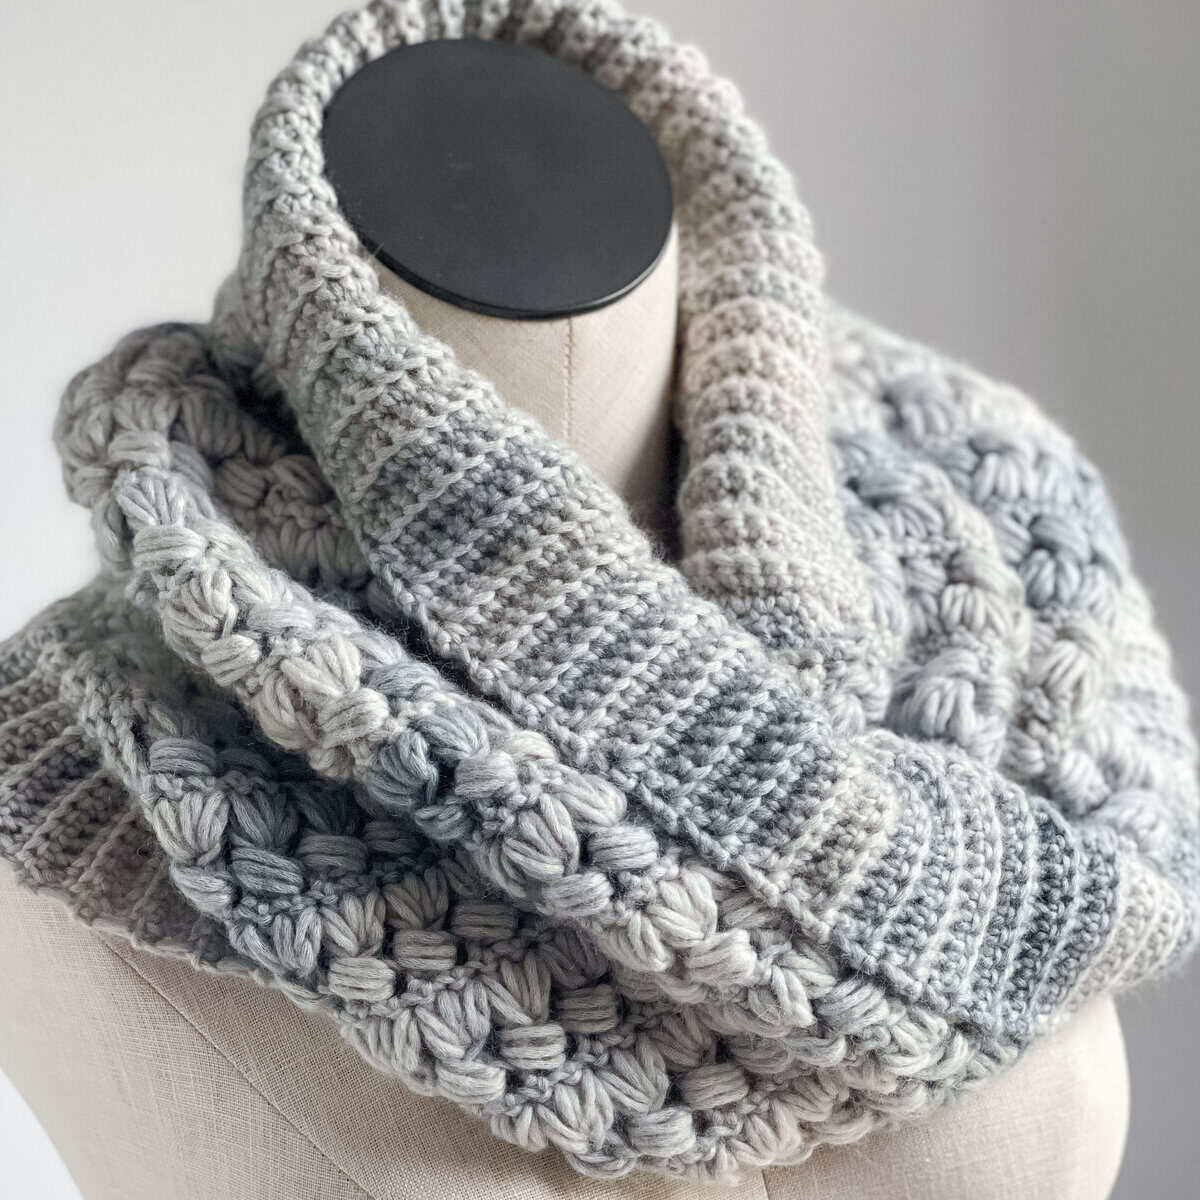
This cowl is made as a rectangle with the Sheltering Ridge puff stitch, then ribbing is added to each side. After that, it's folded in a mobius style and seamed. That one little twist makes the cowl drape and fold so nicely, and you never have to crochet in the round. It finishes at approximately 15 1/2" wide x 36" around, so it's big enough to scrunch up high on chilly days.
I made my sample in Caron Blossom Cakes in the Charcoal colorway. It's a soft cotton/acrylic blend, and its grey and cream ombre shows off every ridge and puff. And just like with the beanie, there's a video tutorial to walk you through the stitch.

Why You’ll Love This Crochet Puff Stitch Cowl
- Simple Rectangle Construction: There's no working in the round. You'll crochet one flat rectangle, add ribbing to both long edges, then give it a twist and seam the short ends.
- Ribbing on Both Edges: The single crochet ribbing, worked in the back loops, frames the puff stitch and gives the cowl nice, neat edges.
- Mobius Twist: One simple flip before seaming gives the cowl its pretty mobius drape. I'll walk you through how to line up the corners.
- Eye-Catching, Squishy Texture: The puff stitches make a raised, cobblestone-like texture that looks much harder than it is. It also makes a warm, cushiony fabric.
- Matches the Sheltering Ridge Beanie: It's the same stitch, yarn, hook and gauge as the Sheltering Ridge Beanie, so the two make a perfect hat and cowl set. They'd make a lovely handmade gift!
- Intermediate-Friendly: The puff stitch combination takes a little practice to get into a rhythm, but after a repeat or two it becomes second nature.
- Made for Cozy, Colorful Yarn: Caron Blossom Cakes shifts from color to color as you go, so the ombre greys and creams highlight every ridge.
- Easy to Resize: Work the foundation chain in multiples of 2 + 6 to make your cowl wider or narrower.
- Video Tutorial Included: Prefer to watch instead of read? My Sheltering Ridge Puff Stitch Tutorial shows you the stitch step by step.

Tips for Making Your Crochet Puff Stitch Cowl
- Find the PO3 Rhythm: Each new PO3 starts in the same stitch as the last leg of the previous PO3, and each puff is worked over the PO3 you just made. Say "PO3, puff" in your head as you go, and count your PO3s at the end of each puff row (14 PO3 sts + 2 dc sts).
- Don't Fasten Off Yet: When the rectangle is done, keep your yarn attached. You'll start the first ribbing right away along the bottom long edge.
- Count Your Edge Stitches for Ribbing Base: Work 3 sc along each dc row end and 1 sc at the end of each sc row, for 112 sc. This gives the ribbing an even edge.
- Back Loops Make the Ribbing: Working the ribbing in the back loops only makes those stretchy, ridged lines. Remember to work the last stitch (Row 2) or first stitch (Row 3) in both loops.
- One Twist Only: For the mobius twist, flip just one end over once. Then check that A matches A and B matches B before you clip the ends together.
- Mattress Stitch for an Invisible Seam: Whipstitch works, but the mattress stitch gives a nearly invisible seam. Match your stitches as you sew from A to B.
- Plan for Two Cakes: This cowl uses just over 2 cakes of yarn. You may have just enough left over to make the matching slouchy beanie!
Supplies for the Sheltering Ridge Crochet Puff Stitch Cowl pattern
*This post contains affiliate links. You can click on any yarn or material highlighted to purchase. I will receive a small commission if you purchase but it won't cost you any extra! As an Amazon Associate I earn from qualifying purchases.
I am using Caron Blossom Cakes for this cozy puff stitch cowl, in the Charcoal colorway. It's a beautifully soft cotton/acrylic blend (61% cotton, 39% acrylic) with soft ombre stripes that slowly shift from grey to cream, and it comes in so many colorways!
Be aware that this puff stitch cowl is a serious yarn eater! You'll need about 11 oz / 665 yards. Each Blossom Cakes cake is 8 oz / 481 yards, so plan on 2 cakes. If you made the matching beanie (270–300 yards), you'll need extra yarn for the set. But I was able to squeak by on just two cakes for the set!
Want the Sheltering Ridge Cowl Ad-Free Printable PDF?
Want an ad-free, printer-friendly version of the Sheltering Ridge Cowl? The printable PDF is available in my shop! It's perfectly formatted, easy to read while you're working, and great for keeping in your pattern binder.👉 [ [LINK TO PDF]] If you love PDFs, you might want to check out my Lifetime Membership. It's an awesome deal! Never pay for one of my PDFs again! Also available for purchase on Ravelry and Etsy! Thank you so much for supporting my work!



Nana’s Crafty Home Community
I've opened the Nana's Crafty Home Community, a free place where crocheters can gather, share their projects, ask questions and cheer each other on. Free to join!
Looking for More Free Crochet Cowl & Winter Patterns?
I hope you love making your Sheltering Ridge Cowl as much as I loved designing it! If you enjoyed this crochet puff stitch cowl, pair it with the matching beanie for a cozy set, and explore more free cowls, scarves and winter patterns here on the blog. And if you don't want to miss a single new release, be sure to sign up for my free newsletter! You'll get new patterns, tutorials, and crafty inspiration delivered straight to your inbox. 👉 Sign up for my free newsletter here! Let's Stay Connected! I love seeing your finished makes. Tag me on social media so I can cheer you on!
You may also love the following free crochet patterns:
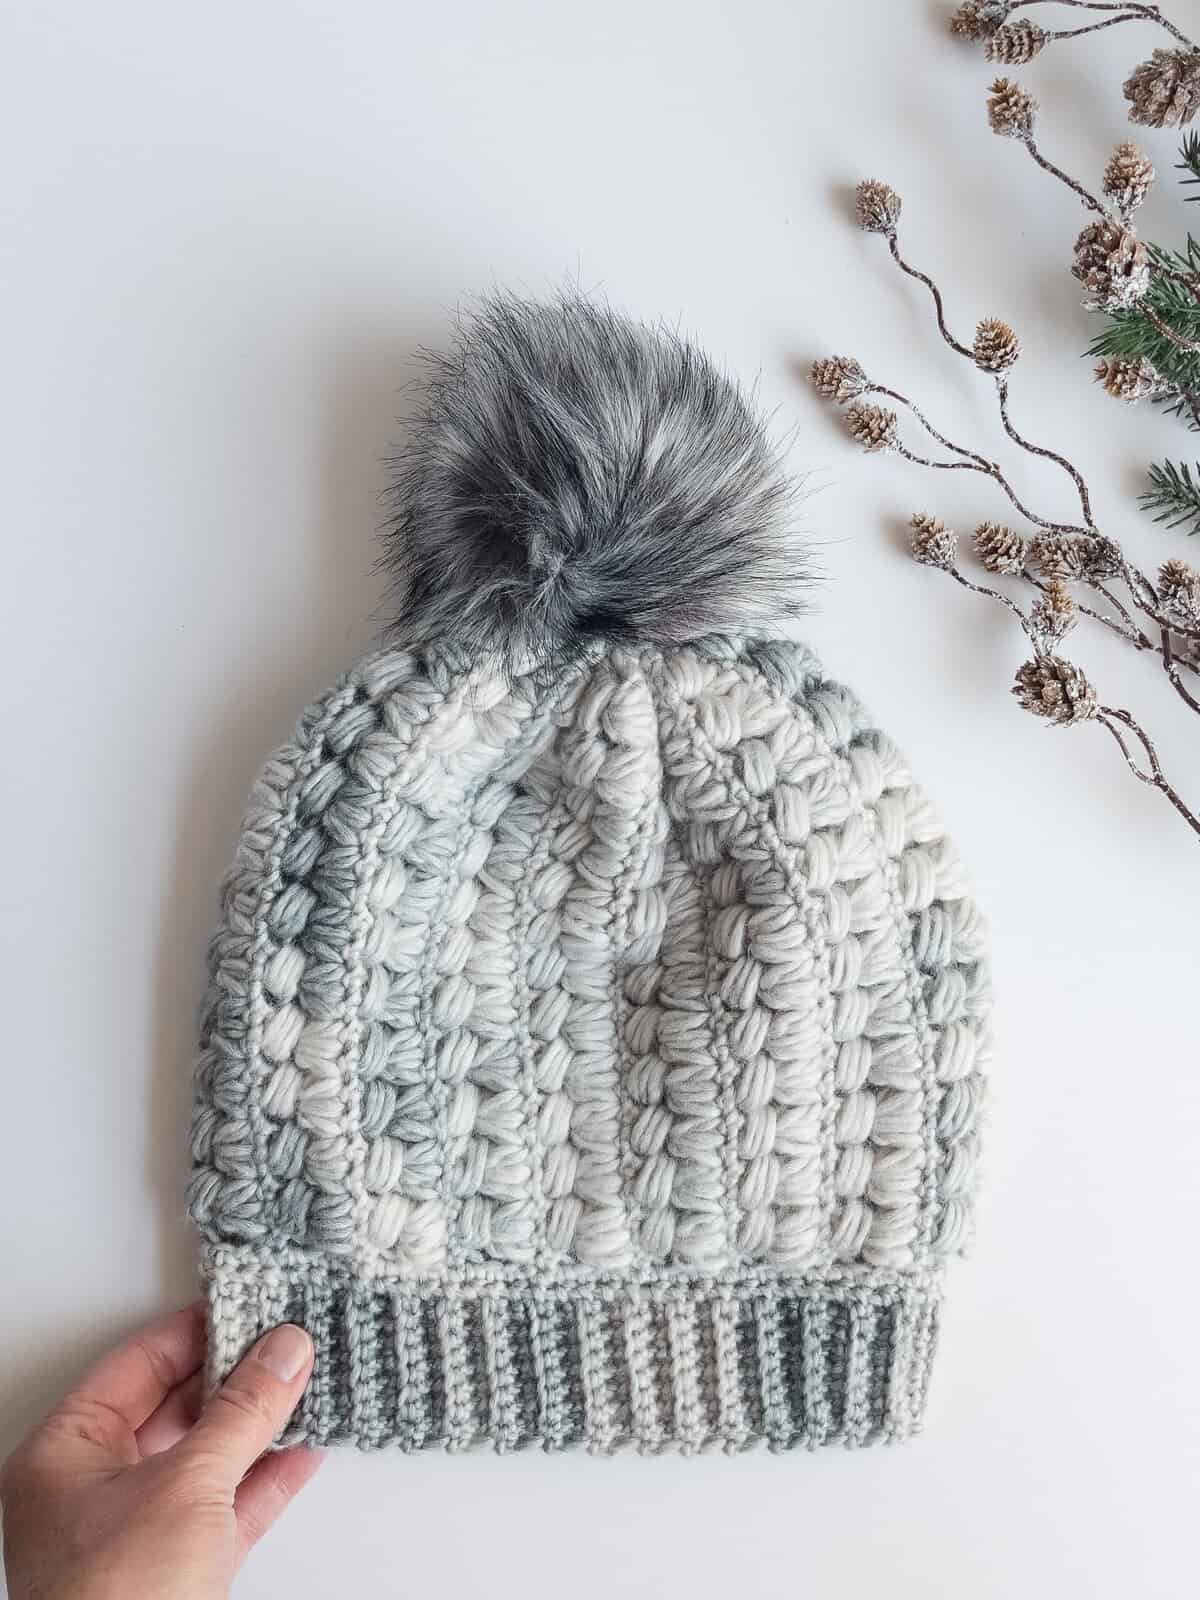


- Crochet Puff Stitch Beanie Free Pattern (Sheltering Ridge Beanie)
- Crochet Hooded Cowl | Mountain Trail Bulky Hood Free Crochet Pattern
- Crochet Infinity Scarf Free Pattern | Amber Sunset Scarf
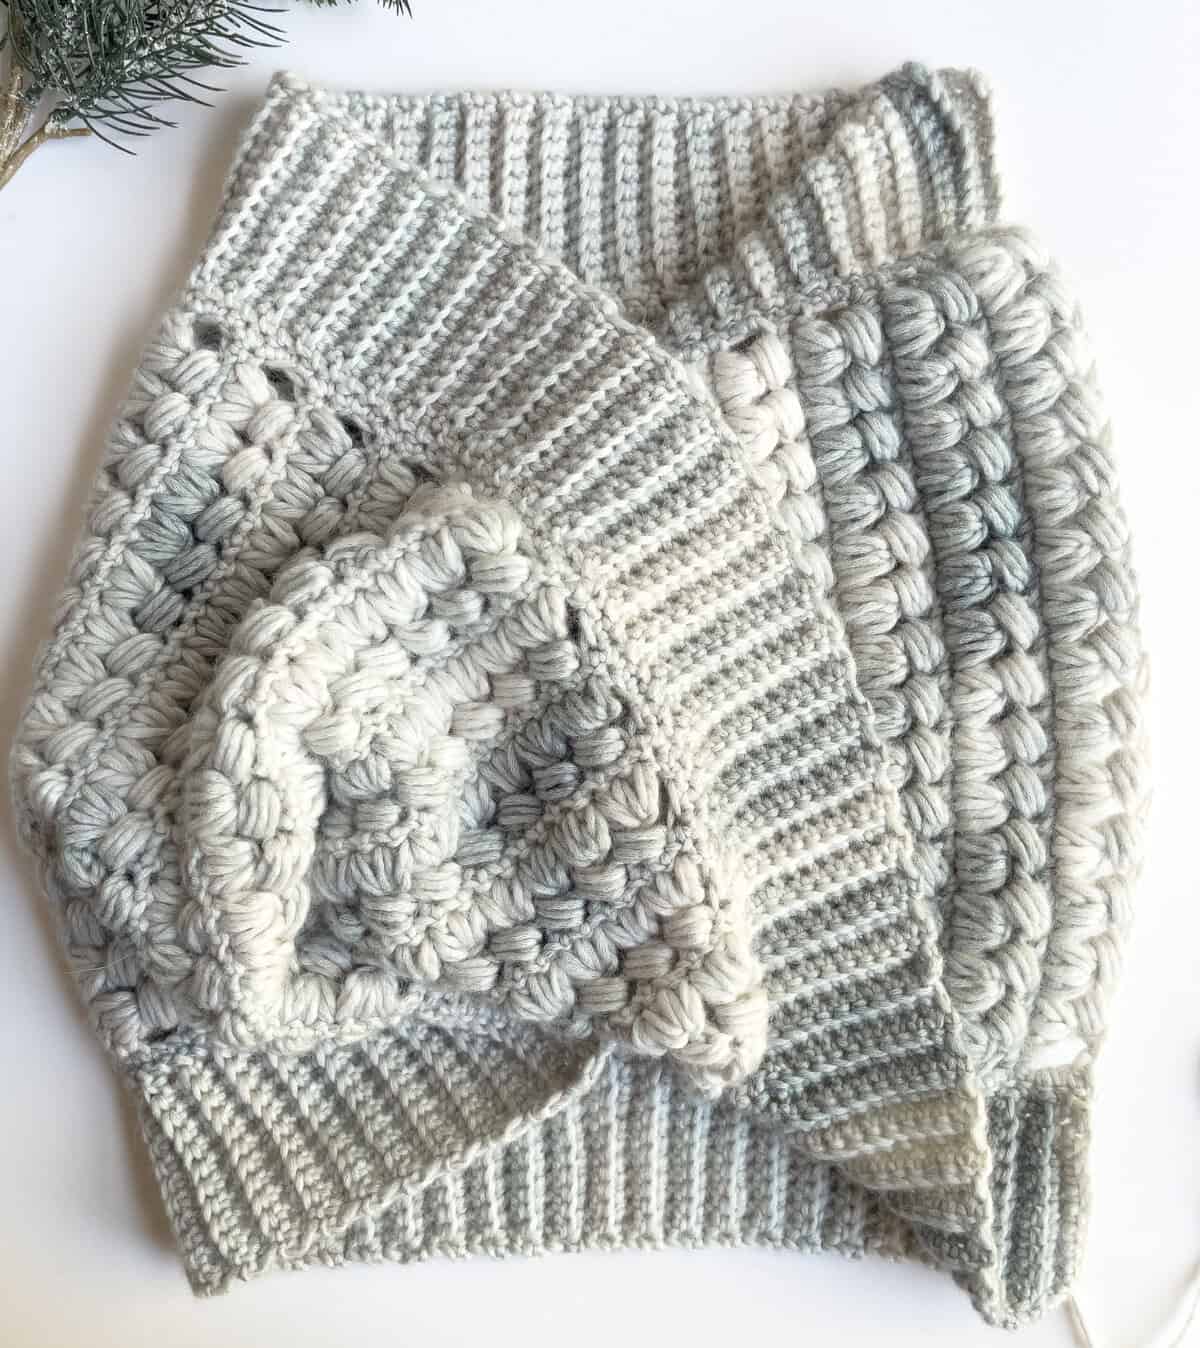
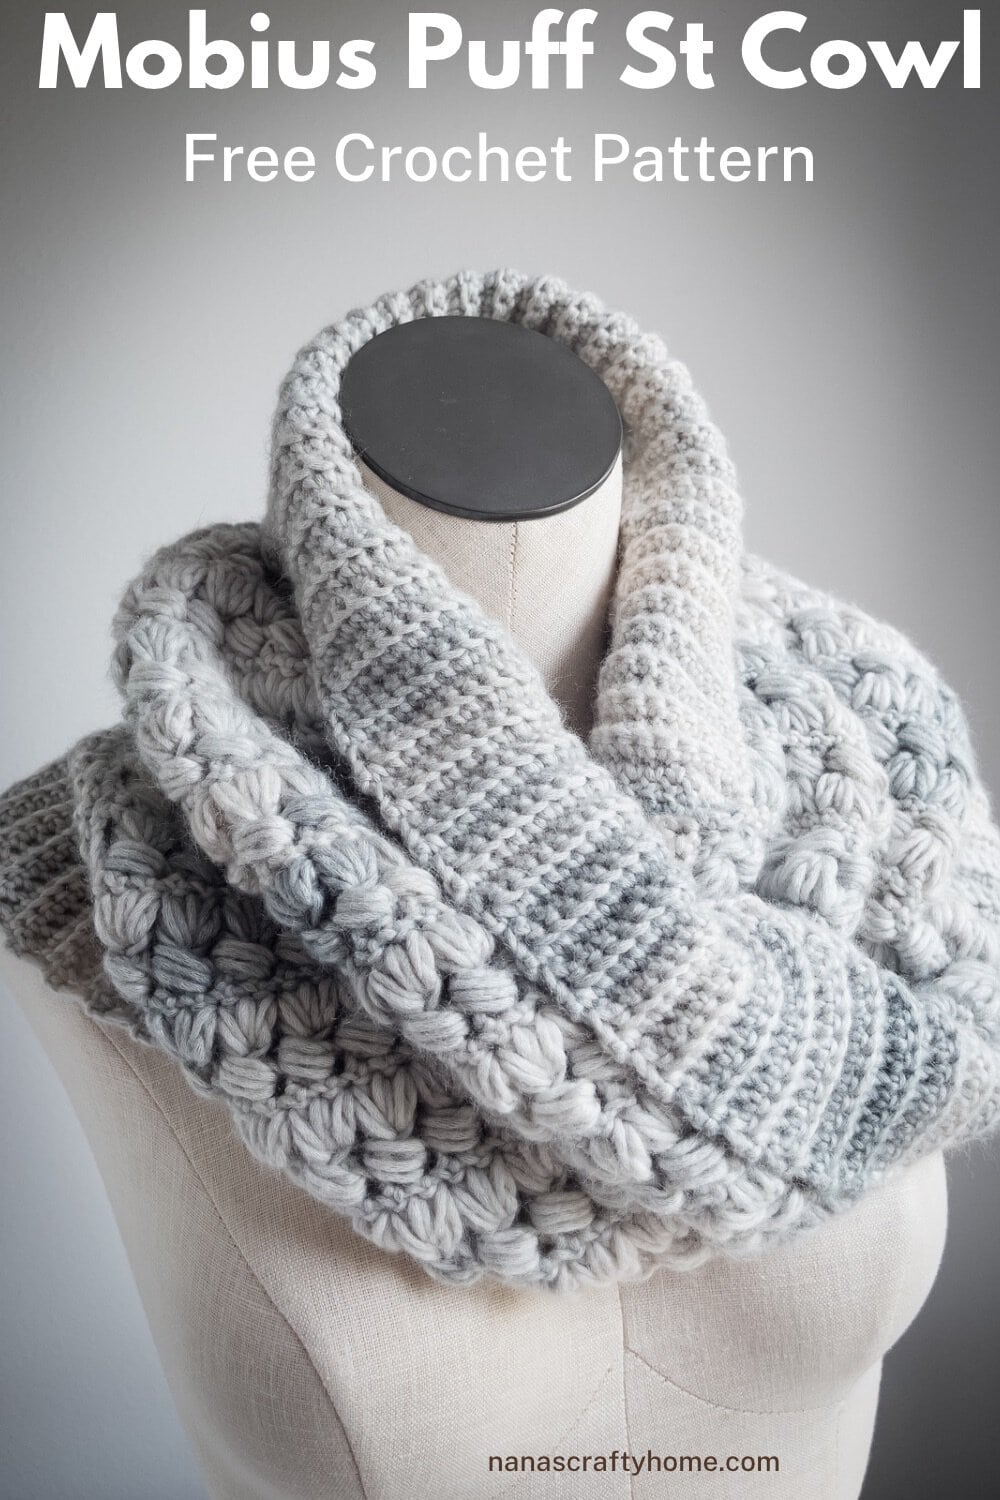
Sheltering Ridge Crochet Puff Stitch Cowl free crochet pattern
Pattern written in US crochet terminology
Supplies:
- Caron Blossom Cakes Weight 4 / Medium (61% cotton, 39% acrylic)
- Color: Charcoal 11 oz. / 665 yards
Crochet hook size H (5 mm)
Stitch Marker
Scissors
Tapestry Needle
Approximate finished size: 15 1/2” wide x 36” circumference
Gauge: 6 PO3 sts x 6 1/2 rows (before second puff of row) = 4” x 4”
Abbreviations:
ch(s) = chain(s)
RS = right side
WS = wrong side
dc = double crochet
sl st = slip stitch
sc = single crochet
st(s) = stitch(es)
PO3 = puff over 3 stitches (see special stitches section below)
prev = previous
yo = yarn over
sk = skip
BLO = back loop only
Special Stitches:
PO3: [yo, insert hook, yo, pull up a tall loop, yo, insert hook into same st, yo, pull up a tall loop] across 3 sts as indicated (13 loops on hook), yo, pull through 12 loops, yo, pull through remaining 2 loops.
Puff Stitch: [yo, insert hook where indicated, pull up a loop] 4 times (9 loops on hook), yo, pull through all loops on hook.
Pattern Notes:
- Resize by working foundation chain in multiples of 2 + 6.
- Chain 3 at beginning of row counts as first st.
Recommended Tutorial: Sheltering Ridge Puff Stitch Tutorial
I also put together a short to highlight the puff stitch plus show you how to twist the cowl before seaming! https://youtube.com/shorts/vafy0iebpDw
Pattern Instructions
With MC, ch 32.
Row 1: (WS) Sc in second ch from hook and in each ch to end. Turn. (31)
Row 2: (RS) Ch 3, work PO3 starting in next st and worked across following 2 sts, work puff over PO3 and in the gap before the ch-3, work PO3 starting in the same st as last leg of prev PO3 and across next 2 sts, puff st over PO3 just made (working between PO3 sts), repeat from * to * to last st, ch 1, dc in last st. Turn. (14 PO3 sts + 2 dc sts)
Row 3: Ch 1, sc in each st. Turn. (31)
Rows 4 - 56: Repeat rows 2 - 3 ending after row 2.
Do not fasten off.
Ribbing
Working along bottom long edge of rectangle, ch 1, sc evenly along bottom edge by working 3 sc sts along each dc st at end of each row + 1 sc at end of each sc row. Turn. (112)
Ch 12.
Row 1: Sc in second ch from hook and in each ch to end, now working in sc sts, sl st in next two sts. Turn. (11)
Row 2: Skip 2 sl sts, working in BLO of sc sts from row 1 of ribbing, sc in BLO of each st to last st, sc in both loops of last st. Turn. (11)
Row 3: Ch 1, sc both loops of first st, then sc in BLO of each st to end, sl st in next two sts of foundation ch. Turn.
Rows 4 - 112: Repeat rows 2 - 3.
Fasten off and weave in ends.
Join yarn to remaining unworked bottom edge of rectangle by joining yarn to corner and repeat instructions for ribbing along second edge.
Fasten off, leaving a long tail for sewing.
Twisting & Joining the Cowl
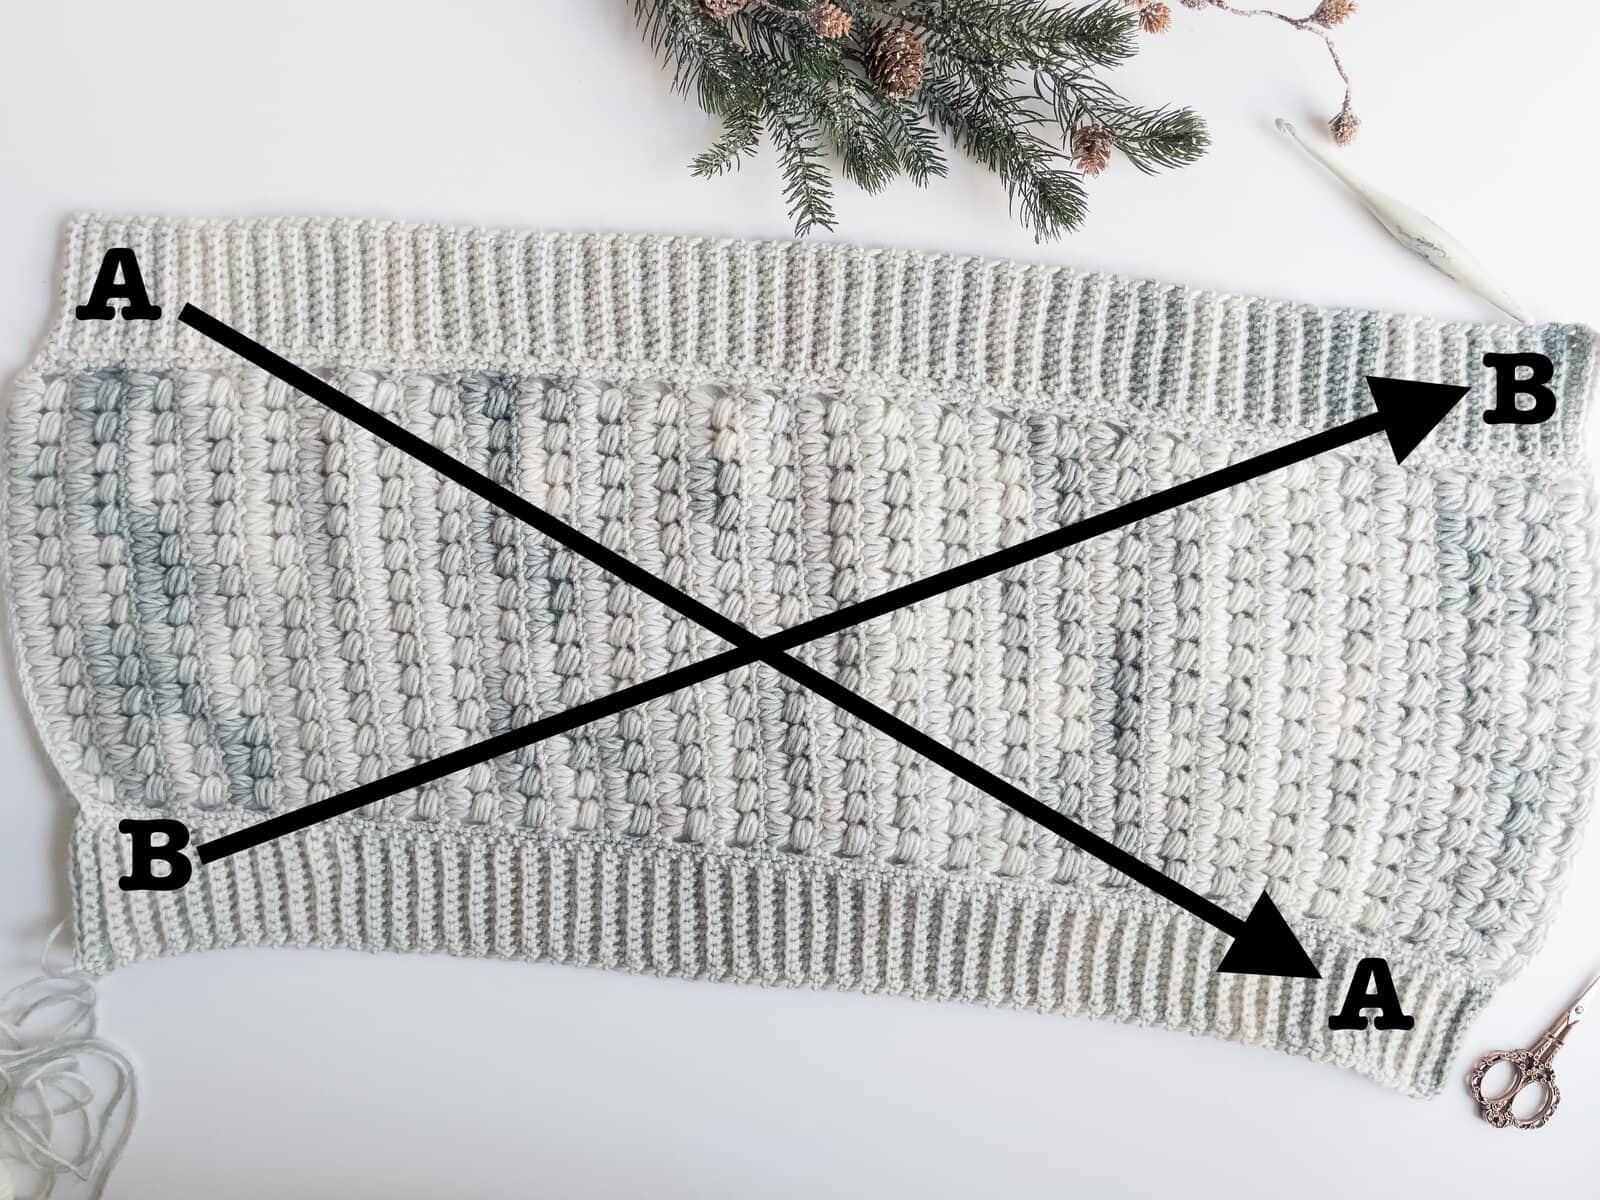
- Lay it flat. Place the cowl right side down as shown.
- Bring the ends together. Pick up the left-hand short edge (A at top, B at bottom) and bring it toward the right-hand short edge.
- Add the twist. Flip the right-hand end over once, so the wrong side faces up. Corner A should now be at the bottom, lined up with corner A on the right end. Corner B should be at the top, lined up with the right B.
- Pin the edges. Hold the two short edges together, matching A to A and B to B. Clip them together at both corners and at a few points in between so the rows line up evenly.
- Seam. Using the long tail (or a new length of yarn) and a yarn needle, join the two short edges with a whipstitch or mattress stitch. Mattress stitch gives a nearly invisible seam. Work from A to B, matching stitches as you go.
- Fasten off and weave in ends.
Copyright 2026 Tonya Bush / Nana’s Crafty Home, LLC.
Social Media links:
Community: https://community.raptive.com/nanascraftyhome
Facebook: https://www.facebook.com/nanascraftyhome
Instagram: https://www.instagram.com/nanascraftyhome/
Pinterest: https://www.pinterest.com/nanascraftyhome/
YouTube: https://www.youtube.com/c/TonyaBush
Facebook Group: https://www.facebook.com/groups/829792060522798
Sign up for my Newsletter: https://nanascraftyhome.com/sign-up-for-my-free-newsletter/
Disclaimer: This pattern is for personal use or small-scale crafting. If you intend to sell the finished product in the EU, ensure it complies with the General Product Safety Regulation (EU) 2023/988, including safety, labeling, and traceability requirements.
 Hi! Thank you so much for being here! I am Tonya the designer behind Nana's Crafty Home. As a wife, mother, Nana of 9 & with 2 fur babies, my days are filled with love, laughter, hugs and yarn! Here you will find colorful and creative crochet designs for yourself or loved ones. My hope is that you will be inspired to learn and create along with me!