Learn how to carry yarn colors with the next tutorial in my Corner to Corner (C2C) Basics Tutorial series – how to carry yarn colors! This photo and video tutorial will help you master carrying yarn colors in Corner to Corner.

Ready to dig deeper into corner to corner crochet and master this versatile technique? Our Ultimate Guide to C2C Crochet: Techniques and Tips is the foundational c2c resource on the blog, packed with everything beginners and for those that need a c2c refresher! From standard DC and mini-HDC C2C basics to seamless color changes, efficient yarn carrying, custom graph design with Stitch Fiddle, and troubleshooting common issues, this comprehensive C2C crochet guide includes step-by-step tutorials, video links, and free pattern ideas to get you started. Whether you’re tackling your first C2C project or refining your skills, head over to the guide now for all the FREE essential C2C crochet tips and resources in one place!
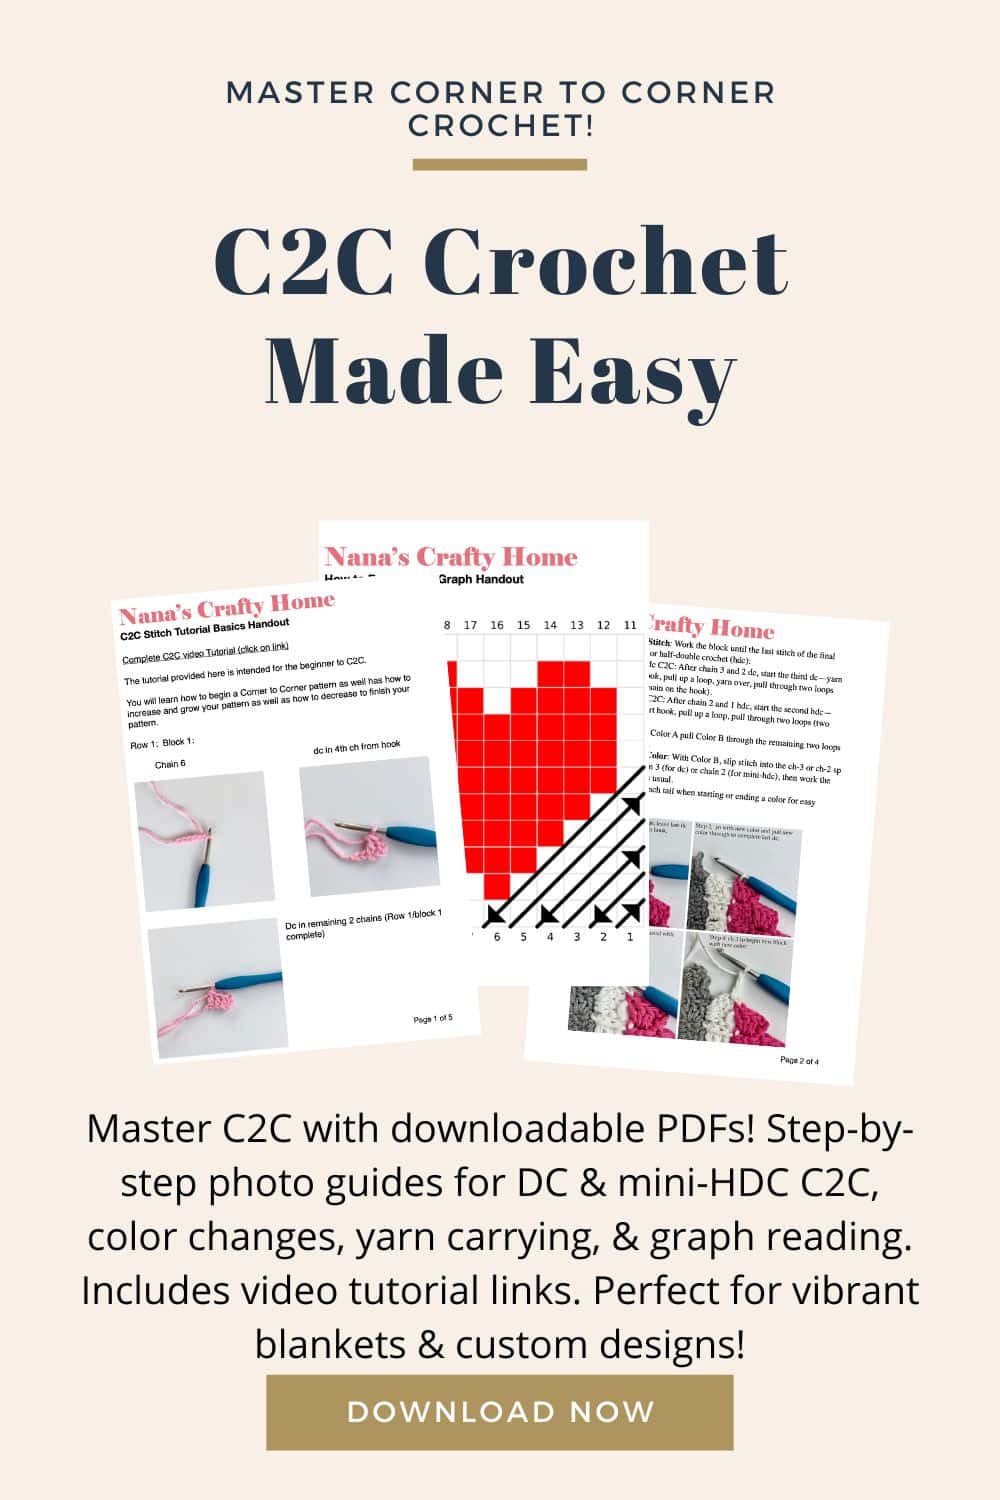
Elevate your C2C crochet skills with our C2C Crochet PDF Tutorial Bundle! This handy guide is a must-have for crocheters wanting to create stunning blankets and custom designs with ease. Packed with step-by-step photo tutorials for standard DC, mini-HDC, color changes, yarn carrying, graph reading, and making a rectangle shape in c2c, plus links to helpful videos, it’s perfect for beginners. Save time, avoid mistakes, and unlock your creativity—grab your downloadable PDFs now and start crocheting pixel-perfect projects! Includes beginner-friendly patterns to practice your new skills!
The following tips will help you keep your ends to weave in to a minimum as well as make sure your yarn carries are as invisible as possible.
1 – Only carry yarn if it is touching a pixel block of the same color

The most important tip I can provide is that you only want to carry a yarn color if the color you are carrying will be touching a block of the same color. If it isn’t going to be running along a block of the same color — do not carry it! Drop and bring it in new. It ends up being a few more ends to weave in but it is worth it as your finished item will be much more professional.
2 – Keep yarn carries to maximum of 2-3 pixel blocks
You can carry yarn over a few blocks but I don’t recommend carrying over more than 2 or 3 blocks as long yarn carries have a tendency of causing your work to pucker and bunch.
3 – Ensure you have enough slack in yarn to carry over distance required

You will get more of a feel for this over time and with practice. Good rule of thumb — run yarn over blocks you will need to carry over after pulling yarn through on your slip stitch.
4 – Carry Yarn either Forward or Backward
You can carry yarn in either direction — forward or backward. Carrying yarn back is a little more tricky so pay close attention to how much slack you have in your yarn to work over.
5 – Don’t weave in your ends too soon
If you hate leaving your ends until the end of your project, weave in as you go. However, don’t weave in too soon! If you weave in everything right away you may find that you made a mistake a row or so back and that will make it difficult to rip out your work. It may also cause some puckering of your work as well.
When weaving in ends, bring all of your ends to the wrong side of your work before weaving in.
These techniques for yarn carries and color changes become easier with practice. However, you can certainly just cut and bring in a color when you need it instead of carrying yarn. However, this may leave you with a lot more ends to weave in at the end of the project. Do what is easier for you!
Here is the video tutorial to watch these tips in practice:

 Hi! Thank you so much for being here! I am Tonya the designer behind Nana's Crafty Home. As a wife, mother, Nana of 9 & with 2 fur babies, my days are filled with love, laughter, hugs and yarn! Here you will find colorful and creative crochet designs for yourself or loved ones. My hope is that you will be inspired to learn and create along with me!